Understanding Image Resolution: What You Need to Know
Image resolution is a critical factor in determining the quality of an image. It refers to the number of pixels that make up an image, with higher resolutions indicating a greater number of pixels and, consequently, a more detailed and clearer image. Understanding image resolution is essential for anyone working with images, whether it’s for personal or professional purposes. To know if an image is high resolution, you need to understand the basics of image resolution and how it affects the overall quality of the image.
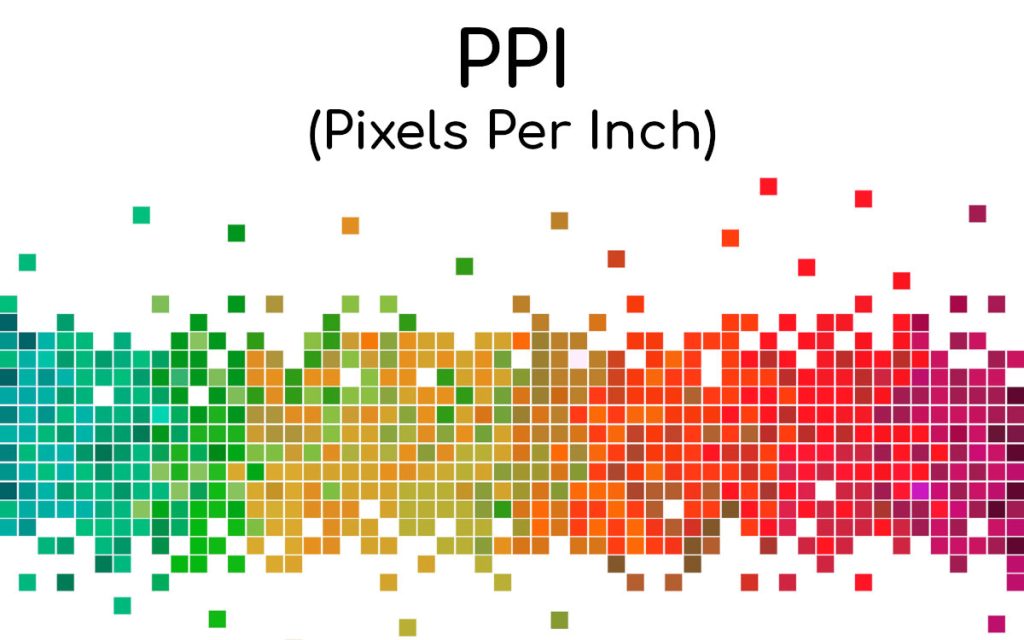
In simple terms, image resolution is measured in pixels per inch (PPI) or dots per inch (DPI). The higher the PPI or DPI, the higher the resolution and the more detailed the image. For example, an image with a resolution of 300 DPI will be much clearer and more detailed than an image with a resolution of 72 DPI. This is because the higher resolution image has more pixels, which allows for a more accurate representation of the image.
When it comes to determining the quality of an image, resolution is just one factor to consider. Other factors, such as the image’s color depth, compression, and file format, can also affect the overall quality of the image. However, resolution is a critical component, and understanding how to determine the resolution of an image is essential for anyone working with images.
So, how do you know if an image is high resolution? One way to determine this is to check the image’s file properties. Most image editing software, such as Adobe Photoshop, allows you to view an image’s file properties, including its resolution. You can also use online tools to check an image’s resolution. Additionally, you can visually inspect the image to determine its resolution. High-resolution images tend to be clearer and more detailed than low-resolution images.
In the next section, we’ll explore the differences between high and low resolution images, and provide examples of each. We’ll also discuss how to visually identify high and low resolution images, and provide tips on how to determine if an image is suitable for printing or other applications.
The Difference Between High and Low Resolution Images
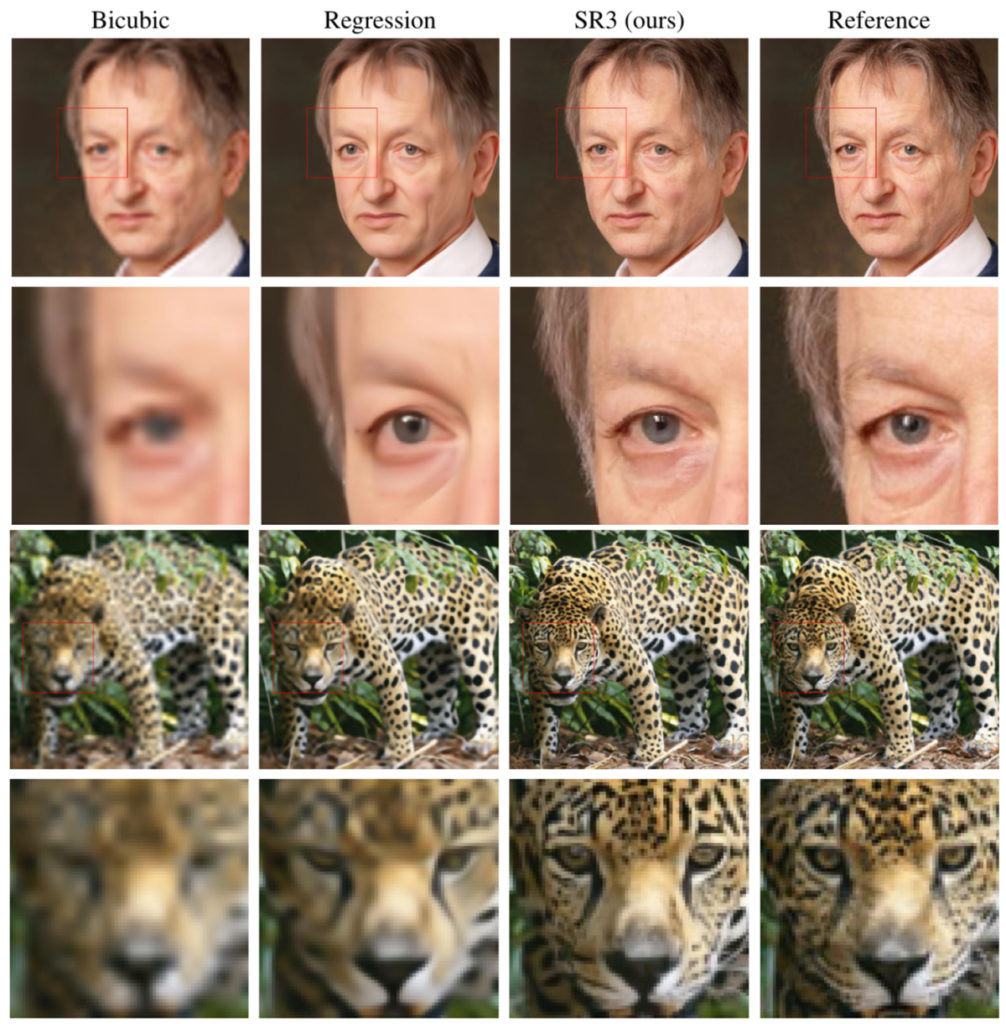
When it comes to image resolution, there is a significant difference between high and low resolution images. High resolution images are characterized by a high number of pixels, typically above 300 DPI, which results in a clear and detailed image. On the other hand, low resolution images have a lower number of pixels, typically below 72 DPI, which can result in a blurry and pixelated image.
For example, a high resolution image of a landscape might show intricate details such as individual leaves on trees, while a low resolution image of the same landscape might appear blurry and lack definition. Similarly, a high resolution image of a product might show detailed textures and patterns, while a low resolution image might appear flat and lack depth.
So, how can you visually identify high and low resolution images? Here are a few tips:
High resolution images typically have:
- Clear and defined edges
- Smooth and detailed textures
- Accurate and vibrant colors
- No visible pixelation or blurriness
Low resolution images typically have:
- Blurry or pixelated edges
- Flat and lacking textures
- Washed out or inaccurate colors
- Visible pixelation or blurriness
By understanding the differences between high and low resolution images, you can better determine how to know if an image is high resolution. In the next section, we’ll explore how to check the resolution of an image using various methods, including image editing software, online tools, and file properties.
How to Check the Resolution of an Image
Checking the resolution of an image is a crucial step in determining its quality and suitability for various applications. There are several ways to check the resolution of an image, including using image editing software, online tools, and file properties.
Using Image Editing Software:
Most image editing software, such as Adobe Photoshop, allows you to check the resolution of an image by following these steps:
- Open the image in the software
- Go to the “Image” menu and select “Image Size”
- Look for the “Resolution” field, which will display the image’s resolution in pixels per inch (PPI)
Using Online Tools:
There are several online tools available that allow you to check the resolution of an image without having to download any software. Some popular options include:
- ImageResolution.com
- CheckImageResolution.com
- ResolutionChecker.com
Using File Properties:
You can also check the resolution of an image by looking at its file properties. To do this:
- Right-click on the image file and select “Properties”
- Look for the “Details” tab
- Scroll down to the “Image” section, which will display the image’s resolution in pixels per inch (PPI)
By using one of these methods, you can easily check the resolution of an image and determine if it is high resolution. In the next section, we’ll explore the role of DPI and PPI in image resolution and how to calculate them for an image.
The Role of DPI and PPI in Image Resolution
DPI (dots per inch) and PPI (pixels per inch) are two important concepts that relate to image resolution. While they are often used interchangeably, they actually refer to different aspects of image resolution.
DPI refers to the number of dots of ink that a printer can produce per inch of paper. It is a measure of the printer’s resolution, rather than the image itself. For example, a printer with a DPI of 300 can produce 300 dots of ink per inch of paper.
PPI, on the other hand, refers to the number of pixels that make up an image per inch of the image. It is a measure of the image’s resolution, rather than the printer’s resolution. For example, an image with a PPI of 300 has 300 pixels per inch of the image.
To calculate DPI and PPI for an image, you can use the following formulas:
- DPI = (number of pixels per inch) / (number of inches)
- PPI = (number of pixels per inch) / (number of inches)
For example, if an image has a resolution of 1024 x 768 pixels and is 4 inches wide, the DPI and PPI would be:
- DPI = 1024 pixels / 4 inches = 256 DPI
- PPI = 768 pixels / 4 inches = 192 PPI
Understanding the difference between DPI and PPI is important for determining the quality of an image and how it will be printed. In the next section, we’ll discuss the different image file formats and how they affect image resolution.
Image File Formats and Resolution: What You Need to Know
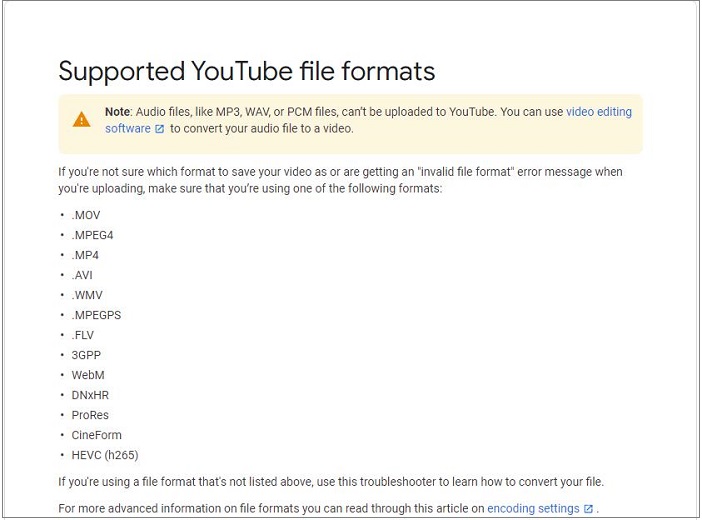
When it comes to image file formats, there are several options to choose from, each with its own strengths and weaknesses. The most common image file formats are JPEG, PNG, and TIFF, and each of these formats affects image resolution in different ways.
JPEG (Joint Photographic Experts Group) is a popular image file format that is widely used for web and print applications. JPEG files are compressed, which means that they are smaller in size than other formats, but this compression can also affect image resolution. JPEG files are best suited for images with many colors and smooth gradients, but they can lose detail and clarity when compressed.
PNG (Portable Network Graphics) is another popular image file format that is widely used for web applications. PNG files are uncompressed, which means that they retain their original image resolution and clarity. PNG files are best suited for images with transparent backgrounds and sharp edges, but they can be larger in size than JPEG files.
TIFF (Tagged Image File Format) is a high-quality image file format that is widely used for print applications. TIFF files are uncompressed, which means that they retain their original image resolution and clarity. TIFF files are best suited for images that require high detail and clarity, but they can be very large in size.
In terms of resolution, JPEG files typically have a lower resolution than PNG and TIFF files. This is because JPEG files are compressed, which can affect image resolution. PNG and TIFF files, on the other hand, retain their original image resolution and clarity.
When choosing an image file format, it’s essential to consider the intended use of the image and the level of detail and clarity required. For web applications, JPEG files are often a good choice, while for print applications, TIFF files may be a better option. PNG files are a good choice for images with transparent backgrounds and sharp edges.
By understanding the different image file formats and how they affect image resolution, you can make informed decisions about which format to use for your images. In the next section, we’ll discuss how to determine if an image is suitable for printing based on its resolution.
How to Determine if an Image is Suitable for Printing
When it comes to printing images, resolution is a critical factor to consider. The resolution of an image determines its clarity and detail, and a low-resolution image can appear pixelated or blurry when printed. To determine if an image is suitable for printing, you need to check its resolution and ensure it meets the minimum requirements for the intended printing application.
The minimum resolution requirements for printing vary depending on the application. For example:
- Business cards and brochures: 300 DPI
- Posters and banners: 150-200 DPI
- Billboards and large-format prints: 100-150 DPI
To check if an image is suitable for printing, follow these steps:
- Check the image’s resolution using image editing software or online tools
- Compare the image’s resolution to the minimum requirements for the intended printing application
- If the image’s resolution is lower than the minimum requirements, consider resizing the image or using a higher-resolution image
It’s also important to consider the image’s file format and compression when printing. JPEG files, for example, are often compressed, which can affect image resolution. TIFF files, on the other hand, are uncompressed and retain their original image resolution.
By checking an image’s resolution and file format, you can ensure that it is suitable for printing and will produce high-quality results. In the next section, we’ll discuss common mistakes to avoid when working with high-resolution images.
Common Mistakes to Avoid When Working with High-Resolution Images
When working with high-resolution images, there are several common mistakes to avoid in order to ensure that your images look their best. Here are some of the most common mistakes to watch out for:
Resizing images incorrectly: When resizing an image, it’s essential to use the correct technique to avoid losing image quality. Avoid using the “resize” tool in image editing software, as this can cause the image to become pixelated or blurry. Instead, use the “image size” tool to adjust the image’s dimensions while maintaining its resolution.
Using low-quality image editing software: Not all image editing software is created equal. Some software may not be able to handle high-resolution images, or may not have the necessary features to edit them effectively. When working with high-resolution images, it’s essential to use high-quality image editing software that can handle large files and has the necessary features to edit them effectively.
Neglecting to check image resolution: Before editing or printing an image, it’s essential to check its resolution to ensure that it is high enough for your intended use. Neglecting to check image resolution can result in images that are pixelated or blurry, which can be disappointing and costly to fix.
Not saving images in the correct file format: Different file formats are better suited for different uses. For example, JPEG files are best for web use, while TIFF files are best for print use. Not saving images in the correct file format can result in images that are not optimized for their intended use, which can affect their quality and appearance.
By avoiding these common mistakes, you can ensure that your high-resolution images look their best and are optimized for their intended use. In the next section, we’ll discuss best practices for working with high-resolution images.
Best Practices for Working with High-Resolution Images
When working with high-resolution images, there are several best practices to follow to ensure that your images look their best and are optimized for their intended use. Here are some of the most important best practices to keep in mind:
Use high-quality image editing software: When working with high-resolution images, it’s essential to use high-quality image editing software that can handle large files and has the necessary features to edit them effectively. Look for software that supports layers, masking, and color correction, and that has a user-friendly interface.
Save images in the correct file format: Different file formats are better suited for different uses. For example, JPEG files are best for web use, while TIFF files are best for print use. Make sure to save your images in the correct file format for their intended use.
Regularly check image resolution: Before editing or printing an image, it’s essential to check its resolution to ensure that it is high enough for its intended use. Use image editing software or online tools to check the resolution of your images.
Use the correct resolution for the intended use: Make sure to use the correct resolution for the intended use of the image. For example, if you’re printing an image, use a resolution of at least 300 DPI. If you’re using an image on the web, use a resolution of at least 72 DPI.
By following these best practices, you can ensure that your high-resolution images look their best and are optimized for their intended use. Remember to always check the resolution of your images and use the correct file format and resolution for their intended use.


