What is Reverse Image Search and Why Do You Need It
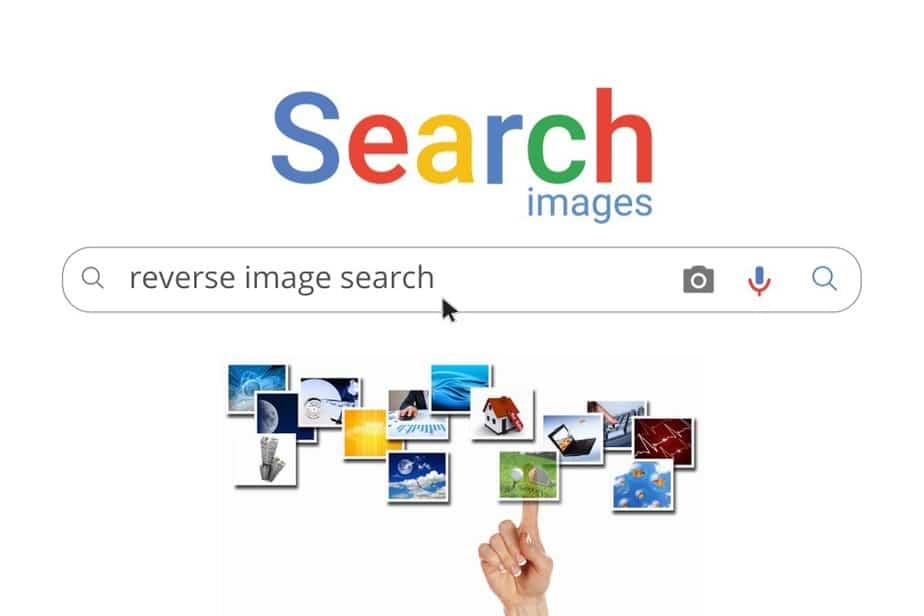
Reverse image search is a powerful tool that allows users to search for images based on a reference image, rather than a text-based query. This technology has numerous applications, including finding the source of an image, identifying plagiarism, and tracking down the origin of a meme. By using reverse image search, individuals can uncover valuable information about an image, such as its origin, usage, and potential copyright issues.
In today’s digital age, images are widely shared and reused across various platforms. However, this can lead to issues with image ownership, copyright infringement, and misinformation. Reverse image search helps to mitigate these problems by providing a way to verify the authenticity of an image and identify its original source.
For instance, a journalist may use reverse image search to fact-check the authenticity of an image used in a news article. Similarly, a marketer may use this tool to ensure that an image used in an advertising campaign is not copyrighted or has not been used without permission.
Reverse image search can also be useful for individuals who want to find more information about an image they have come across online. By uploading the image to a reverse image search engine, users can discover similar images, find the original source of the image, and even identify the photographer or artist who created it.
While reverse image search is not a new technology, its applications continue to grow and evolve. As image recognition technology improves, reverse image search engines are becoming increasingly sophisticated, allowing users to search for images with greater accuracy and efficiency.
In the next section, we will explore the various reverse image search tools available, including Google Images, TinEye, and Bing Visual Search, and discuss their pros and cons.
Choosing the Right Reverse Image Search Tool
When it comes to reverse image search, there are several tools available that can help you achieve your goals. In this section, we will discuss the pros and cons of some of the most popular reverse image search tools, including Google Images, TinEye, and Bing Visual Search.
Google Images is one of the most widely used reverse image search tools, and for good reason. It has a vast database of images and can provide accurate results quickly. To use Google Images for reverse image search, simply click on the camera icon in the search bar and upload the image you want to search for. You can also use the “Search by image” feature to find similar images.
TinEye is another popular reverse image search tool that specializes in finding exact matches for images. It has a large database of images and can provide accurate results, even for low-quality images. TinEye also offers a “Best match” feature that allows you to filter the results to find the most relevant matches.
Bing Visual Search is a relatively new reverse image search tool that offers a unique set of features. It allows you to search for images using keywords, and also provides a “Visual search” feature that allows you to search for images based on visual characteristics such as color, shape, and texture.
When choosing a reverse image search tool, consider the following factors: the size of the database, the accuracy of the results, and the ease of use. Google Images is a good all-around choice, while TinEye is better suited for finding exact matches. Bing Visual Search is a good choice if you want to search for images using keywords or visual characteristics.
In the next section, we will discuss how to prepare your image for reverse search, including resizing, cropping, and editing. This will help you get the most accurate results from your reverse image search.
Preparing Your Image for Reverse Search
Before conducting a reverse image search, it’s essential to prepare your image to ensure the best possible results. Here are some tips to help you prepare your image:
Resizing: Resize your image to a suitable size for reverse image search. A larger image size can lead to more accurate results, but it may also slow down the search process. Aim for an image size between 500×500 pixels and 1000×1000 pixels.
Cropping: Crop your image to remove any unnecessary parts that may affect the search results. This can help the search engine focus on the main subject of the image.
Editing: Edit your image to enhance its quality and remove any noise or artifacts. This can help improve the accuracy of the search results.
File format: Save your image in a suitable file format, such as JPEG or PNG. Avoid using file formats that may compress or alter the image, such as GIF or BMP.
Metadata: Remove any metadata from your image, such as EXIF data or IPTC tags. This can help prevent any unnecessary information from affecting the search results.
By following these tips, you can prepare your image for reverse search and improve the accuracy of the results. Remember to use the right tools and techniques to get the most out of your reverse image search.
In the next section, we will discuss how to conduct a reverse image search on Google, including how to upload an image, use the “Search by image” feature, and interpret the results.
Conducting a Reverse Image Search on Google
Google Images is one of the most popular reverse image search tools available. Here’s a step-by-step guide on how to conduct a reverse image search on Google:
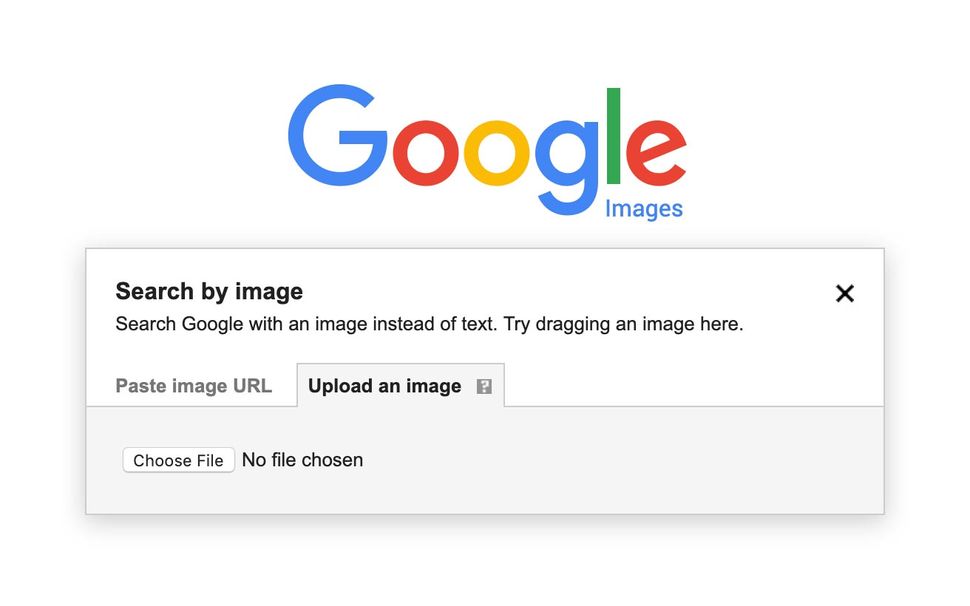
Step 1: Go to Google Images and click on the camera icon in the search bar.
Step 2: Upload the image you want to search for by clicking on the “Upload an image” button.
Step 3: Google will then analyze the image and provide a list of similar images.
Step 4: Use the “Search by image” feature to refine your search results. You can filter the results by size, color, and type.
Step 5: Interpret the results. Google will provide a list of similar images, along with information about the image, such as the website it was found on and the date it was uploaded.
Step 6: Use the “Related images” feature to find more images that are similar to the one you uploaded.
By following these steps, you can conduct a reverse image search on Google and find more information about an image. Remember to use the “Search by image” feature to refine your search results and get the most accurate information.
In the next section, we will discuss how to use TinEye for reverse image search, including how to upload an image, use the “Best match” feature, and filter the results.
Using TinEye for Reverse Image Search
TinEye is a powerful reverse image search tool that can help you find more information about an image. Here’s how to use TinEye for reverse image search:
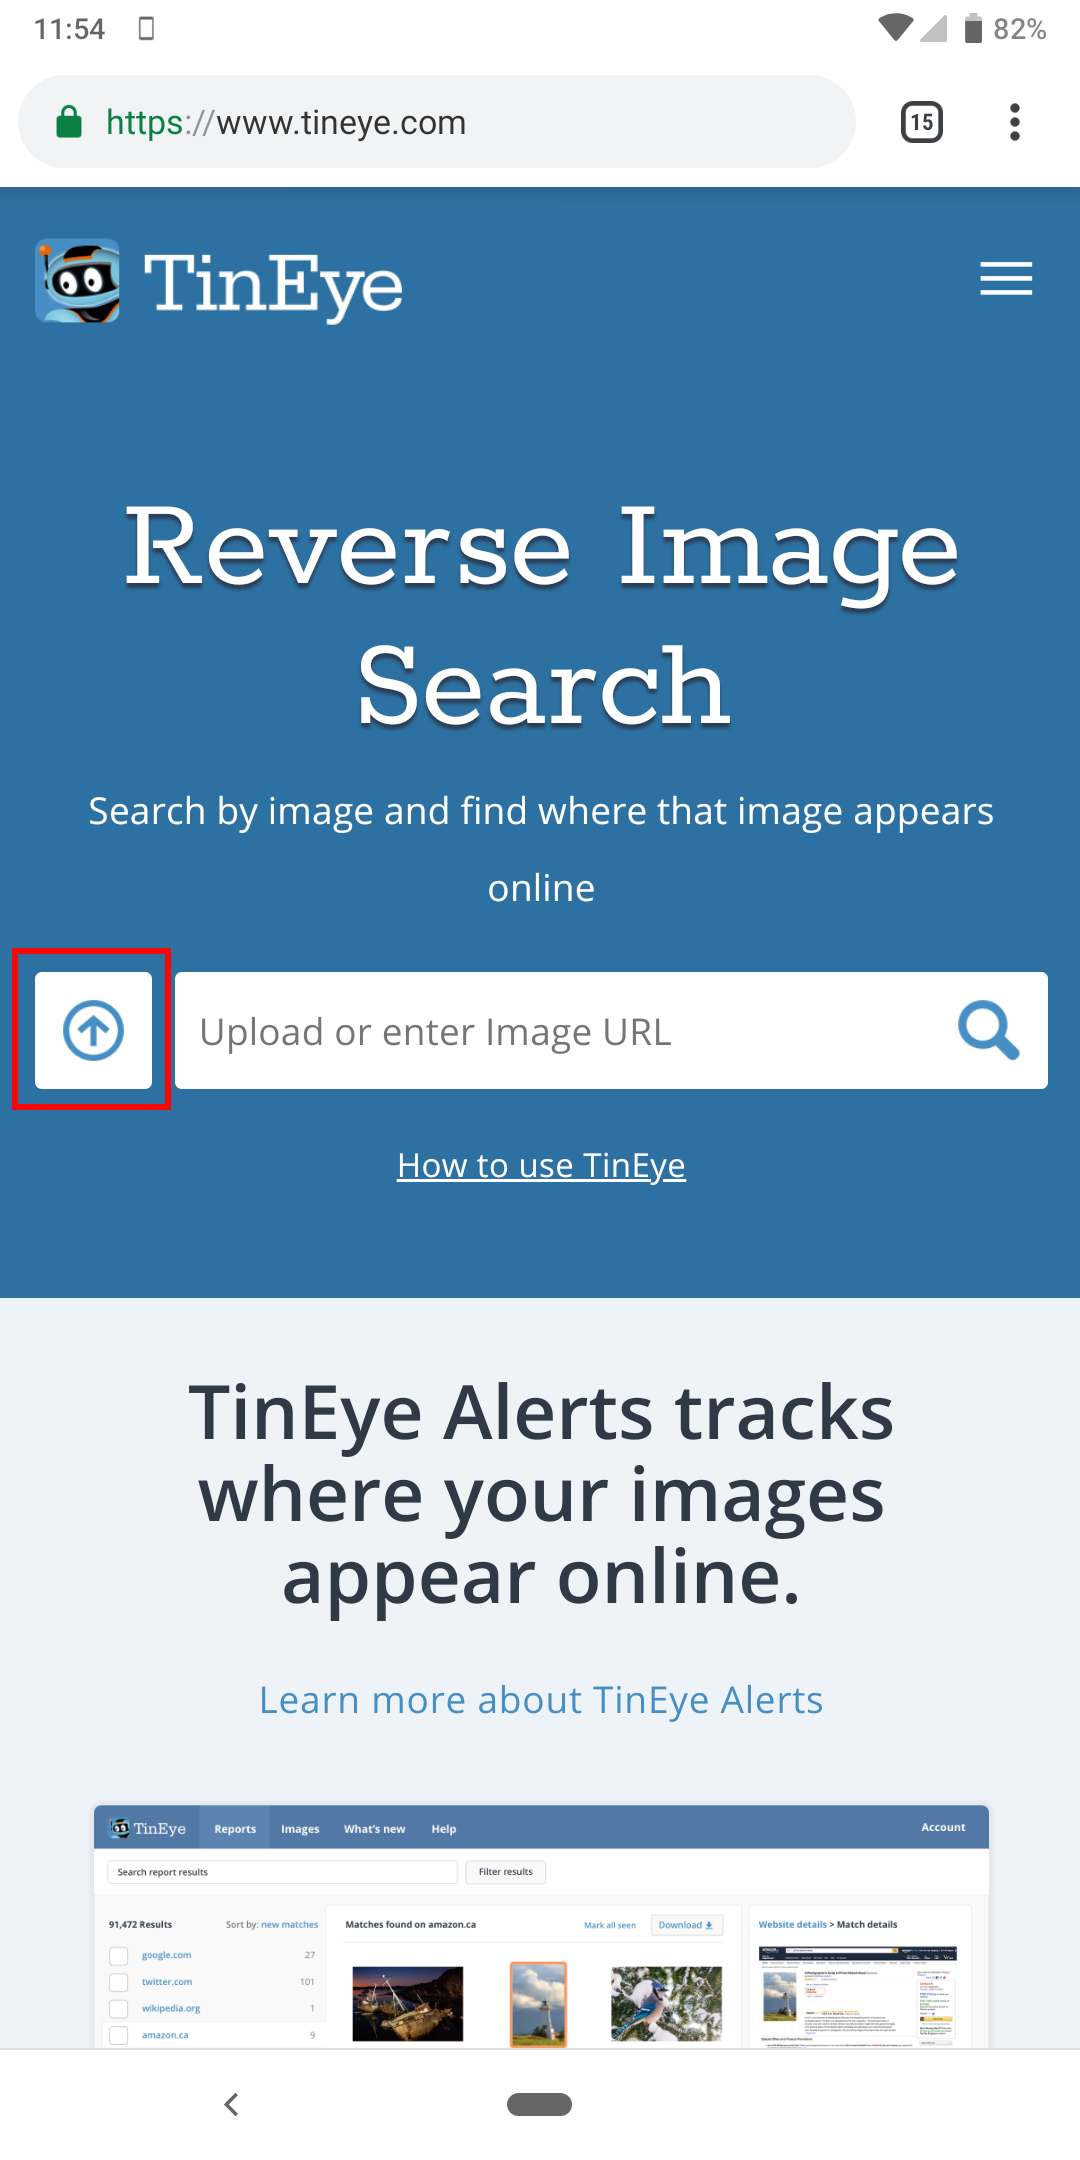
Step 1: Go to the TinEye website and click on the “Upload” button.
Step 2: Upload the image you want to search for. TinEye supports a wide range of image formats, including JPEG, PNG, and GIF.
Step 3: TinEye will then analyze the image and provide a list of similar images.
Step 4: Use the “Best match” feature to find the most relevant results. TinEye’s algorithm is designed to find exact matches, so you can be confident that the results are accurate.
Step 5: Filter the results by using the “Filter” button. You can filter by image size, color, and type.
Step 6: Interpret the results. TinEye will provide a list of similar images, along with information about the image, such as the website it was found on and the date it was uploaded.
TinEye is a powerful tool for reverse image search, and it can be used in a variety of scenarios, such as finding the source of an image, identifying plagiarism, or tracking down the origin of a meme.
In the next section, we will discuss advanced reverse image search techniques, including how to use multiple search tools, use keywords and filters, and verify the authenticity of the results.
Advanced Reverse Image Search Techniques
Once you have mastered the basics of reverse image search, you can use advanced techniques to refine your search results and get more accurate information. Here are some advanced techniques you can use:
Using multiple search tools: Don’t rely on just one search tool. Use multiple tools, such as Google Images, TinEye, and Bing Visual Search, to get a more comprehensive view of the image.
Using keywords and filters: Use keywords and filters to refine your search results. For example, you can use keywords like “image source” or “image origin” to find more specific information about the image.
Verifying the authenticity of the results: Always verify the authenticity of the results. Check the website or source of the image to ensure that it is legitimate and not a fake or manipulated image.
Using image recognition software: Use image recognition software, such as Adobe Photoshop or GIMP, to analyze the image and get more information about it.
Reverse image search can be a powerful tool for finding more information about an image. By using advanced techniques, you can refine your search results and get more accurate information.
In the next section, we will discuss common challenges that may arise during reverse image search, such as low-quality images or lack of results. We will also provide solutions and workarounds for these challenges.
Common Challenges and Solutions in Reverse Image Search
While reverse image search can be a powerful tool, there are some common challenges that may arise during the process. Here are some of the most common challenges and their solutions:
Low-quality images: If the image is of poor quality, it may be difficult to get accurate results. Solution: Try to use a higher-quality version of the image, or use image editing software to enhance the image.
Lack of results: If the image is not found in the search results, it may be because the image is not indexed or is not publicly available. Solution: Try using a different search tool or searching for similar images.
Incorrect results: If the search results are not accurate, it may be because the image is not properly optimized or is not relevant to the search query. Solution: Try using more specific keywords or searching for similar images.
Image recognition errors: If the image recognition software is not able to accurately identify the image, it may be because the image is not clear or is not properly optimized. Solution: Try using a different image recognition software or searching for similar images.
By understanding these common challenges and their solutions, you can improve your chances of getting accurate results from your reverse image search.
In the next section, we will summarize the best practices for reverse image search, including how to use the right tools, prepare images correctly, and interpret results accurately.
Best Practices for Reverse Image Search
Reverse image search can be a powerful tool for finding more information about an image. Here are some best practices to keep in mind when using reverse image search:
Use the right tools: Choose the right reverse image search tool for your needs. Google Images, TinEye, and Bing Visual Search are all popular options.
Prepare images correctly: Make sure your image is properly optimized for reverse image search. This includes resizing, cropping, and editing the image to improve its quality.
Interpret results accurately: When interpreting the results of your reverse image search, make sure to verify the authenticity of the results. Check the website or source of the image to ensure that it is legitimate and not a fake or manipulated image.
Use multiple search tools: Don’t rely on just one search tool. Use multiple tools to get a more comprehensive view of the image.
Use keywords and filters: Use keywords and filters to refine your search results. This can help you find more specific information about the image.
By following these best practices, you can get the most out of your reverse image search and find more information about an image.


