The Frustration of a Blurry Feed
Have you ever uploaded a photo to Instagram, only to find that it appears blurry or pixelated? You’re not alone. Many users have experienced the frustration of a blurry feed, wondering why their high-quality images aren’t displaying as intended. The issue of blurry Instagram posts is a common one, and it can be caused by a variety of factors. In this article, we’ll explore the possible reasons why your Instagram posts might be looking blurry, and provide tips on how to fix the problem.
One of the main reasons why Instagram posts might appear blurry is due to the platform’s image compression algorithm. When you upload a photo to Instagram, the algorithm compresses the image to reduce its file size and make it easier to load. However, this compression can sometimes result in a loss of image quality, leading to a blurry or pixelated appearance. Another reason why your Instagram posts might be looking blurry is due to the size and format of the image itself. If the image is too large or too small, it may not display properly on the platform.
In addition to image compression and size, there are several other factors that can contribute to blurry Instagram posts. These include internet connection speed, device quality, and editing and filtering techniques. In the following sections, we’ll take a closer look at each of these factors and provide tips on how to optimize your images for Instagram.
By understanding the causes of blurry Instagram posts and taking steps to optimize your images, you can ensure that your feed is always looking its best. Whether you’re a business owner looking to showcase your products, a photographer looking to share your work, or simply a user looking to share your favorite moments, high-quality images are essential for making a good impression on Instagram.
Image Size and Compression: The Main Culprits
Instagram’s image compression algorithm is one of the primary reasons why your posts might be looking blurry. When you upload a photo to Instagram, the algorithm compresses the image to reduce its file size and make it easier to load. However, this compression can sometimes result in a loss of image quality, leading to a blurry or pixelated appearance.
To avoid this issue, it’s essential to understand the ideal image size and format for Instagram posts. Instagram recommends uploading images with a minimum resolution of 1080 x 1080 pixels, and a maximum file size of 10MB. Additionally, it’s best to use the JPEG or PNG file format, as these are the most compatible with Instagram’s compression algorithm.
Another factor to consider is the aspect ratio of your image. Instagram supports a variety of aspect ratios, including 1:1, 4:5, and 16:9. However, if your image is not in one of these aspect ratios, it may be compressed or cropped to fit the platform’s requirements. To avoid this, make sure to crop or resize your image to the correct aspect ratio before uploading it to Instagram.
It’s also worth noting that Instagram’s image compression algorithm can be affected by the type of content you’re posting. For example, if you’re posting a photo with a lot of fine details, such as a landscape or a portrait, the algorithm may compress the image more aggressively to reduce the file size. On the other hand, if you’re posting a photo with bold colors or simple shapes, the algorithm may be more lenient with the compression.
By understanding how Instagram’s image compression algorithm works, and by optimizing your images for the platform, you can help ensure that your posts are always displayed in high quality. In the next section, we’ll take a closer look at how to upload high-quality photos to Instagram, including tips on using the right file format, resizing images, and avoiding over-compression.
How to Upload High-Quality Photos to Instagram
Uploading high-quality photos to Instagram requires a few simple steps. First, make sure you’re using the right file format. Instagram supports JPEG and PNG files, but JPEG is the recommended format for photos. If you’re using a different format, such as TIFF or PSD, you’ll need to convert it to JPEG before uploading.
Next, ensure that your image is the correct size. Instagram recommends uploading images with a minimum resolution of 1080 x 1080 pixels. If your image is smaller than this, it may appear blurry or pixelated on the platform. You can use a photo editing software like Adobe Lightroom or Photoshop to resize your image to the correct dimensions.
Another important step is to avoid over-compression. Instagram’s image compression algorithm can be aggressive, which can lead to a loss of image quality. To avoid this, try to keep your image file size as small as possible while still maintaining the desired level of quality. A good rule of thumb is to aim for a file size of around 1-2MB.
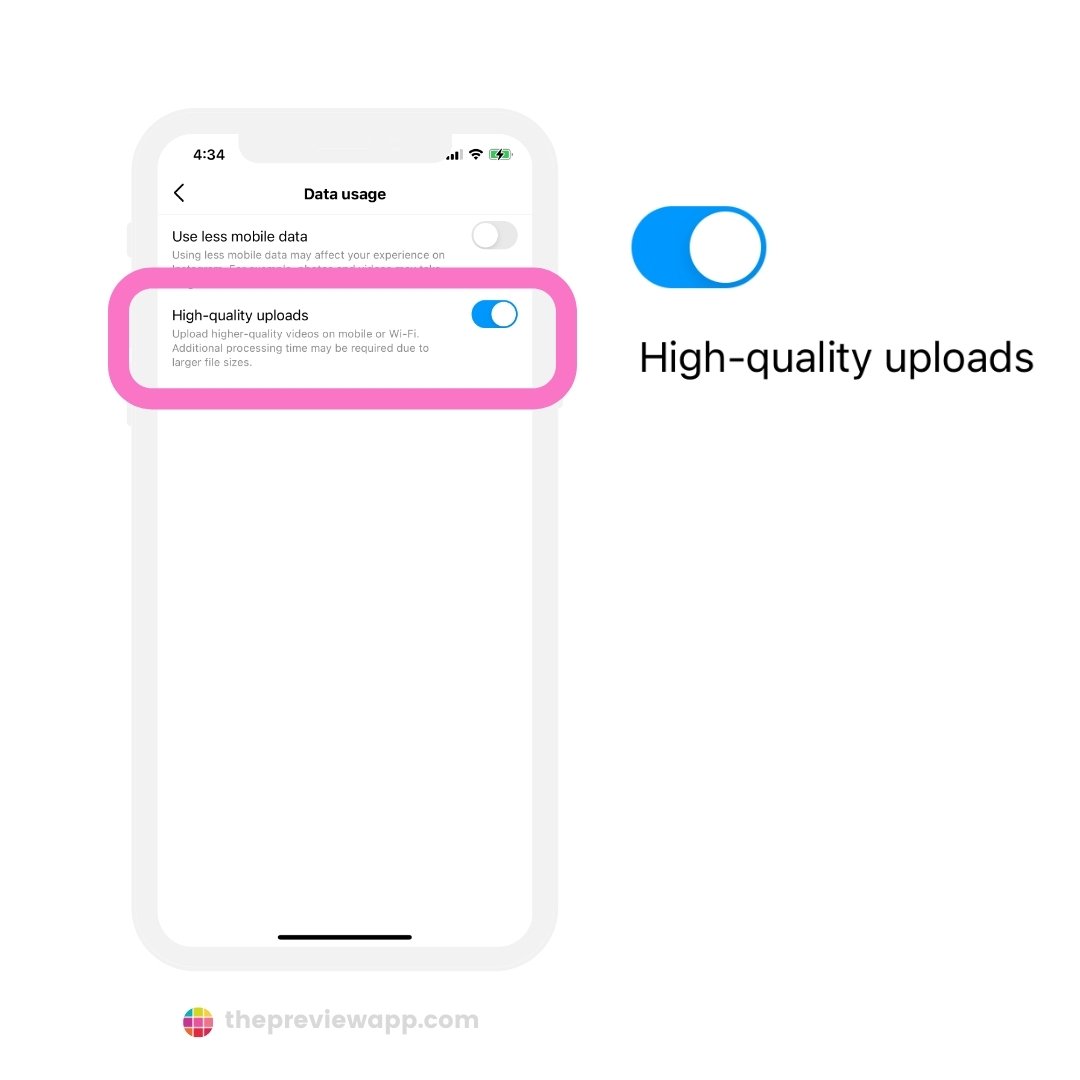
When uploading your photo to Instagram, make sure to use the correct settings. Instagram provides a range of upload options, including the ability to upload photos in their original quality. To do this, go to your Instagram settings and select “Upload in Original Quality.” This will ensure that your photo is uploaded in the highest possible quality.
Finally, consider using a third-party app to upload your photos to Instagram. Apps like VSCO and Snapseed offer advanced editing and uploading features that can help you achieve high-quality uploads. These apps often include features like image resizing, compression, and formatting, which can help you optimize your photos for Instagram.
By following these steps, you can ensure that your Instagram posts are always displayed in high quality. Remember to use the right file format, resize your image to the correct dimensions, avoid over-compression, and use the correct upload settings. With a little practice, you’ll be uploading high-quality photos to Instagram in no time.
The Role of Internet Connection and Device Quality
A slow internet connection or a low-quality device can significantly affect the quality of your Instagram posts. When uploading photos to Instagram, a stable and fast internet connection is essential to ensure that your images are uploaded in high quality. A slow internet connection can cause your images to be compressed or pixelated, leading to a blurry or distorted appearance.
To check your internet speed, you can use online tools such as Speedtest.net or Fast.com. These tools will give you an idea of your internet speed and help you determine if it’s fast enough to support high-quality image uploads. If your internet speed is slow, consider upgrading your internet plan or using a mobile hotspot to improve your upload speeds.
In addition to internet speed, the quality of your device can also impact the quality of your Instagram posts. Using a device with a good camera can make a big difference in the quality of your photos. If you’re using a low-quality device, consider upgrading to a device with a better camera or using a separate camera to take your photos.
Another factor to consider is the device’s processing power and storage capacity. If your device is old or has limited processing power and storage capacity, it may struggle to handle high-quality image uploads. In this case, consider using a device with more processing power and storage capacity or using a cloud storage service to store your photos.
By ensuring that you have a fast and stable internet connection and a device with a good camera, you can improve the quality of your Instagram posts and avoid blurry or pixelated images. In the next section, we’ll discuss how excessive editing and filtering can lead to blurry Instagram posts and provide tips on how to use editing and filtering tools judiciously.
Editing and Filtering: How to Avoid Blurriness
Excessive editing and filtering can lead to blurry Instagram posts. While editing and filtering can enhance the quality of your photos, overdoing it can compromise the image quality. Instagram’s algorithm can also detect over-edited images and compress them, leading to a loss of quality.
To avoid blurriness, use editing and filtering tools judiciously. Start by making subtle adjustments to the brightness, contrast, and saturation of your image. Avoid over-sharpening or over-smoothing your image, as this can lead to a loss of detail and a blurry appearance.
When using filters, choose ones that enhance the natural colors and textures of your image. Avoid using filters that add excessive noise or grain, as this can compromise the image quality. Also, be mindful of the filter’s intensity and adjust it accordingly to avoid over-filtering.
Another tip is to use Instagram’s built-in editing tools. Instagram’s editing tools are designed to work seamlessly with the platform’s algorithm, ensuring that your images are optimized for high-quality display. By using Instagram’s editing tools, you can make adjustments to your image without compromising its quality.
Finally, consider using third-party editing apps that are designed to work with Instagram. These apps often provide advanced editing features that can help you enhance your image quality without compromising it. Some popular third-party editing apps include VSCO, Snapseed, and Lightroom.
By using editing and filtering tools judiciously, you can enhance the quality of your Instagram posts without compromising their quality. In the next section, we’ll discuss how Instagram’s algorithm can affect the quality of your posts and provide tips on how to work with the algorithm to ensure high-quality display.
Instagram’s Algorithm: How it Affects Image Quality
Instagram’s algorithm plays a significant role in determining the quality of your posts. The algorithm prioritizes content based on engagement, relevance, and other factors, which can affect how your images are displayed. When you upload an image to Instagram, the algorithm compresses it to reduce its file size and make it easier to load. However, this compression can sometimes lead to a loss of image quality, resulting in blurry or pixelated images.
To work with the algorithm and ensure that your posts are displayed in high quality, it’s essential to understand how it prioritizes content. Instagram’s algorithm favors content that is engaging, relevant, and visually appealing. By creating high-quality content that resonates with your audience, you can increase the chances of your posts being displayed in high quality.
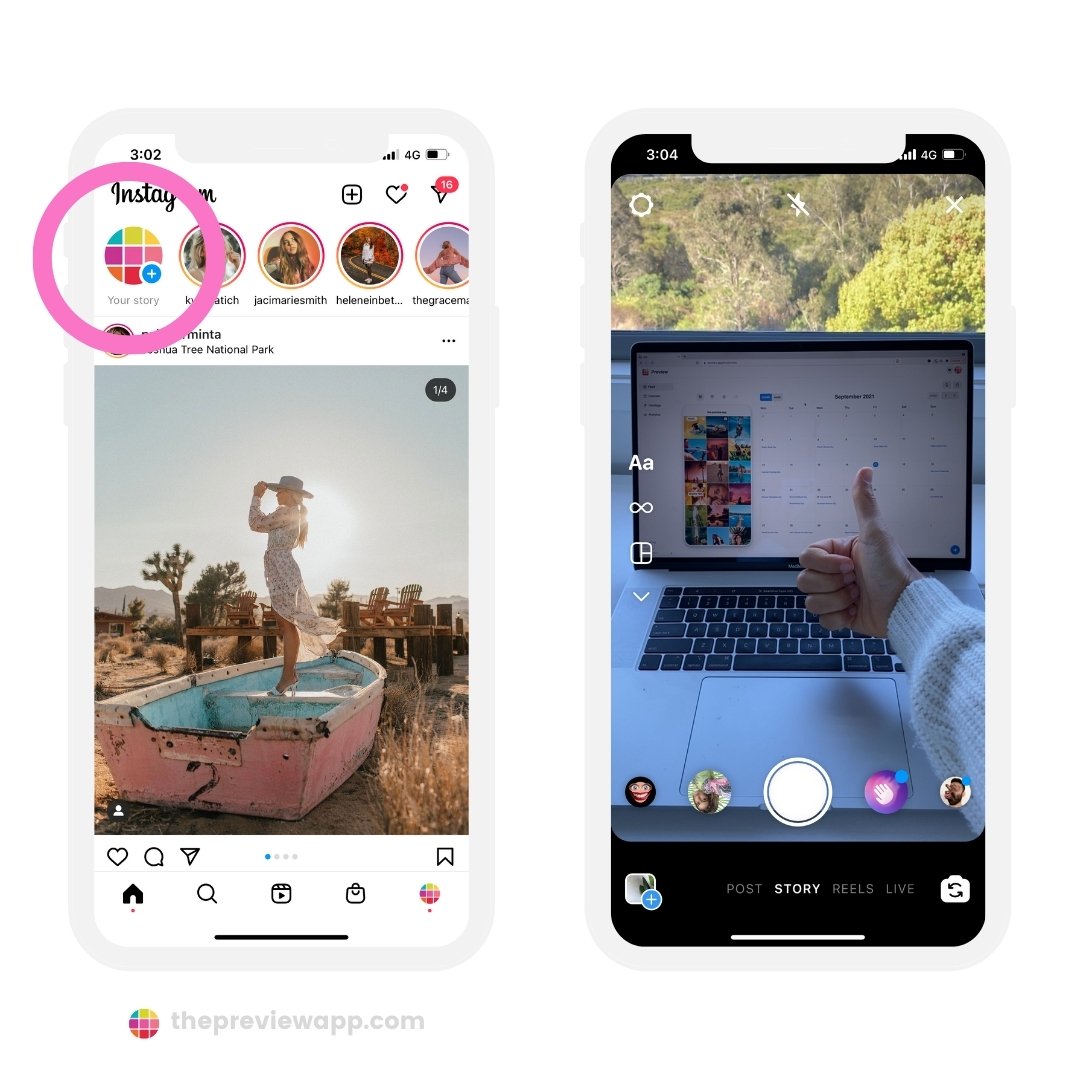
Another way to work with the algorithm is to use Instagram’s built-in features, such as Instagram Stories and IGTV. These features allow you to upload high-quality content that is optimized for the platform, reducing the risk of image compression and blurriness.
Additionally, you can use third-party apps that are designed to work with Instagram’s algorithm. These apps can help you optimize your images for the platform, ensuring that they are displayed in high quality. Some popular third-party apps include VSCO, Snapseed, and Lightroom.
By understanding how Instagram’s algorithm affects image quality and using the right tools and features, you can ensure that your posts are always displayed in high quality. In the next section, we’ll provide troubleshooting tips for common issues that can lead to blurry Instagram posts.
Troubleshooting Common Issues
Despite following the tips and tricks outlined in this article, you may still encounter issues with blurry Instagram posts. In this section, we’ll provide troubleshooting tips for common issues that can lead to blurry Instagram posts.
One common issue is blurry thumbnails. To fix this, try uploading a new thumbnail image that is optimized for Instagram’s thumbnail size. You can also try using a third-party app to resize and compress your thumbnail image.
Another issue is image upload errors. If you’re experiencing errors when uploading images to Instagram, try checking your internet connection and ensuring that your device is compatible with the platform. You can also try using a different upload method, such as uploading from your computer instead of your mobile device.
Additionally, you may experience issues with image quality on specific devices. If you’re finding that your images are blurry on certain devices, try checking the device’s screen resolution and ensuring that it is compatible with Instagram’s image requirements. You can also try using a different device or uploading your images from a computer.
Finally, if you’re experiencing persistent issues with blurry Instagram posts, try reaching out to Instagram’s support team for assistance. They may be able to provide additional troubleshooting tips or help you resolve the issue.
By following these troubleshooting tips, you can resolve common issues that can lead to blurry Instagram posts and ensure that your feed is always looking its best. In the next section, we’ll summarize the main points discussed in this article and provide a final tip on how to ensure that your Instagram posts are always displayed in high quality.
Conclusion: Sharpen Up Your Instagram Feed
In conclusion, blurry Instagram posts can be frustrating, but there are several reasons why this might be happening and many solutions to fix the issue. By understanding how Instagram’s image compression algorithm works, optimizing your images for the platform, and using the right editing and filtering tools, you can ensure that your posts are always displayed in high quality.
Additionally, by troubleshooting common issues such as blurry thumbnails, image upload errors, and device-specific problems, you can resolve any issues that may be affecting the quality of your posts. By following the tips and tricks outlined in this article, you can sharpen up your Instagram feed and make it look its best.
Finally, remember that high-quality content is key to success on Instagram. By taking the time to optimize your images and ensure that they are displayed in the best possible quality, you can increase engagement, grow your following, and achieve your goals on the platform. So, go ahead and give your Instagram feed a refresh – your followers will thank you!


