What is Reverse Image Search and Why Do You Need It
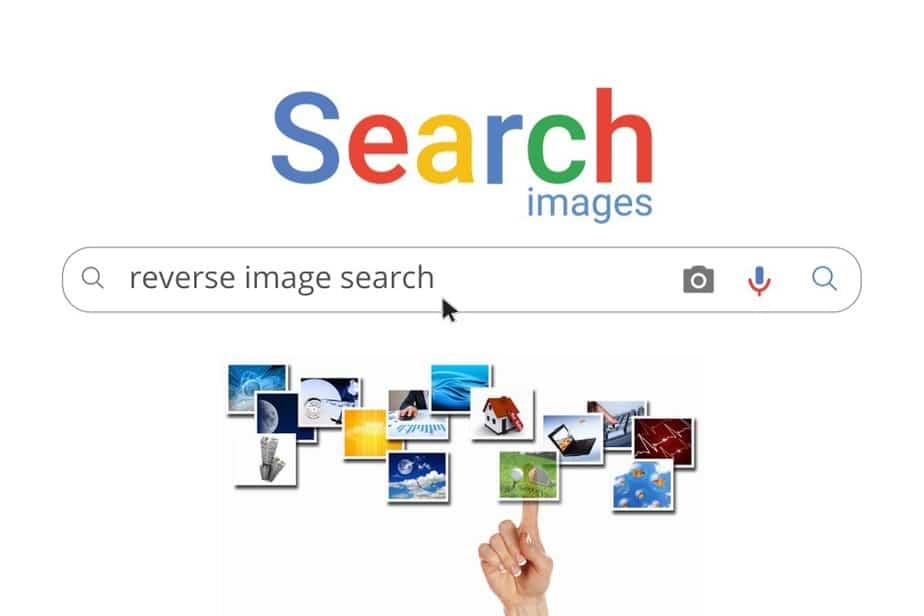
Reverse image search is a powerful tool that allows users to search for images based on a reference image, rather than a text-based query. This technology has numerous applications, including finding similar images, identifying sources, and detecting copyright infringement. By using reverse image search, individuals can uncover a wealth of information about an image, including its origin, usage, and related content.
In today’s digital age, images are a crucial part of online communication, and reverse image search has become an essential skill for anyone looking to verify the authenticity of an image or find similar content. Whether you’re a researcher, a marketer, or simply a curious individual, reverse image search can help you uncover new insights and information.
One of the primary benefits of reverse image search is its ability to help users identify the source of an image. By uploading an image or entering its URL, users can quickly discover where the image originated, who created it, and how it has been used online. This can be particularly useful for detecting copyright infringement, as it allows users to track down unauthorized uses of their images.
Reverse image search can also be used to find similar images, which can be useful for a variety of applications, including design inspiration, product research, and more. By analyzing the visual characteristics of an image, reverse image search algorithms can identify similar images and provide users with a wealth of relevant results.
So, how do you do reverse image search in Google? The process is relatively straightforward. Users can access Google’s reverse image search tool by uploading an image, entering its URL, or dragging and dropping it into the search bar. From there, users can refine their search using a variety of filters and options, including size, color, and usage rights.
By mastering the art of reverse image search, users can unlock a wealth of new information and insights, and gain a deeper understanding of the images that surround us. Whether you’re a seasoned researcher or simply a curious individual, reverse image search is a powerful tool that can help you achieve your goals.
Getting Started with Google’s Reverse Image Search Tool
To get started with Google’s reverse image search tool, users have several options for uploading or entering an image. The most common method is to upload an image directly from a computer or mobile device. This can be done by clicking on the camera icon in the Google search bar and selecting “Upload an image” from the dropdown menu.
Alternatively, users can enter the URL of an image they have found online. This can be done by copying and pasting the URL into the search bar and clicking on the “Search by image” button. Google will then analyze the image and provide a list of relevant results.
Another option is to drag and drop an image into the search bar. This can be done by selecting an image on a computer or mobile device and dragging it into the Google search bar. Google will then analyze the image and provide a list of relevant results.
Regardless of the method used, Google’s reverse image search tool is designed to be user-friendly and easy to use. The tool is also highly flexible, allowing users to refine their search using a variety of filters and options.
For example, users can filter results by size, color, and usage rights. This can be useful for finding images that are suitable for commercial use or for identifying images that are similar in style or composition.
In addition to these filters, Google’s reverse image search tool also provides a “Visually similar images” feature. This feature allows users to find images that are similar in appearance to the original image.
By using these features and filters, users can get the most out of Google’s reverse image search tool and find the information they need quickly and easily. Whether you’re a researcher, a marketer, or simply a curious individual, Google’s reverse image search tool is a powerful tool that can help you achieve your goals.
Now that you know how to access Google’s reverse image search tool, it’s time to learn how to use it effectively. In the next section, we’ll provide step-by-step instructions on how to perform a reverse image search on desktop and mobile devices.
How to Use Reverse Image Search on Desktop and Mobile Devices
Using reverse image search on desktop and mobile devices is a straightforward process. Here are the step-by-step instructions:
**Desktop Devices:**
1. Open Google Images on your desktop device by navigating to https://www.google.com/images.
2. Click on the camera icon in the search bar.
3. Select “Upload an image” from the dropdown menu.
4. Choose the image you want to search for from your computer.
5. Click on the “Search by image” button.
**Mobile Devices:**
1. Open the Google app on your mobile device.
2. Tap on the camera icon in the search bar.
3. Select “Upload an image” from the dropdown menu.
4. Choose the image you want to search for from your mobile device’s gallery.
5. Tap on the “Search by image” button.
**Using the Google Chrome Browser:**
1. Open Google Chrome on your desktop or mobile device.
2. Navigate to the webpage with the image you want to search for.
3. Right-click on the image and select “Search Google for image” from the context menu.
4. Google will then analyze the image and provide a list of relevant results.
Regardless of the device or browser used, the process of performing a reverse image search is similar. By following these steps, you can easily find similar images, identify sources, and detect copyright infringement.
In the next section, we’ll explain how to interpret the results of a reverse image search, including the different filters and options available.
Understanding Reverse Image Search Results and Filters
When you perform a reverse image search, Google provides a list of results that match the image you uploaded or entered. These results can include similar images, websites that use the image, and even information about the image itself.
One of the most useful features of Google’s reverse image search is the ability to filter results. This allows you to narrow down the results to find exactly what you’re looking for. Here are some of the filters you can use:
**Size:** You can filter results by image size, which can be useful if you’re looking for a specific resolution or aspect ratio.
**Color:** You can filter results by color, which can be useful if you’re looking for images with a specific color palette.
**Usage rights:** You can filter results by usage rights, which can be useful if you’re looking for images that are free to use for commercial purposes.
**Type:** You can filter results by image type, which can be useful if you’re looking for a specific type of image, such as a photo or illustration.
**Aspect ratio:** You can filter results by aspect ratio, which can be useful if you’re looking for images with a specific shape or proportion.
By using these filters, you can quickly and easily find the information you need. For example, if you’re looking for a high-resolution image of a specific product, you can filter results by size and usage rights to find exactly what you’re looking for.
In addition to these filters, Google’s reverse image search also provides a “Visually similar images” feature. This feature allows you to find images that are similar in appearance to the original image.
By using this feature, you can find images that are similar in style, composition, or color palette. This can be useful for a variety of applications, such as finding inspiration for a design project or identifying similar products.
In the next section, we’ll discuss advanced techniques for reverse image search, including the use of keywords, quotes, and other search operators to refine results.
Advanced Techniques for Reverse Image Search
While the basic techniques for reverse image search are straightforward, there are several advanced techniques that can help you refine your results and get more accurate answers. Here are some of the most useful advanced techniques:
**Using keywords:** You can use keywords to refine your reverse image search results. For example, if you’re searching for an image of a specific product, you can add keywords like “product name” or “brand name” to your search query.
**Using quotes:** You can use quotes to search for exact phrases. For example, if you’re searching for an image of a specific quote, you can enclose the quote in quotes and Google will search for the exact phrase.
**Using the “site:” operator:** You can use the “site:” operator to search for images within a specific website. For example, if you’re searching for images of a specific product on a specific website, you can use the “site:” operator followed by the website’s URL.
**Using the “filetype:” operator:** You can use the “filetype:” operator to search for images of a specific file type. For example, if you’re searching for images in JPEG format, you can use the “filetype:jpeg” operator.
**Using the “related:” operator:** You can use the “related:” operator to search for images that are related to a specific image. For example, if you’re searching for images that are similar to a specific image, you can use the “related:” operator followed by the image’s URL.
By using these advanced techniques, you can refine your reverse image search results and get more accurate answers. For example, if you’re searching for images of a specific product, you can use the “site:” operator to search for images within a specific website, and then use the “filetype:” operator to search for images in a specific file type.
In the next section, we’ll discuss common use cases for reverse image search, including finding the source of an image, identifying similar products, and detecting image plagiarism.
Common Use Cases for Reverse Image Search
Reverse image search is a powerful tool that can be used in a variety of ways. Here are some common use cases for reverse image search:
**Finding the source of an image:** Reverse image search can be used to find the original source of an image. This can be useful for identifying the copyright owner of an image, or for finding more information about the image.
**Identifying similar products:** Reverse image search can be used to identify similar products or images. This can be useful for e-commerce businesses that want to find similar products to sell, or for designers who want to find inspiration for their work.
**Detecting image plagiarism:** Reverse image search can be used to detect image plagiarism. This can be useful for photographers and artists who want to protect their work from being used without permission.
**Finding images for research:** Reverse image search can be used to find images for research purposes. This can be useful for students, researchers, and journalists who need to find images to illustrate their work.
**Identifying fake news:** Reverse image search can be used to identify fake news stories that use manipulated or fake images. This can be useful for fact-checkers and journalists who want to verify the authenticity of images used in news stories.
**Finding images for marketing:** Reverse image search can be used to find images for marketing purposes. This can be useful for businesses that want to find images to use in their marketing campaigns, or for designers who want to find inspiration for their work.
By using reverse image search, you can unlock a wealth of information and insights that can help you achieve your goals. Whether you’re a researcher, a designer, or a business owner, reverse image search is a powerful tool that can help you find what you’re looking for.
In the next section, we’ll discuss troubleshooting common issues with reverse image search, including image upload errors, poor results, and browser compatibility problems.
Troubleshooting Common Issues with Reverse Image Search
While reverse image search is a powerful tool, it’s not perfect and can sometimes produce errors or unexpected results. Here are some common issues that you may encounter when using reverse image search, along with some troubleshooting tips:
**Image upload errors:** If you’re having trouble uploading an image to Google’s reverse image search tool, try checking the file format and size of the image. Make sure the image is in a format that is supported by Google, such as JPEG or PNG, and that it is not too large.
**Poor results:** If you’re not getting the results you expect from reverse image search, try refining your search query using keywords or quotes. You can also try using different search operators, such as “site:” or “filetype:”, to narrow down your search.
**Browser compatibility problems:** If you’re experiencing issues with reverse image search in a particular browser, try switching to a different browser to see if the problem persists. You can also try clearing your browser’s cache and cookies to see if that resolves the issue.
**Image not found:** If Google’s reverse image search tool is unable to find any matches for your image, try checking the image’s metadata to see if it contains any relevant information. You can also try searching for similar images or using a different search engine.
**Copyright infringement:** If you’re concerned about copyright infringement when using reverse image search, make sure to always verify the ownership and usage rights of any images you find. You can also try using a reverse image search tool that specializes in copyright-free images.
By following these troubleshooting tips, you can overcome common issues with reverse image search and get the most out of this powerful tool. Remember to always use reverse image search responsibly and respect the ownership and usage rights of any images you find.
In the next section, we’ll summarize best practices for using reverse image search effectively, including tips on image selection, search query optimization, and result interpretation.
Best Practices for Using Reverse Image Search Effectively
To get the most out of reverse image search, it’s essential to use it effectively. Here are some best practices to keep in mind:
**Image selection:** Choose high-quality images that are relevant to your search query. Avoid using low-resolution or distorted images, as they may not produce accurate results.
**Search query optimization:** Use specific keywords and phrases to refine your search query. This will help you get more accurate results and reduce the risk of irrelevant matches.
**Result interpretation:** Take the time to carefully review the results of your reverse image search. Look for matches that are relevant to your search query, and pay attention to the metadata and usage rights associated with each image.
**Usage rights:** Always verify the usage rights of any images you find using reverse image search. Make sure you have the necessary permissions to use the image, and be aware of any restrictions or limitations.
**Browser compatibility:** Use a compatible browser to access Google’s reverse image search tool. Avoid using outdated or unsupported browsers, as they may not work properly with the tool.
**Image upload:** Use the correct file format and size when uploading images to Google’s reverse image search tool. Avoid using large or high-resolution images, as they may take longer to upload and process.
**Search operators:** Use search operators such as “site:” or “filetype:” to refine your search query and get more accurate results.
By following these best practices, you can use reverse image search effectively and get the most out of this powerful tool. Remember to always use reverse image search responsibly and respect the ownership and usage rights of any images you find.


