Understanding Image File Formats: Choosing the Right One for Compression
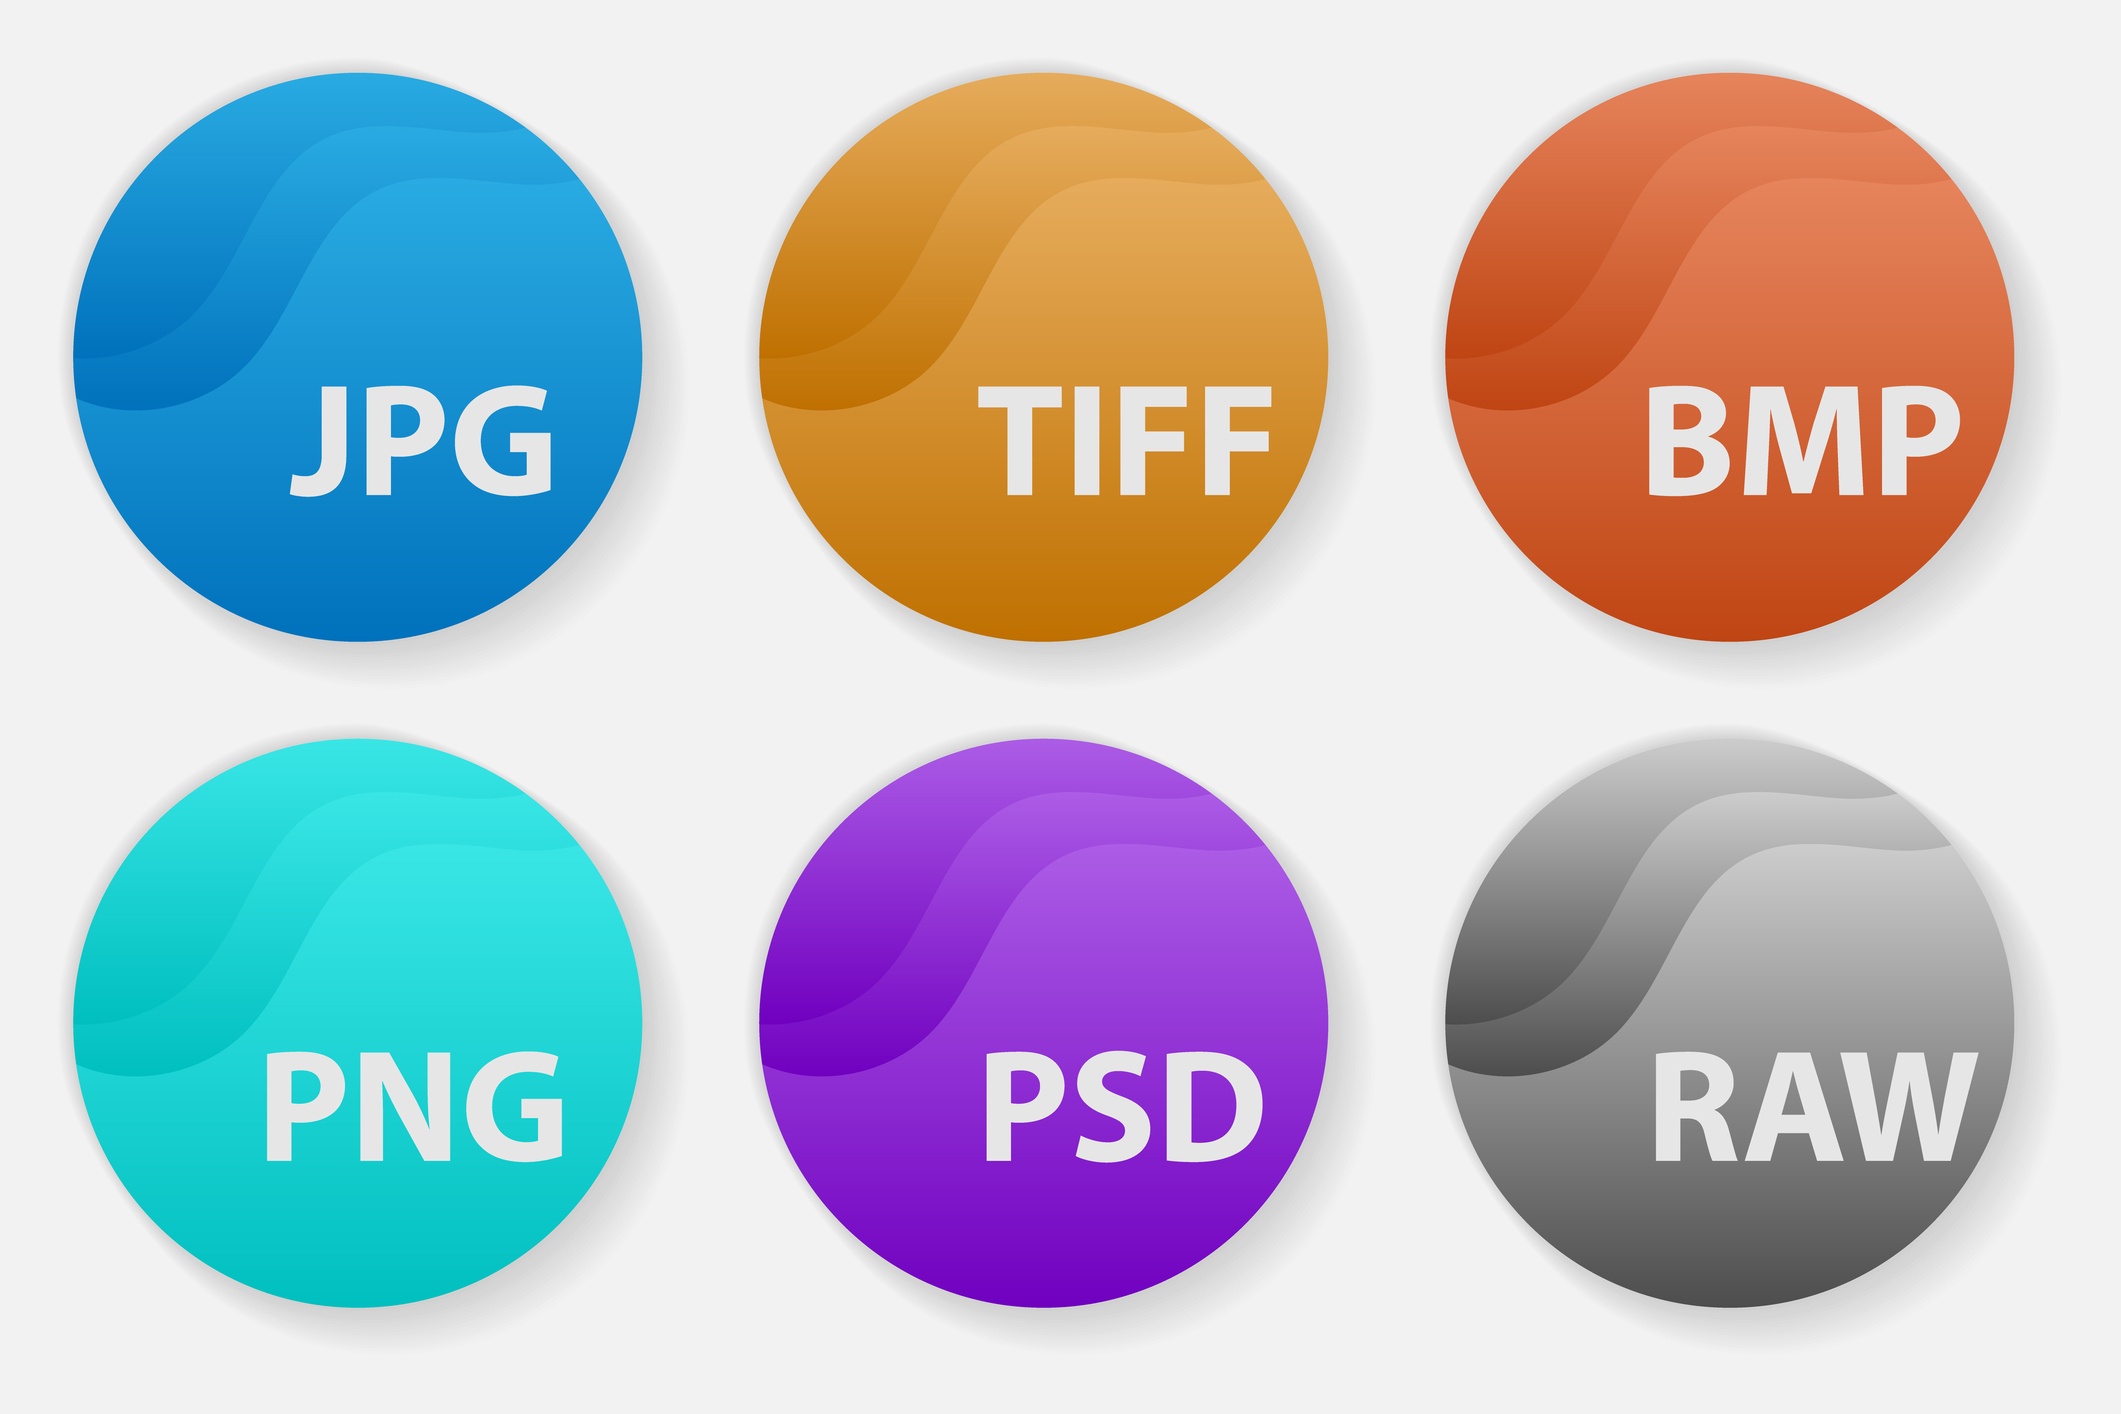
When it comes to downsizing images without losing quality, selecting the right file format is crucial. Different formats are suited for specific use cases, and choosing the wrong one can result in poor compression quality or unnecessarily large file sizes. The three most common image file formats are JPEG, PNG, and GIF, each with its strengths and weaknesses.
JPEG (Joint Photographic Experts Group) is ideal for compressing photographs and images with many colors. It uses a lossy compression algorithm, which discards some of the image data to reduce the file size. However, this can result in a loss of image quality if the compression is too aggressive. JPEG is suitable for images with smooth gradients and subtle color transitions.
PNG (Portable Network Graphics) is a lossless format, making it perfect for images that require transparency, such as logos, icons, and graphics. PNG uses a combination of compression algorithms to reduce the file size without sacrificing image quality. However, PNG files can be larger than JPEG files, especially for images with many colors.
GIF (Graphics Interchange Format) is an older format that uses a lossless compression algorithm. It’s suitable for images with few colors, such as graphics, logos, and simple animations. However, GIF is not ideal for photographs or images with many colors, as it can result in a larger file size than JPEG or PNG.
When choosing an image file format for compression, consider the type of image, its intended use, and the desired level of quality. By selecting the right format, you can ensure that your images are compressed efficiently without sacrificing quality.
How to Downsize Images without Losing Quality: Techniques and Tools
Downsizing images without losing quality requires a combination of techniques and tools. The goal is to reduce the file size of an image while preserving its visual quality. Here are some techniques and tools to help you achieve high-quality compression:
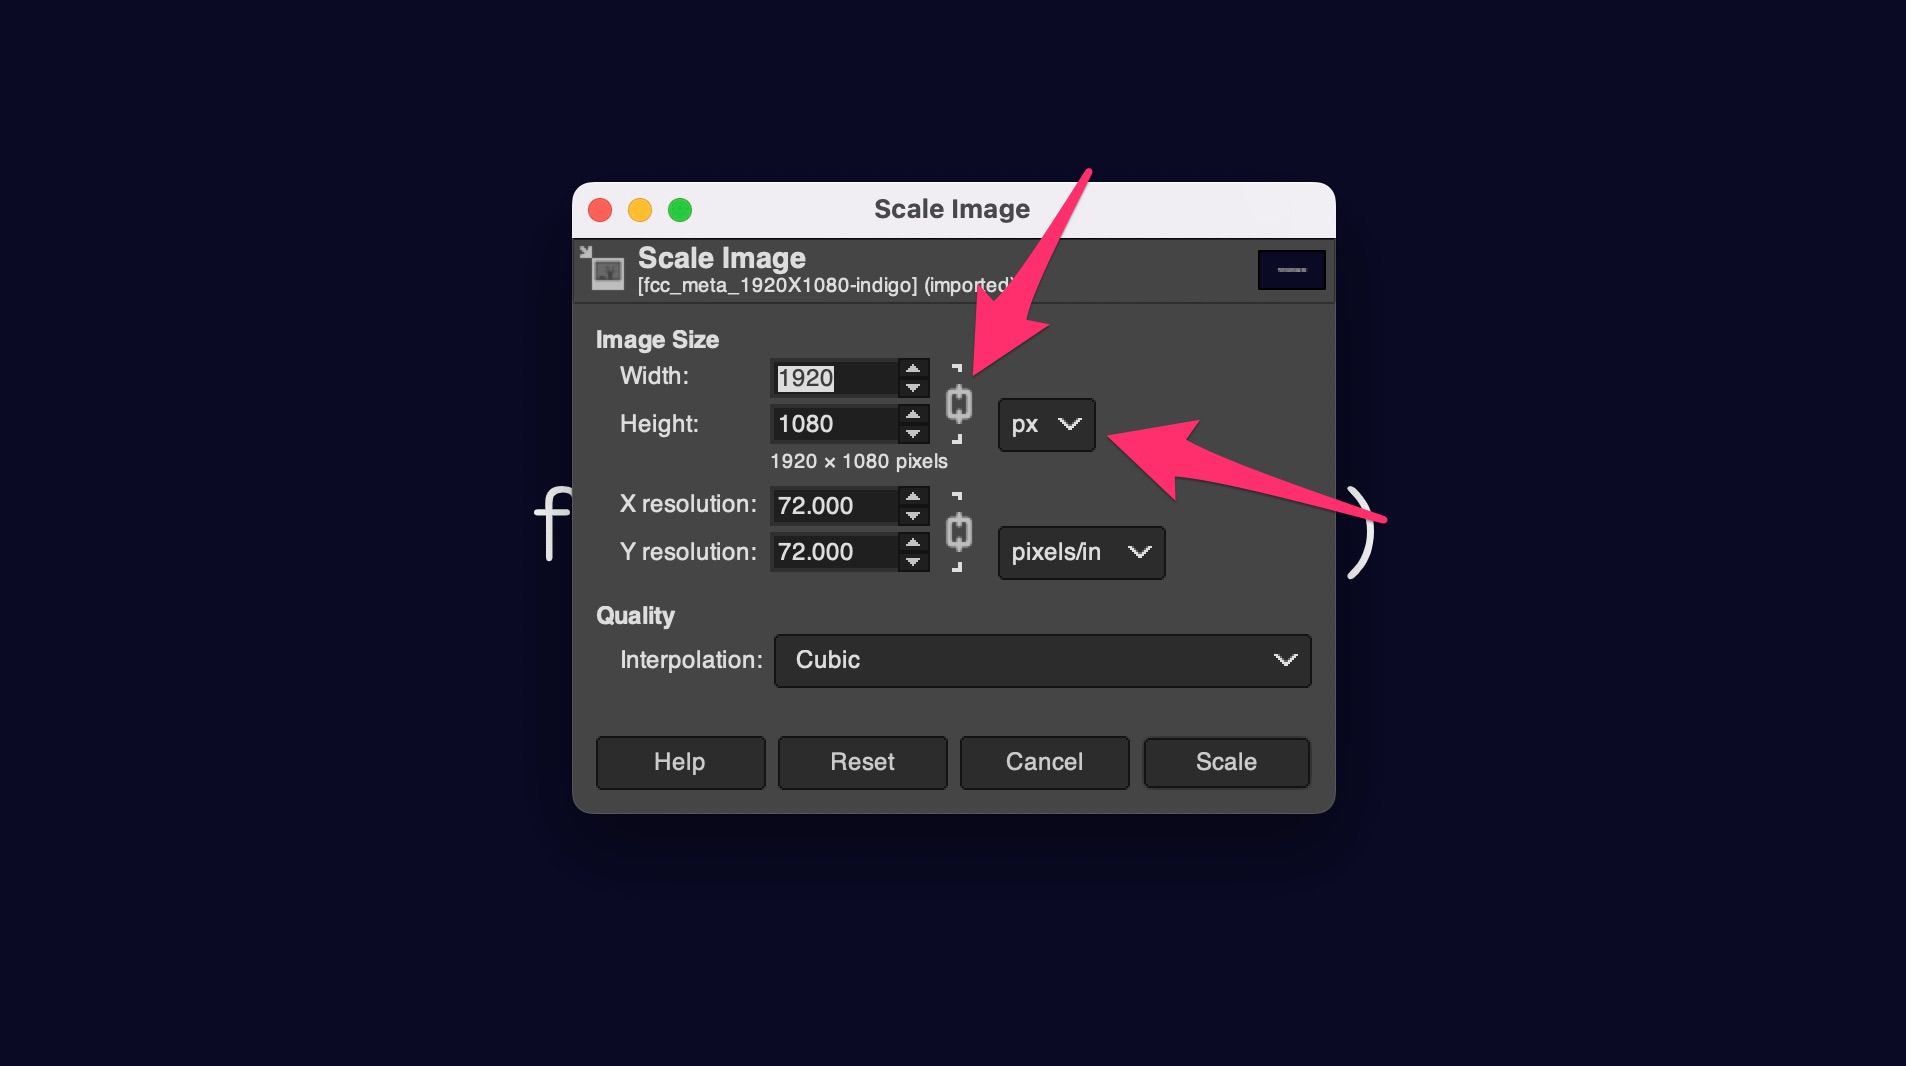
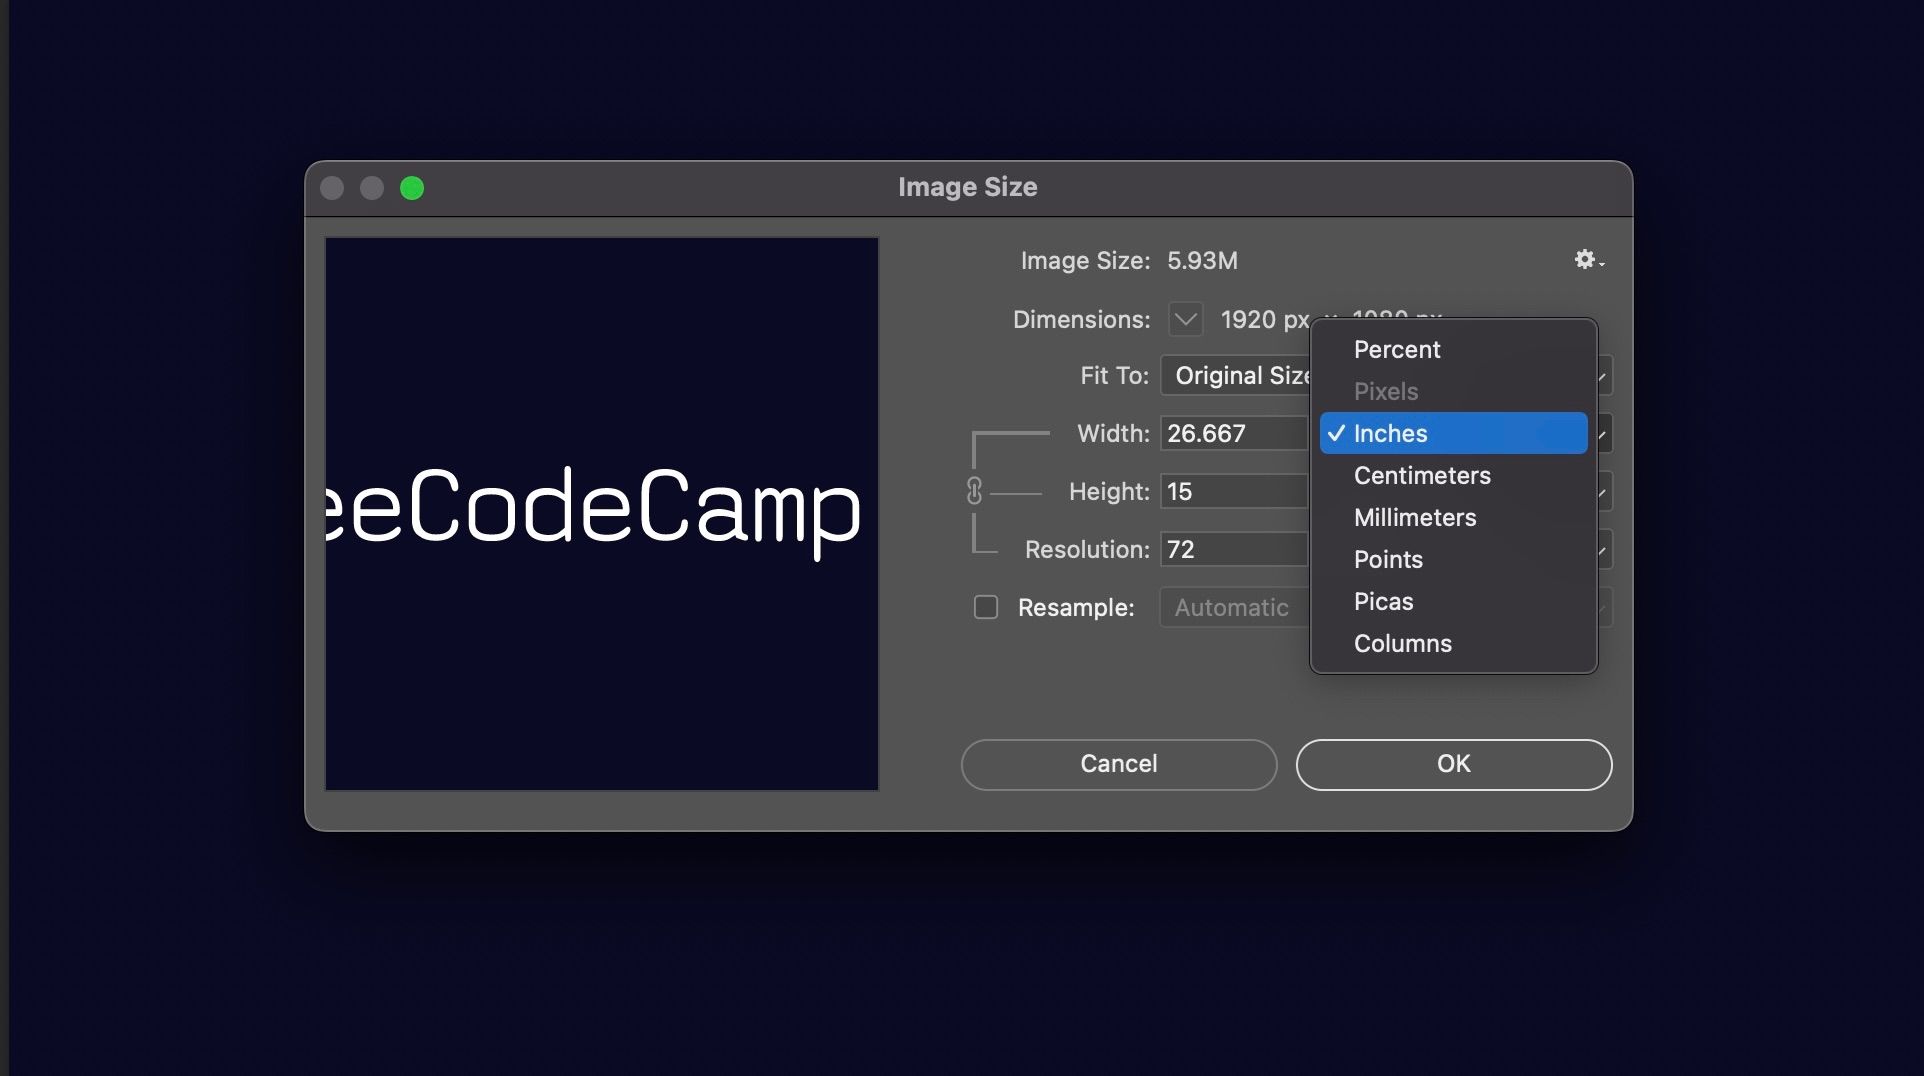
Resizing is the process of changing the dimensions of an image. This can be done using image editing software like Adobe Photoshop or online tools like Canva. When resizing, it’s essential to maintain the aspect ratio of the image to avoid distortion.
Cropping is the process of removing unwanted parts of an image. This can help reduce the file size and improve the overall composition of the image. Cropping can be done using image editing software or online tools.
Compressing is the process of reducing the file size of an image. This can be done using lossless or lossy compression algorithms. Lossless compression algorithms, like PNG, preserve the image quality but may not reduce the file size as much as lossy algorithms, like JPEG.
Adobe Photoshop is a popular image editing software that offers advanced compression tools. The “Save for Web” feature allows you to compress images using various algorithms and quality settings.
ImageOptim is a free online tool that compresses images using advanced algorithms. It supports various image formats, including JPEG, PNG, and GIF.
TinyPNG is another popular online tool that compresses PNG images using advanced algorithms. It’s free and easy to use, making it a great option for web developers and designers.
When downsizing images, it’s essential to test the image quality and file size to ensure that you’re achieving the desired balance. By using a combination of techniques and tools, you can downsize images without losing quality and improve the overall performance of your website.
Best Practices for Image Compression: Balancing Quality and File Size
When it comes to downsizing images without losing quality, finding the optimal balance between image quality and file size is crucial. This balance depends on various factors, including the type of image, its intended use, and the desired level of quality. Here are some best practices to help you achieve the perfect balance:
Understand the trade-offs between compression algorithms, quality settings, and file format choices. Lossless compression algorithms, like PNG, preserve the image quality but may not reduce the file size as much as lossy algorithms, like JPEG.
Use the right quality settings for your images. A lower quality setting can result in a smaller file size, but may compromise the image quality. A higher quality setting can result in a larger file size, but may preserve the image quality.
Choose the right file format for your images. JPEG is suitable for photographs and images with many colors, while PNG is suitable for images with transparency and few colors. GIF is suitable for simple animations and images with few colors.
Test your images to ensure that you’re achieving the desired balance between quality and file size. Use tools like Adobe Photoshop or online image compression tools to compare the quality and file size of your images.
Consider the intended use of your images. If you’re using images for web design, you may want to prioritize file size over image quality. If you’re using images for print design, you may want to prioritize image quality over file size.
Use image compression tools that offer advanced features, such as batch compression and automatic quality settings. These tools can help you save time and achieve the perfect balance between quality and file size.
By following these best practices, you can downsize images without losing quality and achieve the perfect balance between image quality and file size. Remember to test your images and adjust your compression settings accordingly to ensure that you’re achieving the desired balance.
Using Online Tools to Compress Images: A Review of Popular Options
When it comes to downsizing images without losing quality, online tools can be a convenient and efficient solution. There are many online image compression tools available, each with its own features, ease of use, and compression quality. Here’s a review of some popular options:
ShortPixel is a popular online image compression tool that offers advanced features like batch compression and automatic quality settings. It supports various image formats, including JPEG, PNG, and GIF, and offers a free plan with limited features.
Compress JPEG is another popular online tool that specializes in compressing JPEG images. It offers advanced features like quality settings and batch compression, and supports various image formats. It also offers a free plan with limited features.
Kraken.io is a powerful online image compression tool that offers advanced features like batch compression and automatic quality settings. It supports various image formats, including JPEG, PNG, and GIF, and offers a free plan with limited features.
ImageOptim is a free online image compression tool that offers advanced features like batch compression and automatic quality settings. It supports various image formats, including JPEG, PNG, and GIF, and is known for its high-quality compression.
TinyPNG is a popular online image compression tool that specializes in compressing PNG images. It offers advanced features like batch compression and automatic quality settings, and supports various image formats. It also offers a free plan with limited features.
When choosing an online image compression tool, consider the features, ease of use, and compression quality. Look for tools that offer advanced features like batch compression and automatic quality settings, and support various image formats. Also, consider the pricing plans and limitations of each tool to ensure that it meets your needs.
Advanced Image Compression Techniques: Leveraging AI and Machine Learning
Recent advancements in artificial intelligence (AI) and machine learning (ML) have led to the development of advanced image compression techniques. These techniques use complex algorithms to analyze and compress images, resulting in significant reductions in file size without compromising quality.
Google’s Guetzli is a popular AI-powered image compression tool that uses a combination of algorithms to compress images. It is capable of reducing file sizes by up to 35% compared to traditional compression methods. Guetzli is particularly effective for compressing JPEG images and is widely used in web development.
Microsoft’s Image Compression Algorithm is another AI-powered tool that uses ML to compress images. It is capable of reducing file sizes by up to 50% compared to traditional compression methods. This algorithm is particularly effective for compressing images with complex textures and patterns.
Other advanced image compression techniques include the use of neural networks and deep learning algorithms. These techniques use complex mathematical models to analyze and compress images, resulting in significant reductions in file size without compromising quality.
The use of AI and ML in image compression has several benefits, including improved compression ratios, faster compression times, and reduced computational resources. However, these techniques also require significant computational resources and expertise, making them less accessible to non-technical users.
Despite the challenges, the use of AI and ML in image compression is becoming increasingly popular, particularly in web development and digital media. As the technology continues to evolve, we can expect to see even more advanced image compression techniques emerge, enabling developers to create faster, more efficient, and more visually appealing digital experiences.
Common Mistakes to Avoid When Downsizing Images
When downsizing images, it’s essential to avoid common mistakes that can compromise image quality or result in unnecessary file size increases. Here are some common pitfalls to watch out for:
Over-compression: Compressing an image too much can result in a loss of quality, making it appear pixelated or blurry. Be cautious when adjusting compression settings, and test the image quality before saving.
Incorrect file format choices: Choosing the wrong file format can result in poor compression quality or unnecessary file size increases. For example, using JPEG for images with transparency can result in a larger file size than using PNG.
Neglecting to test image quality: Failing to test image quality after compression can result in poor image quality or unnecessary file size increases. Always test the image quality before saving to ensure that it meets your requirements.
Not considering the intended use: Failing to consider the intended use of the image can result in poor compression quality or unnecessary file size increases. For example, compressing an image for web use may require different settings than compressing an image for print use.
Not using the right tools: Using the wrong tools or software can result in poor compression quality or unnecessary file size increases. Choose tools that are specifically designed for image compression, and follow best practices for using those tools.
By avoiding these common mistakes, you can ensure that your images are compressed efficiently and effectively, without compromising quality or resulting in unnecessary file size increases.
Conclusion: Mastering the Art of Image Compression for Web Performance
Downsizing images without losing quality is a crucial step in optimizing website performance. By understanding the importance of image compression, selecting the right file format, and using the right techniques and tools, you can significantly improve page load times, user experience, and search engine rankings.
Remember to avoid common mistakes such as over-compression, incorrect file format choices, and neglecting to test image quality. By following best practices and experimenting with different techniques and tools, you can master the art of image compression and take your website to the next level.
Whether you’re a web developer, designer, or marketer, image compression is an essential skill to have in your toolkit. By incorporating image compression into your workflow, you can improve website performance, increase user engagement, and drive more conversions.
So, start optimizing your images today and see the difference it can make for your website. With the right techniques and tools, you can downsize images without losing quality and take your website to new heights.
Conclusion: Mastering the Art of Image Compression for Web Performance
In conclusion, downsizing images without losing quality is a crucial step in optimizing website performance. By understanding the importance of image compression, selecting the right file format, and using the right techniques and tools, you can significantly improve page load times, user experience, and search engine rankings.
Remember, image compression is not a one-size-fits-all solution. Experiment with different techniques and tools to find the best approach for your specific needs. Whether you’re a web developer, designer, or marketer, mastering the art of image compression can help you take your website to the next level.
By following the guidelines outlined in this article, you can downsize images without losing quality and improve your website’s performance. Don’t let large image files hold you back – start optimizing your images today and see the difference it can make for your website.
With the right techniques and tools, you can achieve high-quality image compression that balances file size and image quality. By incorporating image compression into your workflow, you can improve website performance, increase user engagement, and drive more conversions.
In the world of web development, image compression is an essential skill to have in your toolkit. By mastering the art of image compression, you can take your website to new heights and stay ahead of the competition.


