Unlocking the Power of Image Search on Your Phone
In today’s digital age, the ability to search for information using images has become increasingly important. With the rise of mobile devices, it’s now possible to search for images on-the-go, using Google’s image search feature. But have you ever wondered how to Google search an image on your phone? This feature allows users to find information, identify objects, and solve problems using visual cues. Whether you’re trying to identify a mysterious plant, find a similar product, or solve a puzzle, image search on your phone can be a powerful tool. By leveraging the power of image recognition technology, Google’s image search feature can help you find what you’re looking for quickly and efficiently. In this article, we’ll explore the ins and outs of image search on your phone, including how to access it, how to use it effectively, and some common use cases.

Click Image to Find Market Products

Getting Started with Google Image Search on Your Phone
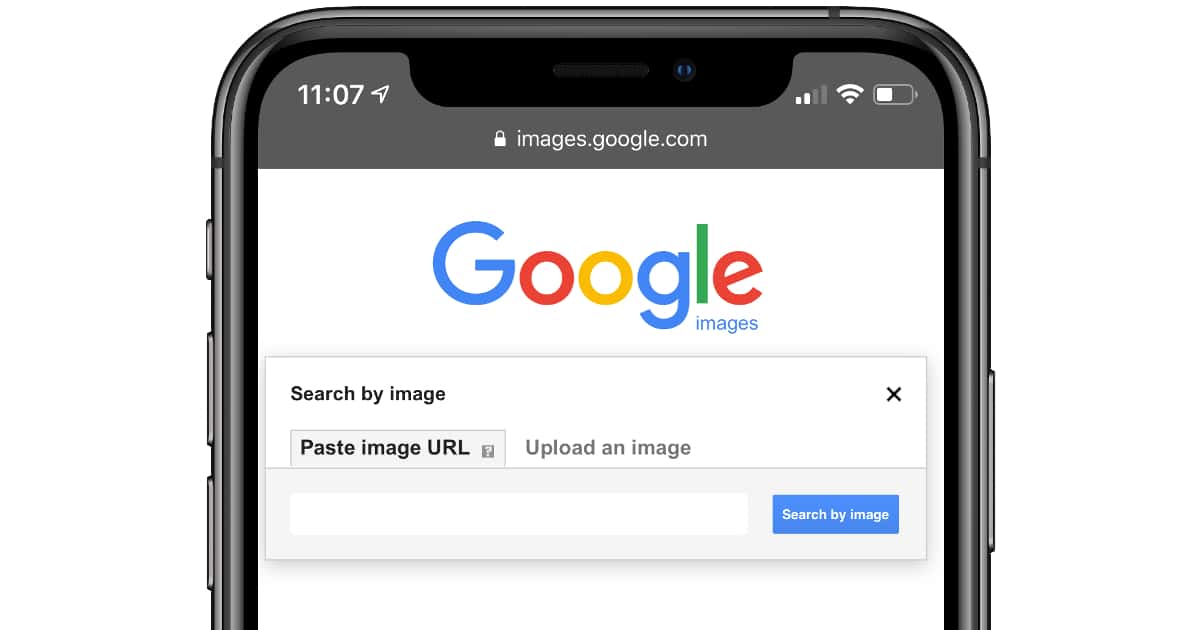
To get started with Google image search on your phone, follow these simple steps. First, open the Google app on your mobile device. You can find the Google app on your home screen or in your app drawer. Once you’ve opened the app, tap on the camera icon in the search bar to switch to image search mode. From here, you can either upload an image from your phone’s gallery or capture a new image using your phone’s camera. To upload an image, tap on the “Upload an image” button and select the image you want to search for. To capture a new image, tap on the “Take a photo” button and snap a picture of the object or scene you want to search for. Once you’ve uploaded or captured an image, Google will use its image recognition technology to identify the object or scene and provide you with relevant search results.
Using the Google Lens App for Advanced Image Search
The Google Lens app is a powerful tool that takes image search to the next level. With Google Lens, you can use your phone’s camera to search for images, identify objects, and even scan barcodes. To get started with Google Lens, you’ll need to download and install the app from the Google Play Store or Apple App Store. Once you’ve installed the app, you can access it from your phone’s home screen or app drawer. To use Google Lens, simply open the app and point your phone’s camera at the object or scene you want to search for. Google Lens will use its advanced image recognition technology to identify the object or scene and provide you with relevant search results. You can also use Google Lens to scan barcodes, QR codes, and other types of codes to quickly access information or make purchases. Additionally, Google Lens includes a feature called “text recognition” that allows you to extract text from images, making it easy to copy and paste text from signs, menus, and other sources.

Tips and Tricks for Effective Image Search on Your Phone
To get the most out of Google image search on your phone, there are several tips and tricks you can use to refine your search results. One of the most effective ways to improve your search results is to use keywords. By including relevant keywords in your search query, you can help Google’s image recognition technology identify the object or scene you’re looking for. For example, if you’re searching for a specific type of flower, you can include the name of the flower in your search query to get more accurate results. Another way to refine your search results is to use filters. Google image search allows you to filter your results by size, color, and type, making it easy to find the exact image you’re looking for. You can also use advanced search operators to further refine your search results. For example, you can use the “site:” operator to search for images within a specific website, or the “filetype:” operator to search for images of a specific file type. By using these tips and tricks, you can get the most out of Google image search on your phone and find the information you need quickly and easily.
Common Use Cases for Image Search on Your Phone
Image search on your phone can be useful in a variety of scenarios. For example, if you’re out on a hike and come across a plant or animal you don’t recognize, you can use image search to identify it. Simply take a photo of the plant or animal, and then use Google image search to find more information about it. You can also use image search to find similar products or items. For instance, if you see a piece of furniture or clothing that you like, you can take a photo of it and then use image search to find similar items online. Additionally, image search can be useful for solving puzzles and games. For example, if you’re playing a game that requires you to identify a specific object or character, you can use image search to find the answer. Other common use cases for image search on your phone include identifying artwork, finding recipes, and even diagnosing medical conditions. By using image search on your phone, you can quickly and easily find the information you need, no matter where you are or what you’re doing.
Image Search vs. Reverse Image Search: What’s the Difference?
When it comes to searching for images on your phone, there are two main types of searches you can perform: image search and reverse image search. Image search allows you to search for images based on keywords or descriptions, while reverse image search allows you to search for images that are similar to a specific image you have. To perform a reverse image search, you can use the Google Lens app or the Google Images website. Simply upload the image you want to search for, and Google will show you similar images. Reverse image search can be useful for a variety of tasks, such as finding the source of an image, identifying a product or logo, or even tracking down a meme. On the other hand, image search is useful for finding images that match a specific keyword or description. For example, if you’re looking for images of a specific type of flower, you can use image search to find relevant results. By understanding the difference between image search and reverse image search, you can use these features to achieve different goals and get the most out of your image search experience.

Troubleshooting Common Issues with Image Search on Your Phone
While image search on your phone can be a powerful tool, there are some common issues that may arise. One of the most common issues is poor image quality. If the image you’re trying to search for is blurry or distorted, it can be difficult for Google’s image recognition technology to identify it. To troubleshoot this issue, try taking a clearer photo or uploading a higher-quality image. Another common issue is incorrect results. If you’re not getting the results you’re looking for, try refining your search query or using more specific keywords. You can also try using the Google Lens app, which can provide more accurate results than traditional image search. Finally, if you’re experiencing app crashes or other technical issues, try restarting the app or checking for updates. By troubleshooting these common issues, you can get the most out of image search on your phone and achieve your goals.

Conclusion: Unlocking the Full Potential of Image Search on Your Phone
In conclusion, image search on your phone is a powerful tool that can help you find information, identify objects, and solve problems. By using Google’s image search feature, the Google Lens app, and other tools, you can unlock the full potential of image search on your mobile device. Whether you’re trying to identify a plant or animal, find a similar product, or solve a puzzle, image search can help you achieve your goals. By following the tips and best practices outlined in this article, you can get the most out of image search on your phone and take your mobile experience to the next level. So why not give it a try? Open the Google app, switch to image search mode, and start exploring the world of image search on your phone.