Understanding Google’s Search History Storage
Google stores search history in two ways: account-based and device-based. Account-based storage means that your search history is tied to your Google account, and it can be accessed from any device where you’re signed in. This type of storage is convenient, as it allows you to access your search history across multiple devices. However, it also means that your search history is stored on Google’s servers, which can be a concern for users who value their online privacy.
Device-based storage, on the other hand, means that your search history is stored locally on your device. This type of storage is more private, as it’s not tied to your Google account and can’t be accessed from other devices. However, it also means that your search history is limited to the device you’re using, and it may not be synced across multiple devices.
When it comes to deleting trending searches, understanding the difference between account-based and device-based storage is important. If you want to delete your trending searches across all devices, you’ll need to access your Google account settings and delete your search history from there. However, if you only want to delete your trending searches on a specific device, you can do so through the device’s settings or browser.
Google’s search history storage also affects the process of deleting trending searches in other ways. For example, if you’re using a shared device or a public computer, you may want to take extra steps to delete your search history and prevent others from accessing it. Additionally, if you’re using a browser extension or add-on to manage your search history, you may need to configure it to work with Google’s search history storage.
Accessing Your Google Account Settings
To delete trending searches on Google, you’ll need to access your Google account settings. This can be done by following these step-by-step instructions:
First, sign in to your Google account by navigating to the Google homepage and clicking on the “Sign in” button in the top right corner. Enter your email address and password to access your account.
Once you’re signed in, click on your profile picture or initial in the top right corner of the page, and then click on the “Google Account” button. This will take you to the Google Account dashboard.
From the Google Account dashboard, click on the “Data & personalization” tab on the left-hand side of the page. This will take you to a page where you can manage your search history and other data.
On this page, you’ll see a section titled “Search history”. Click on the “Manage your search history” button to access your search history settings.
From here, you can view and delete your search history, including trending searches. You can also adjust your search history settings to control how long your search history is stored and whether it’s shared with other Google services.
By accessing your Google account settings, you can take control of your search history and delete trending searches to maintain your online privacy.
Deleting Trending Searches on Desktop
To delete trending searches on a desktop device, you can use the Google Account dashboard, the Google search page, or the Google Chrome browser. Here’s a step-by-step guide on how to do it:
Method 1: Using the Google Account Dashboard
Sign in to your Google account and navigate to the Google Account dashboard. Click on the “Data & personalization” tab on the left-hand side of the page. Scroll down to the “Search history” section and click on the “Manage your search history” button.
From here, you can view and delete your search history, including trending searches. Click on the “Delete” button next to the search history you want to delete.
Method 2: Using the Google Search Page
Go to the Google search page and sign in to your Google account. Click on the “Settings” icon in the top right corner of the page and select “Search settings”. Scroll down to the “Search history” section and click on the “Manage your search history” button.
From here, you can view and delete your search history, including trending searches. Click on the “Delete” button next to the search history you want to delete.
Method 3: Using the Google Chrome Browser
Open the Google Chrome browser and sign in to your Google account. Click on the three vertical dots in the top right corner of the browser window and select “Settings”. Scroll down to the “Advanced” section and click on the “Clear browsing data” button.
Select the types of data you want to delete, including “Search history”, and choose the time range for which you want to delete the data. Click on the “Clear data” button to delete your search history, including trending searches.
Deleting Trending Searches on Mobile
Deleting trending searches on a mobile device is a straightforward process that can be done using the Google app, the Google Chrome browser, or the device’s settings. Here’s a step-by-step guide on how to do it:
Method 1: Using the Google App
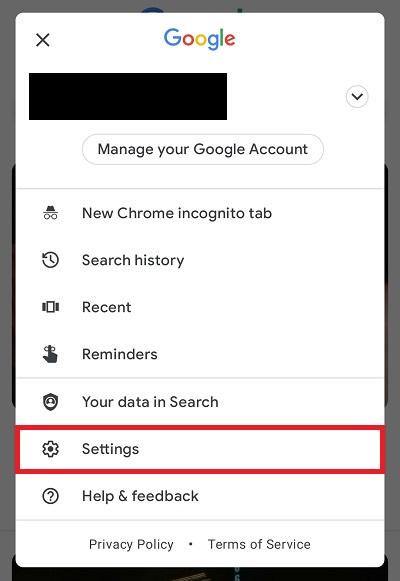
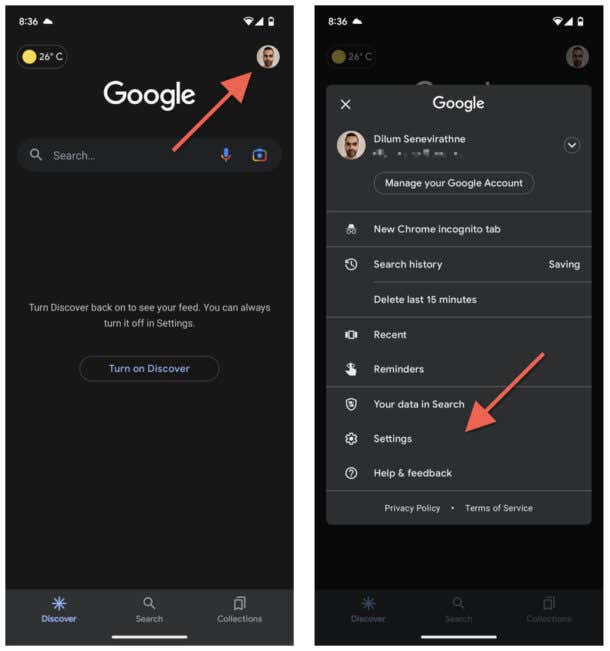
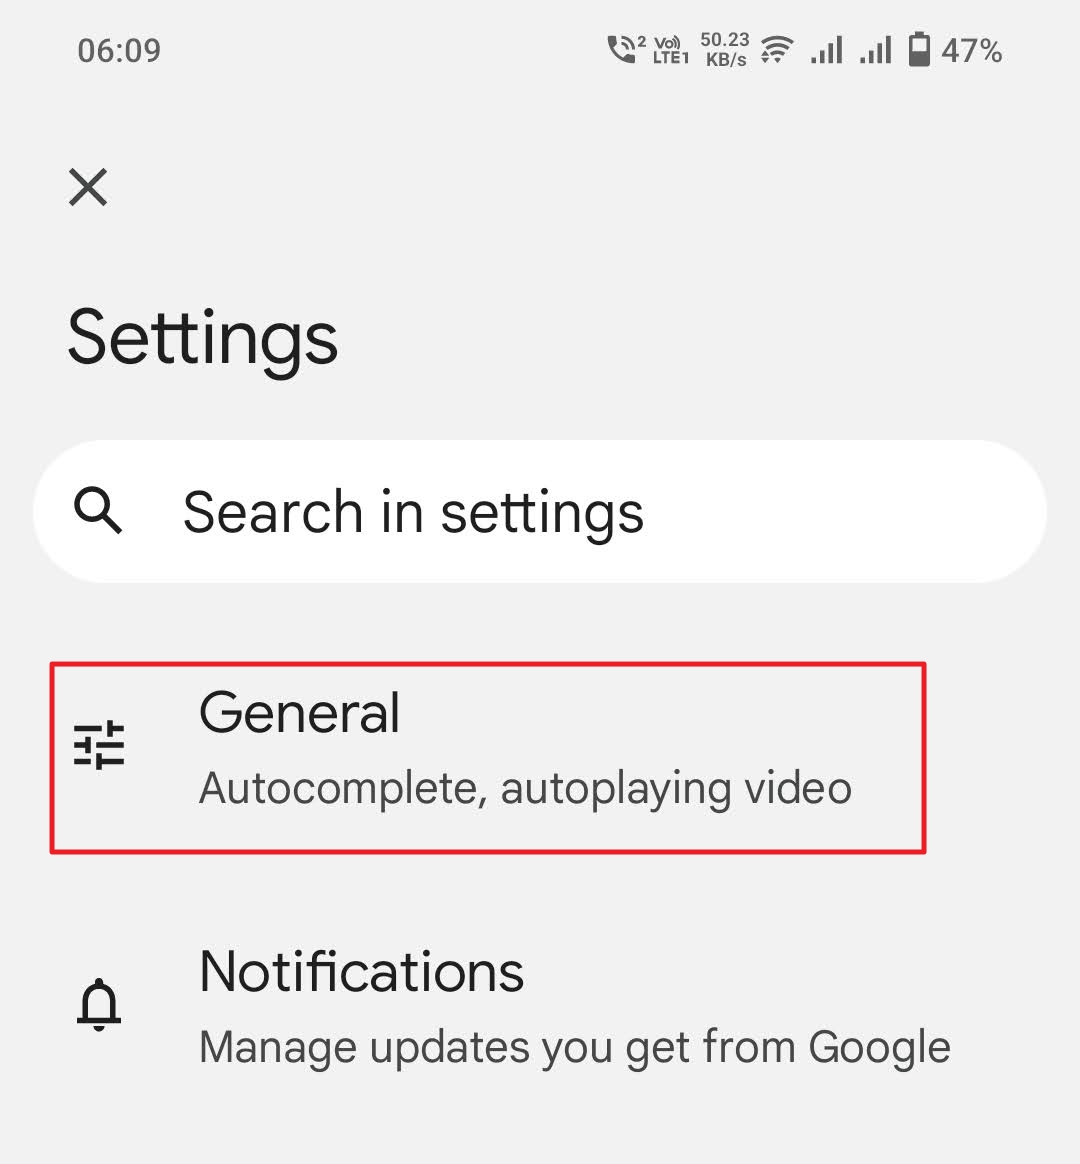
Open the Google app on your mobile device and sign in to your Google account. Tap on the three horizontal lines in the top left corner of the screen and select “Settings”. Scroll down to the “Search history” section and tap on the “Manage your search history” button.
From here, you can view and delete your search history, including trending searches. Tap on the “Delete” button next to the search history you want to delete.
Method 2: Using the Google Chrome Browser
Open the Google Chrome browser on your mobile device and sign in to your Google account. Tap on the three vertical dots in the top right corner of the screen and select “Settings”. Scroll down to the “Advanced” section and tap on the “Clear browsing data” button.
Select the types of data you want to delete, including “Search history”, and choose the time range for which you want to delete the data. Tap on the “Clear data” button to delete your search history, including trending searches.
Method 3: Using the Device’s Settings
Go to your device’s settings and select “Google” or “Google Account”. Scroll down to the “Search history” section and tap on the “Manage your search history” button.
From here, you can view and delete your search history, including trending searches. Tap on the “Delete” button next to the search history you want to delete.
By following these steps, you can easily delete trending searches on your mobile device and maintain your online privacy.
Using Browser Extensions to Manage Search History
Browsing extensions can be a useful tool for managing search history and maintaining online privacy. There are several browser extensions available that can help you delete trending searches on Google, including those that automatically delete search history or block personalized ads.
One popular browser extension for managing search history is uBlock Origin. This extension allows you to block personalized ads and delete search history with just a few clicks. It also includes features such as ad-blocking and tracker-blocking, making it a comprehensive tool for maintaining online privacy.
Another browser extension that can help you manage search history is Google History Eraser. This extension allows you to automatically delete your search history after a set period of time, making it easy to maintain your online privacy. It also includes features such as ad-blocking and tracker-blocking, making it a useful tool for anyone looking to protect their online privacy.
Browser extensions like these can be a useful tool for managing search history and maintaining online privacy. By automatically deleting search history or blocking personalized ads, they can help you maintain your online anonymity and protect your personal data.
When choosing a browser extension to manage search history, it’s essential to consider the features and functionality that are most important to you. Look for extensions that include features such as ad-blocking, tracker-blocking, and automatic search history deletion. Also, be sure to read reviews and check the extension’s ratings before installing it.
Preventing Future Search History Storage
Preventing future search history storage is an important step in maintaining your online privacy. Here are some tips on how to prevent Google from storing your search history in the future:
Use Incognito Mode: Google Chrome’s incognito mode allows you to browse the internet without storing any search history or cookies. To use incognito mode, simply click on the three vertical dots in the top right corner of the browser window and select “New incognito window”.
Disable Search History Storage: You can disable search history storage by going to the Google Account dashboard and clicking on the “Data & personalization” tab. Scroll down to the “Search history” section and toggle off the switch next to “Web & app activity”.
Use a VPN: A VPN (Virtual Private Network) can help prevent Google from storing your search history by encrypting your internet traffic and routing it through a secure server. This makes it difficult for Google to track your search history and store it on their servers.
Use a Private Search Engine: Private search engines like DuckDuckGo and StartPage do not store search history or track user data. Using a private search engine can help prevent Google from storing your search history and maintaining your online privacy.
Clear Cookies and Cache: Clearing cookies and cache regularly can help prevent Google from storing your search history. To clear cookies and cache, go to the Google Chrome settings and click on the “Advanced” tab. Scroll down to the “Clear browsing data” section and select the types of data you want to clear.
Additional Tips for Maintaining Search History Privacy
Maintaining search history privacy requires ongoing effort and attention. Here are some additional tips to help you keep your search history private:
Regularly Review Your Search History: Regularly reviewing your search history can help you identify any potential issues or concerns. You can do this by going to the Google Account dashboard and clicking on the “Data & personalization” tab.
Use Two-Factor Authentication: Two-factor authentication adds an extra layer of security to your Google account, making it more difficult for others to access your search history. You can enable two-factor authentication by going to the Google Account dashboard and clicking on the “Security” tab.
Be Cautious When Using Public Computers: When using public computers, be cautious about what you search for and avoid using sensitive or personal information. Public computers may have malware or keyloggers that can capture your search history and other sensitive information.
Use a Secure Internet Connection: Using a secure internet connection, such as a VPN, can help protect your search history from being intercepted or accessed by others. A VPN encrypts your internet traffic and routes it through a secure server, making it more difficult for others to access your search history.
Clear Your Cookies and Cache: Clearing your cookies and cache regularly can help remove any tracking cookies or other data that may be stored on your device. You can do this by going to the Google Chrome settings and clicking on the “Advanced” tab.
By following these tips, you can help maintain your search history privacy and keep your online activities secure.


