Unlocking the Power of Reverse Image Search
Reverse image search is a powerful tool that allows users to identify unknown objects, find similar images, and verify authenticity. This feature is particularly useful on an iPhone, where users can quickly and easily search for images using the Google app or other third-party apps. By using reverse image search, users can uncover a wealth of information about an image, including its origin, meaning, and context.
For example, imagine taking a photo of a mysterious artwork while traveling abroad. With reverse image search, users can upload the image to Google and instantly discover the artwork’s title, artist, and historical significance. This feature is not only useful for art enthusiasts but also for anyone looking to identify unknown objects, such as plants, animals, or landmarks.
In addition to identifying unknown objects, reverse image search can also be used to find similar images. This feature is particularly useful for designers, artists, and marketers who need to find inspiration or reference images for their work. By uploading an image to Google, users can discover a wealth of similar images, including different angles, lighting setups, and compositions.
Furthermore, reverse image search can be used to verify the authenticity of an image. In today’s digital age, it’s easy to manipulate or fake images, which can lead to misinformation and confusion. By using reverse image search, users can quickly verify the authenticity of an image and ensure that it’s not been tampered with.
Overall, reverse image search is a powerful tool that can be used in a variety of ways. Whether you’re looking to identify unknown objects, find similar images, or verify authenticity, this feature is an essential tool for anyone with an iPhone. In the next section, we’ll explore how to get started with Google Images on iPhone and unlock the full potential of reverse image search.
Getting Started with Google Images on iPhone
To get started with Google Images on your iPhone, you have several options. One way is to use the Google app, which can be downloaded from the App Store. Once you have the app installed, simply tap on the Google icon to open it, and then tap on the “Images” tab at the bottom of the screen.
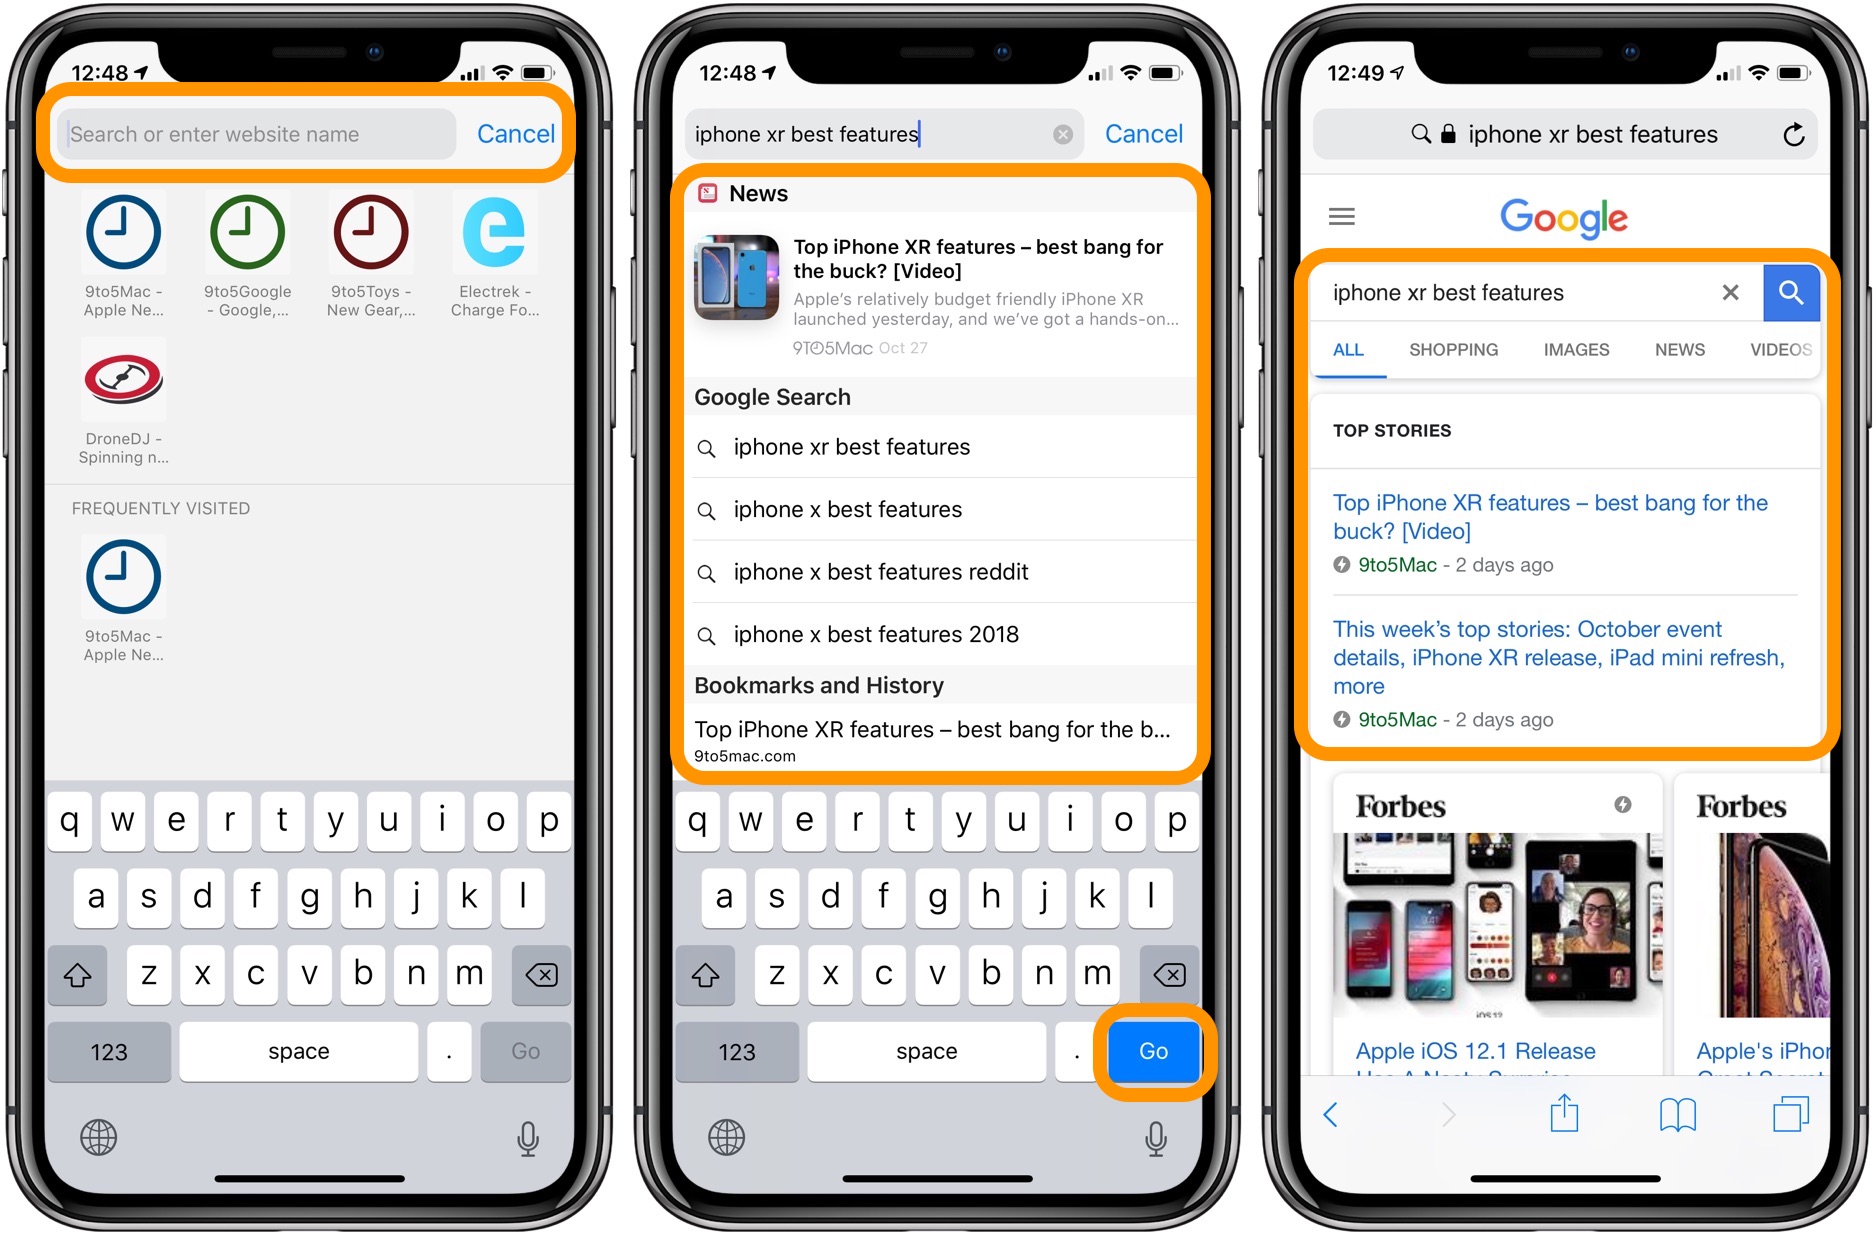
Alternatively, you can access Google Images directly from the Safari browser on your iPhone. To do this, open Safari and navigate to the Google homepage. Tap on the “Images” tab at the top of the screen, and then enter your search query in the search bar.
In addition to the Google app and Safari browser, there are also several third-party apps available that allow you to search Google Images on your iPhone. Some popular options include Google Chrome, Firefox, and Opera.
Once you have accessed Google Images, you can search for images using a variety of methods. One way is to enter a keyword or phrase in the search bar, such as “how to google an image from iphone”. You can also use the camera icon to search for images using your iPhone’s camera. Simply tap on the camera icon, and then take a new photo or select an existing image from your Photos app.
Google Images also offers several advanced search features that can help you refine your search results. For example, you can use the “Tools” menu to filter your search results by size, color, and type. You can also use the “Advanced search” feature to search for images using specific keywords, file types, and more.
By using these features, you can quickly and easily find the images you need on your iPhone. In the next section, we’ll explore how to use Google Lens, a visual search feature integrated into the Google app, to identify objects, scan QR codes, and translate text.
How to Use Google Lens on iPhone
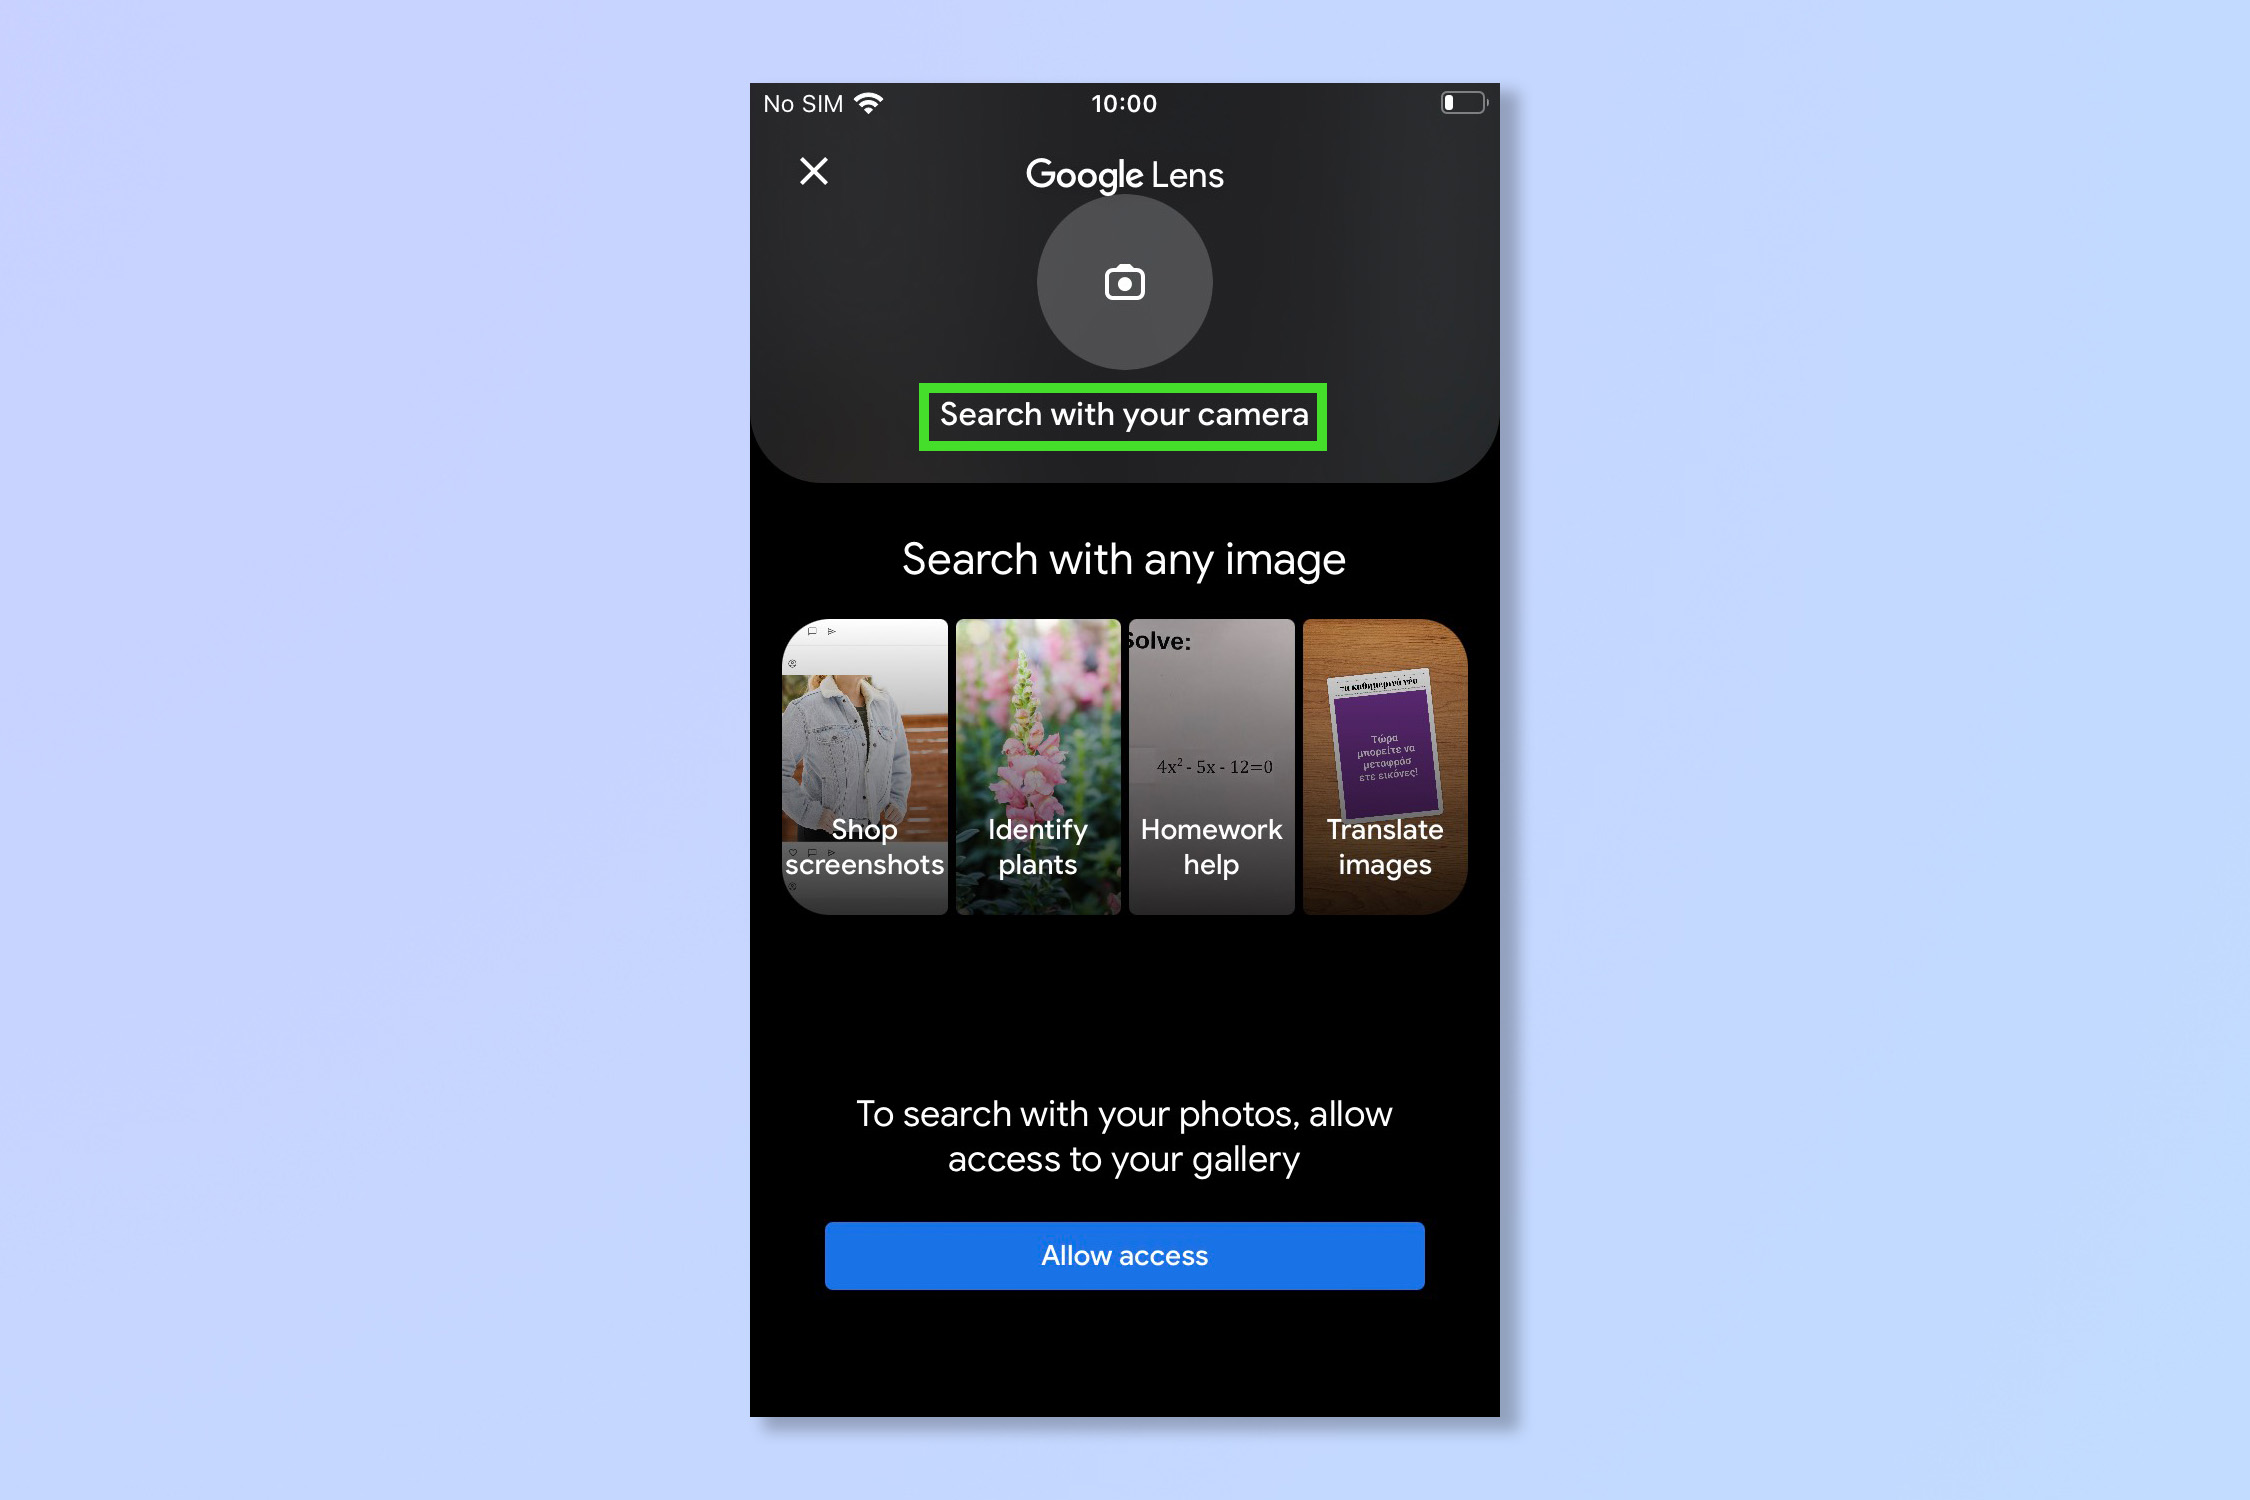
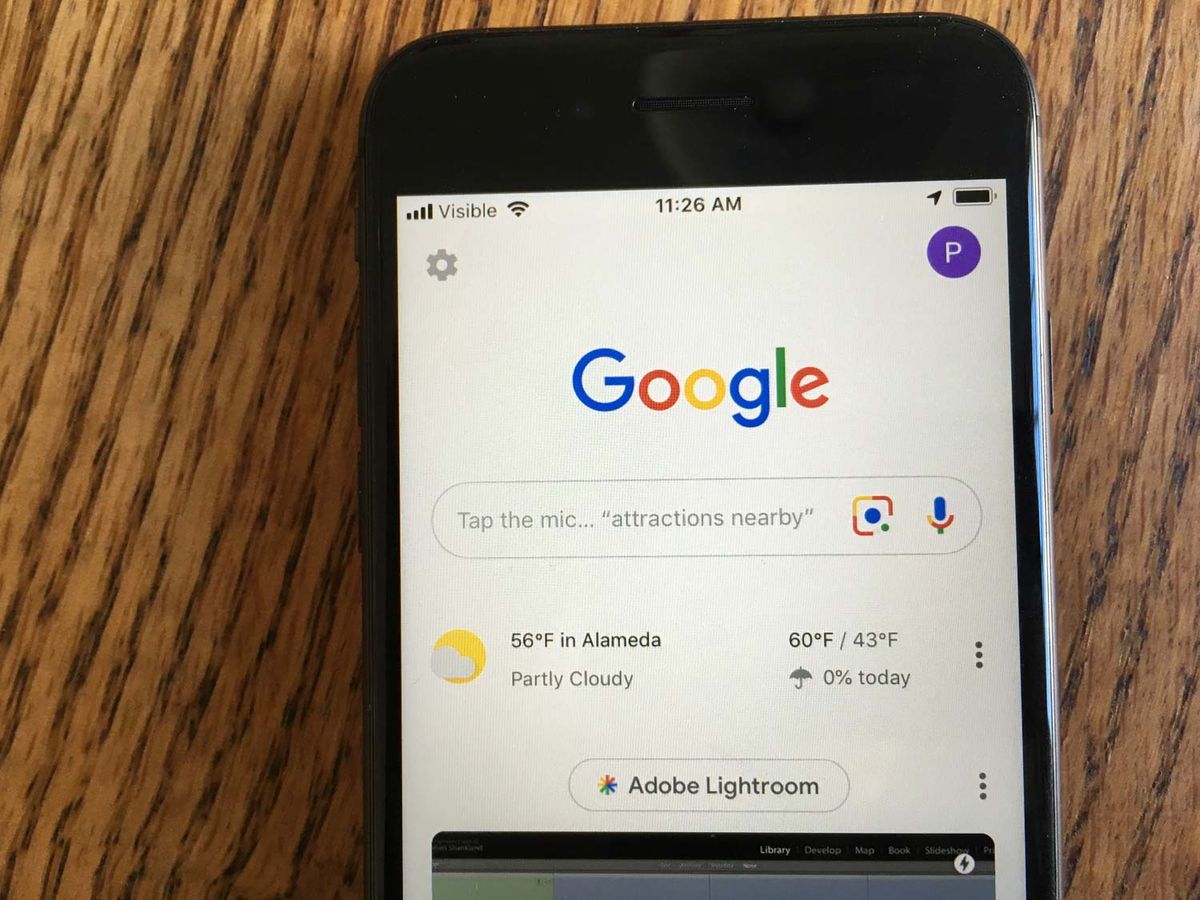
Google Lens is a powerful visual search feature integrated into the Google app on iPhone. It allows users to identify objects, scan QR codes, and translate text using their camera. To use Google Lens, open the Google app and tap on the camera icon in the search bar.
Once you’ve opened Google Lens, you can point your camera at an object, and the app will automatically identify it. For example, if you point your camera at a book, Google Lens will show you information about the book, including its title, author, and reviews.
Google Lens can also be used to scan QR codes. Simply point your camera at the QR code, and the app will automatically scan it and provide you with more information. This feature is particularly useful for scanning QR codes on products, business cards, and other items.
In addition to identifying objects and scanning QR codes, Google Lens can also be used to translate text. If you’re traveling abroad and come across a sign or menu that you don’t understand, you can use Google Lens to translate the text in real-time.
To use Google Lens to translate text, simply point your camera at the text, and the app will automatically translate it for you. You can also use the “Translate” feature to translate text from one language to another.
Google Lens is a powerful tool that can be used in a variety of ways. Whether you’re trying to identify an object, scan a QR code, or translate text, Google Lens can help. In the next section, we’ll explore how to search with an image on iPhone, including taking a new photo, selecting an existing image from the Photos app, or using a screenshot.
Searching with an Image on iPhone
Searching with an image on an iPhone is a powerful way to find information about an object, person, or place. There are several ways to search with an image on an iPhone, including taking a new photo, selecting an existing image from the Photos app, or using a screenshot.
To take a new photo and search with it, open the Google app and tap on the camera icon in the search bar. Then, point your camera at the object or scene you want to search for, and take a photo. Google will then analyze the photo and provide you with search results.
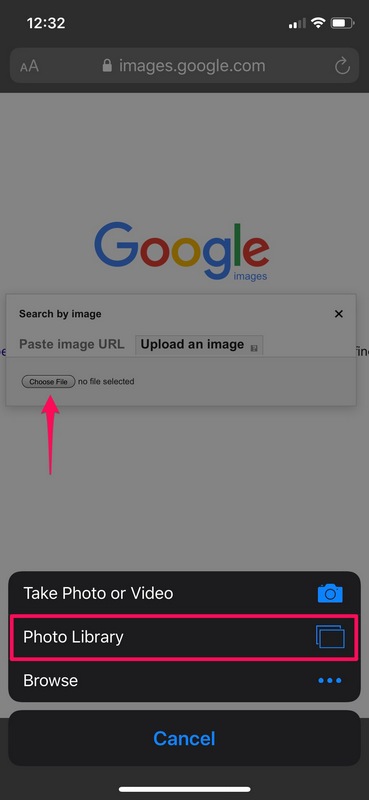
To select an existing image from the Photos app and search with it, open the Google app and tap on the camera icon in the search bar. Then, tap on the “Photos” tab and select the image you want to search with. Google will then analyze the image and provide you with search results.
To use a screenshot and search with it, open the Google app and tap on the camera icon in the search bar. Then, tap on the “Screenshots” tab and select the screenshot you want to search with. Google will then analyze the screenshot and provide you with search results.
Regardless of which method you choose, it’s essential to optimize your image search results by using relevant keywords and tags. This will help Google understand the context of the image and provide you with more accurate search results.
Additionally, you can also use the “Search by image” feature in the Google app to search for similar images. This feature allows you to upload an image or take a new photo, and then search for similar images on the web.
By using these techniques, you can unlock the full potential of image search on your iPhone and find the information you need quickly and easily. In the next section, we’ll explore advanced image search techniques on iPhone, including using filters, searching by color, and using the “similar images” feature.
Advanced Image Search Techniques on iPhone
Once you’ve mastered the basics of image search on your iPhone, you can take your skills to the next level by using advanced techniques. One way to refine your search results is to use filters. Google Images allows you to filter your search results by size, color, and type, which can help you find exactly what you’re looking for.
To use filters, simply tap on the “Filters” button at the top of the Google Images screen, and then select the filter you want to apply. For example, if you’re searching for a specific type of image, such as a landscape or portrait, you can select the “Type” filter and choose the relevant option.
Another advanced technique is to search by color. Google Images allows you to search for images that contain a specific color or color palette. To do this, simply tap on the “Colors” button at the top of the Google Images screen, and then select the color or color palette you’re interested in.
Finally, you can also use the “Similar images” feature to find images that are similar to the one you’re searching for. To do this, simply tap on the “Similar images” button at the top of the Google Images screen, and then select the image you want to find similar images for.
By using these advanced techniques, you can refine your search results and find exactly what you’re looking for. Whether you’re searching for a specific image or trying to find inspiration for a creative project, these techniques can help you get the most out of Google Images on your iPhone.
In addition to these techniques, you can also use the “Advanced search” feature to refine your search results. This feature allows you to search for images using specific keywords, file types, and more.
By combining these advanced techniques with the basics of image search, you can become a master of visual search on your iPhone. In the next section, we’ll explore common issues that may arise when using image search on an iPhone, and provide troubleshooting tips and solutions.
Troubleshooting Common Issues with Image Search on iPhone
While image search on iPhone can be a powerful tool, there are some common issues that may arise. One of the most common issues is poor image quality. If the image is blurry or distorted, it can be difficult for the search algorithm to accurately identify the image.
To troubleshoot poor image quality, try taking a new photo or selecting a different image from the Photos app. Make sure the image is clear and well-lit, and that the object or scene is in focus.
Another common issue is incorrect search results. If the search results are not accurate, it may be due to a number of factors, including poor image quality or incorrect keywords.
To troubleshoot incorrect search results, try using more specific keywords or phrases. You can also try using the “Advanced search” feature to refine your search results.
App crashes are another common issue that may arise when using image search on iPhone. If the app crashes, try restarting the app or restarting your iPhone.
To troubleshoot app crashes, try checking for updates to the app or iPhone operating system. You can also try deleting and reinstalling the app.
By troubleshooting common issues with image search on iPhone, you can ensure that you get the most out of this powerful tool. In the next section, we’ll explore alternative image search apps available for iPhone, including Bing Visual Search and TinEye.
Alternative Image Search Apps for iPhone
While Google Images is a powerful tool for image search on iPhone, there are other alternative apps available that offer similar features and capabilities. One such app is Bing Visual Search, which allows users to search for images using keywords or by uploading an image.
Bing Visual Search offers a number of features that are similar to Google Images, including the ability to search for images by keyword, upload an image, or use the camera to take a new photo. The app also offers a number of advanced features, such as the ability to filter search results by size, color, and type.
Another alternative image search app for iPhone is TinEye, which allows users to search for images using a reverse image search engine. TinEye uses a proprietary algorithm to search for images that are similar to the one uploaded, and offers a number of features such as the ability to filter search results by size, color, and type.
TinEye also offers a number of advanced features, such as the ability to search for images by keyword, and the ability to use the camera to take a new photo. The app also offers a number of tools and features that can help users to refine their search results, such as the ability to filter by size, color, and type.
Overall, both Bing Visual Search and TinEye offer a number of features and capabilities that are similar to Google Images, and can be useful alternatives for image search on iPhone. By exploring these alternative apps, users can find the one that best meets their needs and preferences.
In the next section, we’ll summarize best practices for image search on an iPhone, including optimizing image quality, using relevant keywords, and exploring advanced search features.
Best Practices for Image Search on iPhone
By following best practices for image search on an iPhone, users can optimize their search results and improve their overall image search experience. One of the most important best practices is to optimize image quality. This can be done by taking clear and well-lit photos, and by selecting high-quality images from the Photos app.
Another best practice is to use relevant keywords when searching for images. This can help to refine search results and ensure that the user finds the most relevant images. Users can also use advanced search features, such as filters and the “similar images” feature, to further refine their search results.
Exploring advanced search features is also an important best practice for image search on an iPhone. By using features such as Google Lens and the “similar images” feature, users can unlock the full potential of image search and find the most relevant images.
Finally, users should experiment with different techniques to improve their image search skills. By trying out different search methods and features, users can develop a deeper understanding of how to use image search effectively and efficiently.
By following these best practices, users can master the art of image search on their iPhone and unlock the full potential of this powerful feature. Whether you’re searching for images for personal or professional use, these best practices can help you to find the most relevant and useful images.


