What is Reverse Image Search and How Does it Work?
Reverse image search is a powerful tool that allows users to search for images on the internet using an image as a query. This technology has revolutionized the way we search for information online, making it easier to find what we’re looking for. On Android devices, reverse image search can be used to identify objects, people, and places in images, as well as to find similar images or information related to the image being searched.
The process of reverse image search involves uploading an image to a search engine or using a camera to capture an image, which is then analyzed using complex algorithms to identify patterns, shapes, and colors. The search engine then returns a list of relevant results, including images, websites, and other information related to the original image.
Reverse image search has numerous benefits, including the ability to identify unknown objects or people in images, find similar images or products, and even track down the source of an image. For example, if you’re shopping for a new pair of shoes and you see a pair you like in a magazine or online, you can use reverse image search to find similar shoes or even purchase the exact same pair.
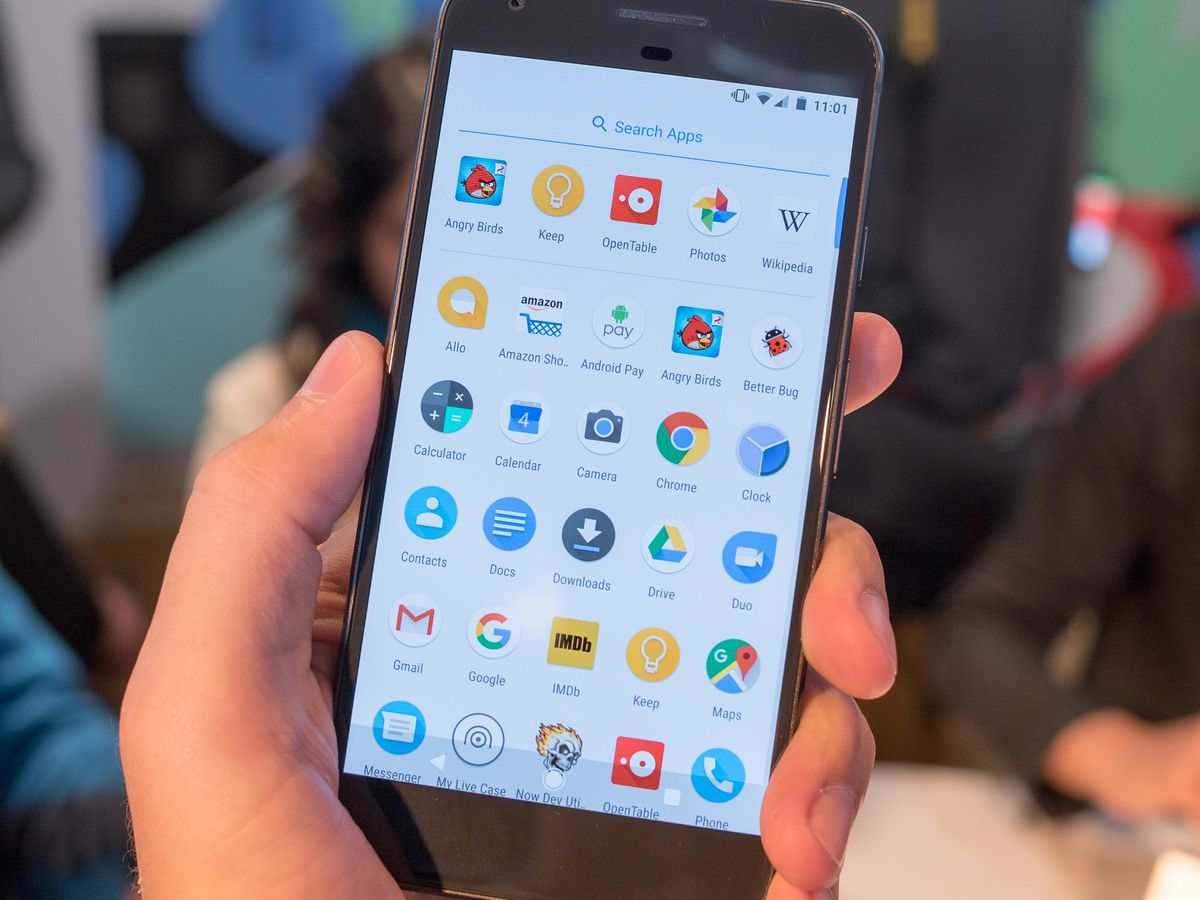
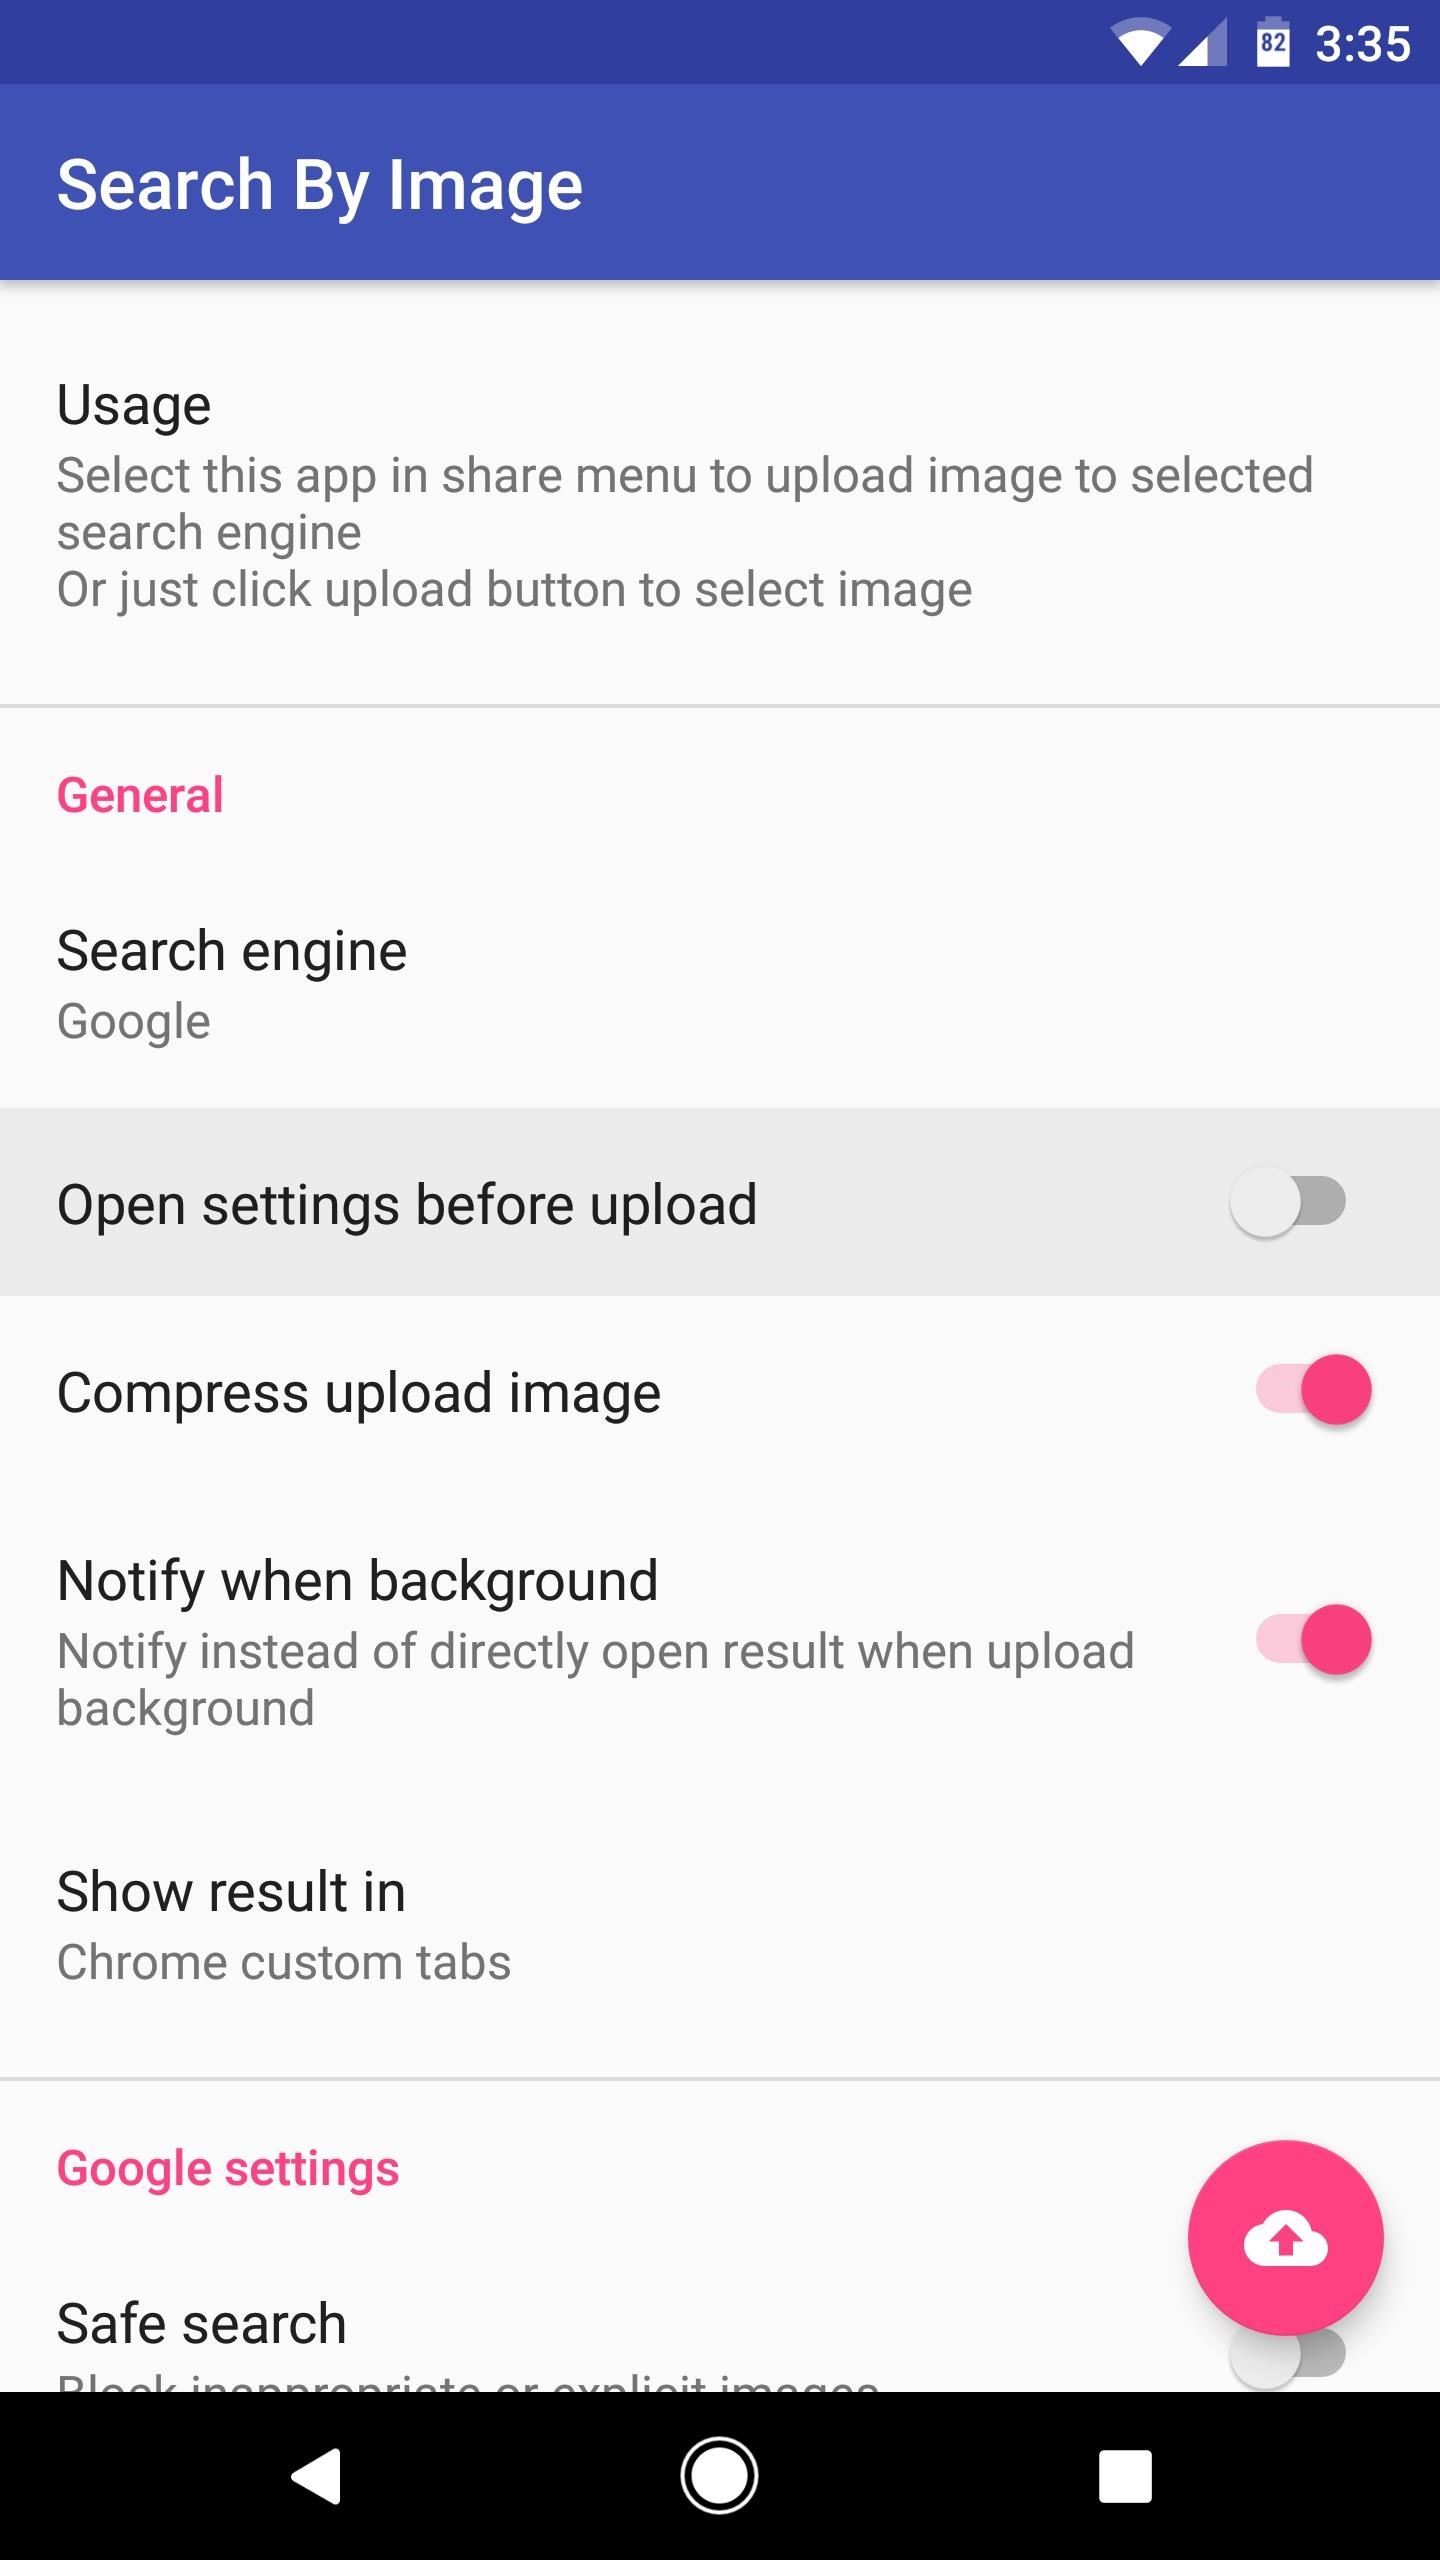
On Android devices, reverse image search can be accessed through various apps and search engines, including Google Images, Bing, and TinEye. These apps allow users to upload an image or take a new photo, which is then analyzed and searched for relevant results.
One of the most popular ways to use reverse image search on Android is through the Google Lens app. Google Lens is a visual search app that allows users to search for information using images, and it’s available on most Android devices. With Google Lens, users can search for objects, people, and places in images, as well as find similar images or information related to the image being searched.
In addition to Google Lens, there are many other apps and search engines available on Android that offer reverse image search capabilities. Some popular alternatives include CamFind, Reverse Image Search, and TinEye. These apps offer similar functionality to Google Lens, but may have different features and user interfaces.
Overall, reverse image search is a powerful tool that can be used in a variety of ways on Android devices. Whether you’re trying to identify an unknown object or find similar images, reverse image search can help you find what you’re looking for quickly and easily.
Using Google Lens for Image Search on Android
Google Lens is a powerful visual search app that allows users to search for information using images. Available on most Android devices, Google Lens can be accessed through the Google Assistant or Google Photos app. To use Google Lens for image search on Android, follow these steps:
1. Open the Google Assistant app on your Android device. You can do this by long-pressing the home button or saying “Ok Google.”
2. Tap the camera icon in the bottom right corner of the screen. This will open the Google Lens app.
3. Point your camera at the object or image you want to search for. Google Lens will automatically detect the object and provide information about it.
4. Tap the “Search” button to see more results. Google Lens will provide a list of relevant results, including images, websites, and other information related to the object or image.
In addition to accessing Google Lens through the Google Assistant app, you can also access it through the Google Photos app. To do this, follow these steps:
1. Open the Google Photos app on your Android device.
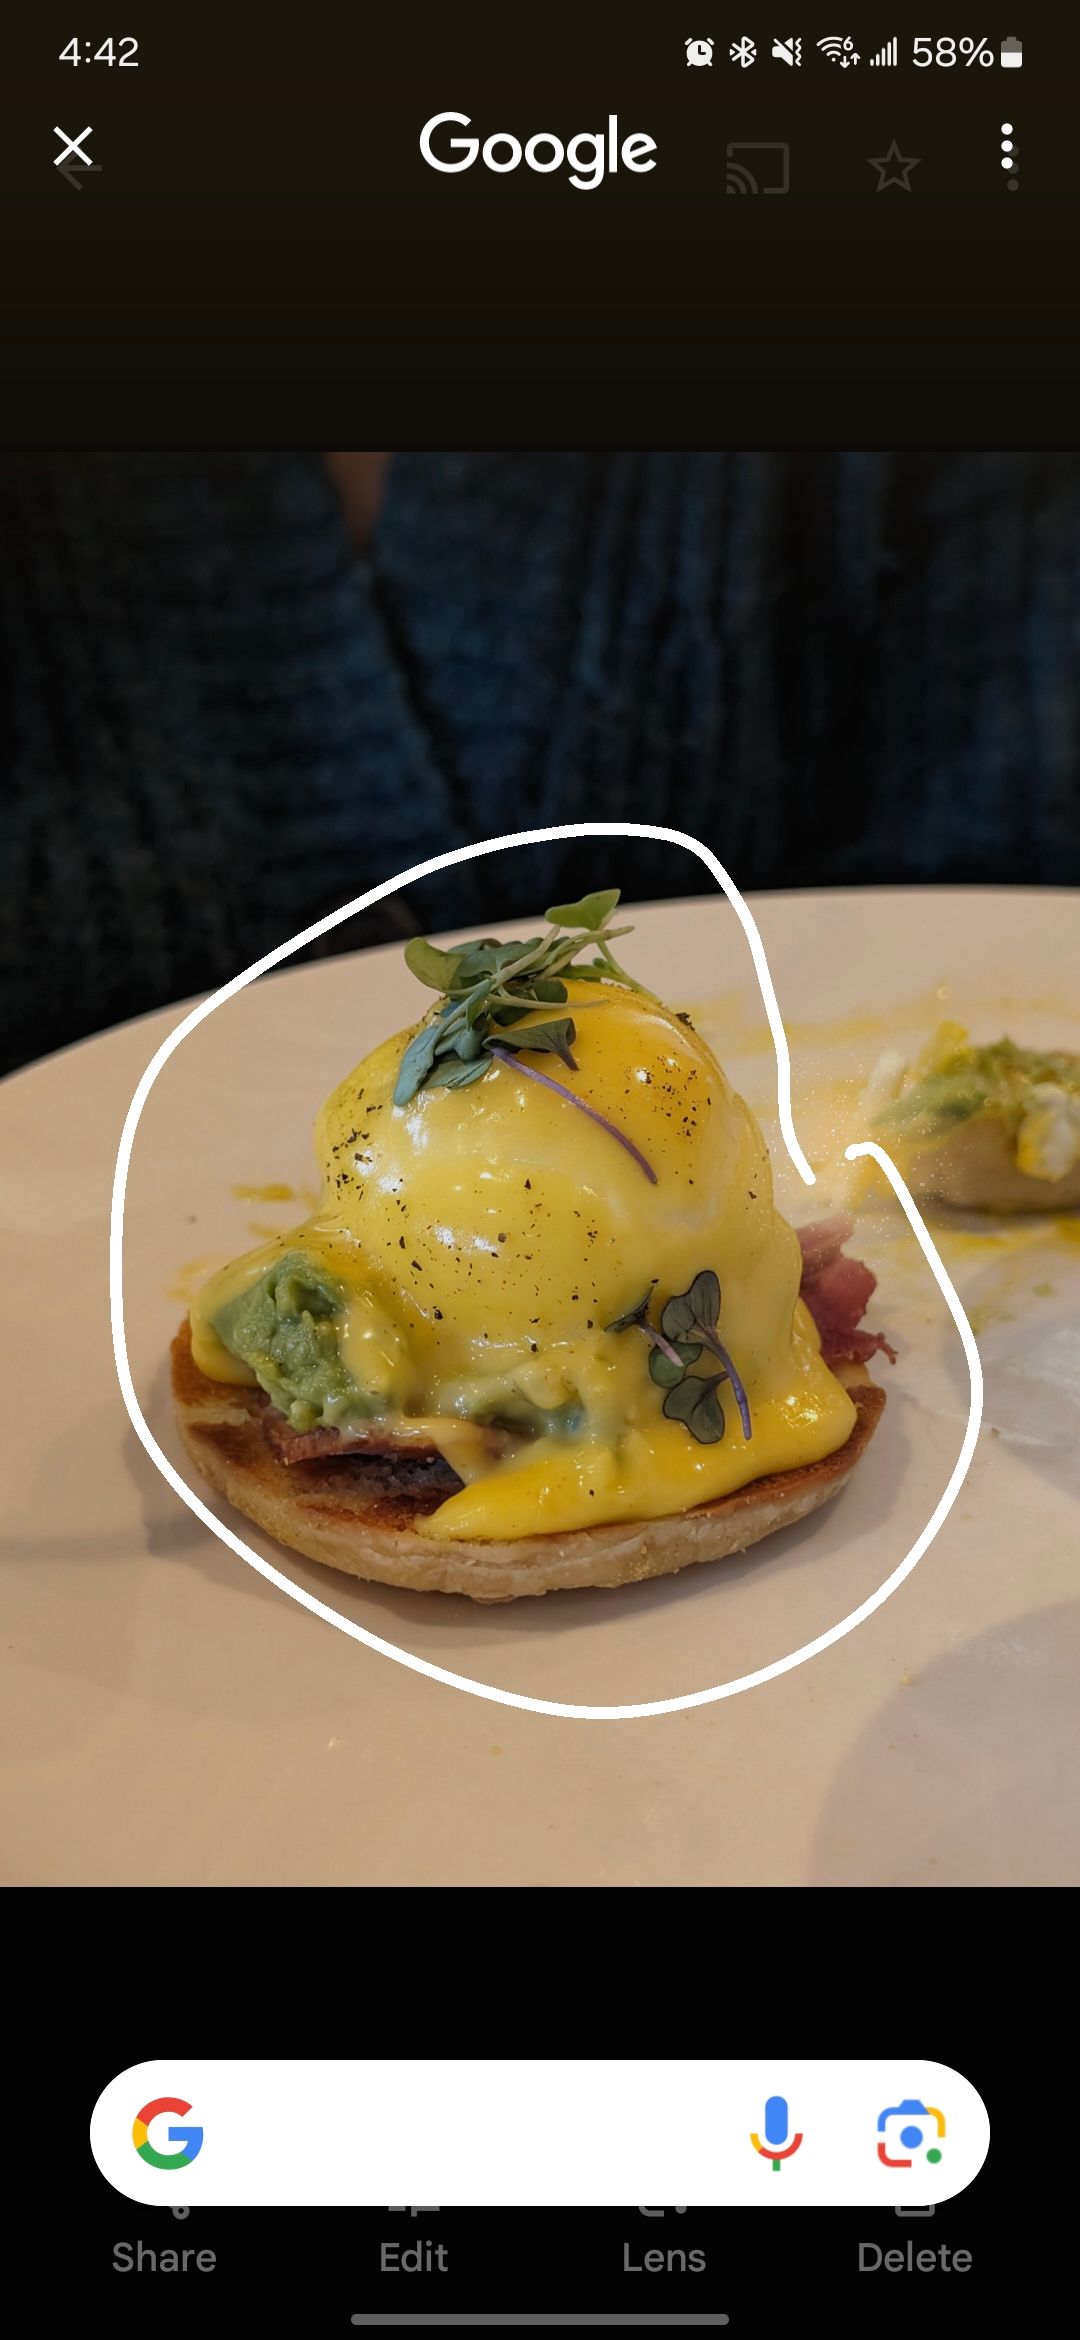
2. Select the image you want to search for.
3. Tap the “Lens” button in the bottom right corner of the screen. This will open the Google Lens app.
4. Google Lens will automatically detect the object or image and provide information about it.
Tips for using Google Lens for image search on Android:
Use good lighting: Make sure the object or image is well-lit and in focus. This will help Google Lens detect the object more accurately.
Use a clear image: Make sure the image is clear and not blurry. This will help Google Lens provide more accurate results.
Experiment with different angles: Try taking a photo of the object or image from different angles. This can help Google Lens detect the object more accurately.
Use Google Lens to search for similar images: Google Lens can also be used to search for similar images. To do this, tap the “Similar images” button at the bottom of the screen.
Overall, Google Lens is a powerful tool for image search on Android. By following these steps and tips, you can get the most out of Google Lens and find the information you need quickly and easily.
Alternative Image Search Apps for Android
While Google Lens is a powerful tool for image search on Android, there are other alternative apps available that offer similar functionality. Some of these apps include CamFind, Reverse Image Search, and TinEye.
CamFind is a popular image search app that allows users to search for objects, people, and places in images. It uses a combination of artificial intelligence and machine learning algorithms to identify objects and provide relevant results. CamFind also offers a feature called “Visual Search” that allows users to search for similar images.
Reverse Image Search is another app that offers image search functionality on Android. It allows users to upload an image or take a new photo, and then searches for similar images on the internet. Reverse Image Search also offers a feature called “Image Recognition” that can identify objects, people, and places in images.
TinEye is a reverse image search engine that allows users to search for images on the internet. It uses a combination of image recognition algorithms and machine learning to identify objects and provide relevant results. TinEye also offers a feature called “Multicolor Engine” that allows users to search for images based on color.
Comparison of Alternative Image Search Apps:
All three apps offer similar functionality, but there are some key differences. CamFind and Reverse Image Search offer more features, such as visual search and image recognition, while TinEye offers a more comprehensive search engine. CamFind and Reverse Image Search also offer a more user-friendly interface, while TinEye’s interface is more basic.
Ultimately, the choice of which app to use will depend on the user’s specific needs and preferences. If you’re looking for a more comprehensive search engine, TinEye may be the best choice. If you’re looking for a more user-friendly interface and additional features, CamFind or Reverse Image Search may be the best choice.
Benefits of Using Alternative Image Search Apps:
Using alternative image search apps can offer several benefits, including:
More comprehensive search results: Alternative image search apps can offer more comprehensive search results than Google Lens, especially for specific types of images.
More features: Alternative image search apps can offer more features, such as visual search and image recognition, that can enhance the user experience.
More user-friendly interface: Alternative image search apps can offer a more user-friendly interface than Google Lens, making it easier for users to navigate and find what they’re looking for.
Overall, alternative image search apps can offer a range of benefits and features that can enhance the user experience and provide more comprehensive search results.
How to Use the Android Browser for Image Search
The Android browser is a powerful tool for image search, allowing users to search for images using Google Images or other search engines. To use the Android browser for image search, follow these steps:
1. Open the Android browser on your device. You can do this by tapping the browser icon on your home screen or in your app drawer.
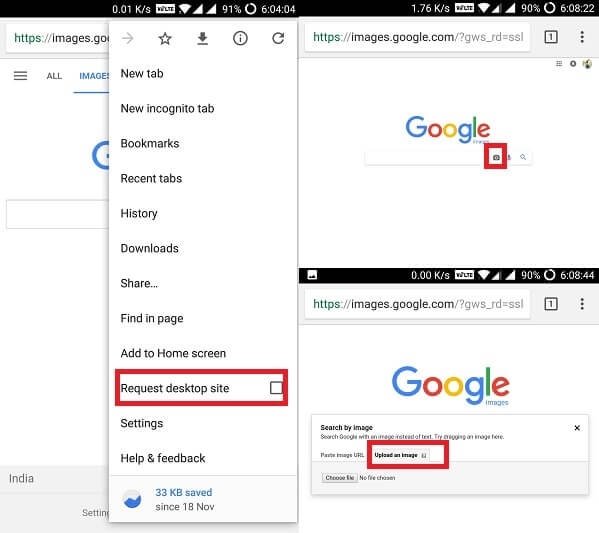
2. Tap the address bar at the top of the screen and type in the URL for Google Images (images.google.com) or another search engine of your choice.
3. Tap the “Search by image” option on the Google Images homepage. This will allow you to upload an image or enter the URL of an image to search for.
4. Upload an image or enter the URL of an image to search for. You can do this by tapping the “Upload an image” button or by entering the URL of an image in the search bar.
5. Tap the “Search” button to see the results of your image search. Google Images will display a list of images that match your search query, along with information about each image.
Tips for using the Android browser for image search:
Use the “Search by image” option: The “Search by image” option on Google Images allows you to upload an image or enter the URL of an image to search for. This can be a powerful tool for finding specific images or information.
Use filters: Google Images allows you to filter your search results by size, color, and more. Use these filters to narrow down your search results and find the images you’re looking for.
Use the browser’s built-in features: The Android browser has a number of built-in features that can enhance your image search experience. For example, you can use the browser’s zoom feature to enlarge images or the browser’s sharing feature to share images with others.
Common issues with using the Android browser for image search:
Poor image quality: If the image you’re searching for is of poor quality, it may be difficult to get accurate results. Try using a higher-quality image or adjusting the image’s resolution to improve your results.
Inaccurate results: If you’re not getting accurate results from your image search, try adjusting your search query or using a different search engine.
Overall, the Android browser is a powerful tool for image search, allowing users to search for images using Google Images or other search engines. By following these steps and tips, you can get the most out of your image search experience on Android.
Image Search on Android: Tips and Tricks
Image search on Android can be a powerful tool for finding information and solving problems. Here are some tips and tricks for getting the most out of image search on Android:
Use filters: Most image search apps and websites allow you to filter your search results by size, color, and more. Use these filters to narrow down your search results and find the images you’re looking for.
Sort results: Many image search apps and websites allow you to sort your search results by relevance, date, and more. Use these sorting options to find the most relevant images for your search query.
Save images for later use: Many image search apps and websites allow you to save images for later use. Use this feature to save images that you may need to reference later.
Use the “Search by image” option: The “Search by image” option is a powerful tool for finding specific images or information. Use this option to upload an image or enter the URL of an image to search for.
Use image recognition technology: Some image search apps and websites use image recognition technology to identify objects and people in images. Use this technology to find specific images or information.
Use the Android browser’s built-in features: The Android browser has a number of built-in features that can enhance your image search experience. For example, you can use the browser’s zoom feature to enlarge images or the browser’s sharing feature to share images with others.
Common mistakes to avoid:
Not using filters: Failing to use filters can result in a large number of irrelevant search results. Use filters to narrow down your search results and find the images you’re looking for.
Not sorting results: Failing to sort results can result in a large number of irrelevant search results. Use sorting options to find the most relevant images for your search query.
Not saving images for later use: Failing to save images for later use can result in having to search for the same image multiple times. Use the save feature to save images that you may need to reference later.
By following these tips and tricks, you can get the most out of image search on Android and find the information you need quickly and easily.
Common Issues with Image Search on Android and How to Fix Them
While image search on Android can be a powerful tool, there are some common issues that may arise. Here are some of the most common issues and how to fix them:
Poor image quality:
If the image you’re searching for is of poor quality, it may be difficult to get accurate results. To fix this issue, try using a higher-quality image or adjusting the image’s resolution.
Inaccurate results:
If you’re not getting accurate results from your image search, try adjusting your search query or using a different search engine. You can also try using a more specific search query or filtering your results by size, color, or other criteria.
Image not found:
If the image you’re searching for is not found, try checking the spelling of your search query or using a different search engine. You can also try searching for similar images or using a more general search query.
Slow search results:
If your image search results are slow, try checking your internet connection or closing other apps that may be using up bandwidth. You can also try using a different search engine or adjusting your search query to get faster results.
Troubleshooting tips:
Check your internet connection: Make sure your internet connection is stable and working properly.
Close other apps: Close other apps that may be using up bandwidth or slowing down your search results.
Adjust your search query: Try adjusting your search query to get more accurate results or to get faster results.
Use a different search engine: Try using a different search engine to see if you get better results.
By following these troubleshooting tips, you can fix common issues with image search on Android and get the most out of this powerful tool.
Image Search on Android: Security and Privacy Concerns
When using image search on Android, it’s essential to consider security and privacy concerns. Here are some key issues to be aware of:
Data collection: When you use image search on Android, your device may collect data about your search queries, including the images you search for and the results you view. This data may be used to improve the image search algorithm or to provide targeted advertising.
Data storage: When you use image search on Android, your device may store images and other data locally. This data may be accessible to other apps or services on your device, potentially compromising your privacy.
Image recognition: Some image search apps on Android use image recognition technology to identify objects and people in images. This technology may be used to collect data about your personal life, including your interests and activities.
To protect your security and privacy when using image search on Android, follow these tips:
Use a secure internet connection: When using image search on Android, make sure you’re connected to a secure internet connection, such as a password-protected Wi-Fi network.
Use a reputable image search app: Choose an image search app that has a good reputation for security and privacy. Look for apps that have clear policies about data collection and storage.
Be cautious with permissions: When installing an image search app, be cautious with the permissions you grant. Make sure you understand what data the app will collect and how it will be used.
Use a VPN: Consider using a virtual private network (VPN) to encrypt your internet traffic and protect your data when using image search on Android.
By following these tips, you can help protect your security and privacy when using image search on Android.
Conclusion: Mastering Image Search on Android
Image search on Android is a powerful tool that can help you find what you’re looking for quickly and easily. By following the steps and tips outlined in this article, you can master image search on Android and get the most out of this feature.
Remember to use the Google Lens app, alternative image search apps, and the Android browser to perform image searches. Use filters, sort results, and save images for later use to get the most out of your image search experience.
Be aware of common issues that may arise when using image search on Android, such as poor image quality or inaccurate results. Use troubleshooting tips and solutions to fix these issues and get the best results.
Finally, be mindful of security and privacy concerns related to image search on Android. Use a secure internet connection, choose a reputable image search app, and be cautious with permissions to protect your data and maintain your privacy.
By following these tips and best practices, you can become a master of image search on Android and get the most out of this powerful feature.
Final tips and recommendations:
Practice using image search on your Android device to become more comfortable with the feature.
Experiment with different image search apps and features to find what works best for you.
Use image search to find answers to your questions, solve problems, and learn new things.
By following these tips and recommendations, you can get the most out of image search on Android and take your mobile experience to the next level.


