Why You Might Want to Disable Search Suggestions
For Android users, the Chrome browser provides a convenient and efficient way to navigate the internet. However, some users may find the search suggestions feature to be more of a hindrance than a help. If you’re looking to remove search suggestions from your Chrome browser on Android, you’re not alone. Many users want to disable this feature to improve their browsing speed, reduce clutter, or enhance their online privacy.
One of the primary reasons to remove search suggestions is to streamline your browsing experience. When you start typing a URL or search query, Chrome’s search suggestions can sometimes slow down your browsing speed. By disabling this feature, you can enjoy a faster and more seamless browsing experience.
Another reason to consider removing search suggestions is to reduce clutter on your browser. If you’re not interested in seeing suggested search queries or URLs, disabling this feature can help declutter your browser and make it easier to focus on your online activities.
Finally, some users may want to remove search suggestions to enhance their online privacy. When you use Chrome’s search suggestions feature, your browsing history and search queries are stored on Google’s servers. If you’re concerned about your online privacy, disabling this feature can help minimize the amount of data that’s collected about your browsing habits.
Fortunately, removing search suggestions from your Chrome browser on Android is a relatively straightforward process. In the next section, we’ll explore the steps you can take to clear search suggestions and enjoy a more streamlined browsing experience.
How to Clear Search Suggestions in Chrome for Android
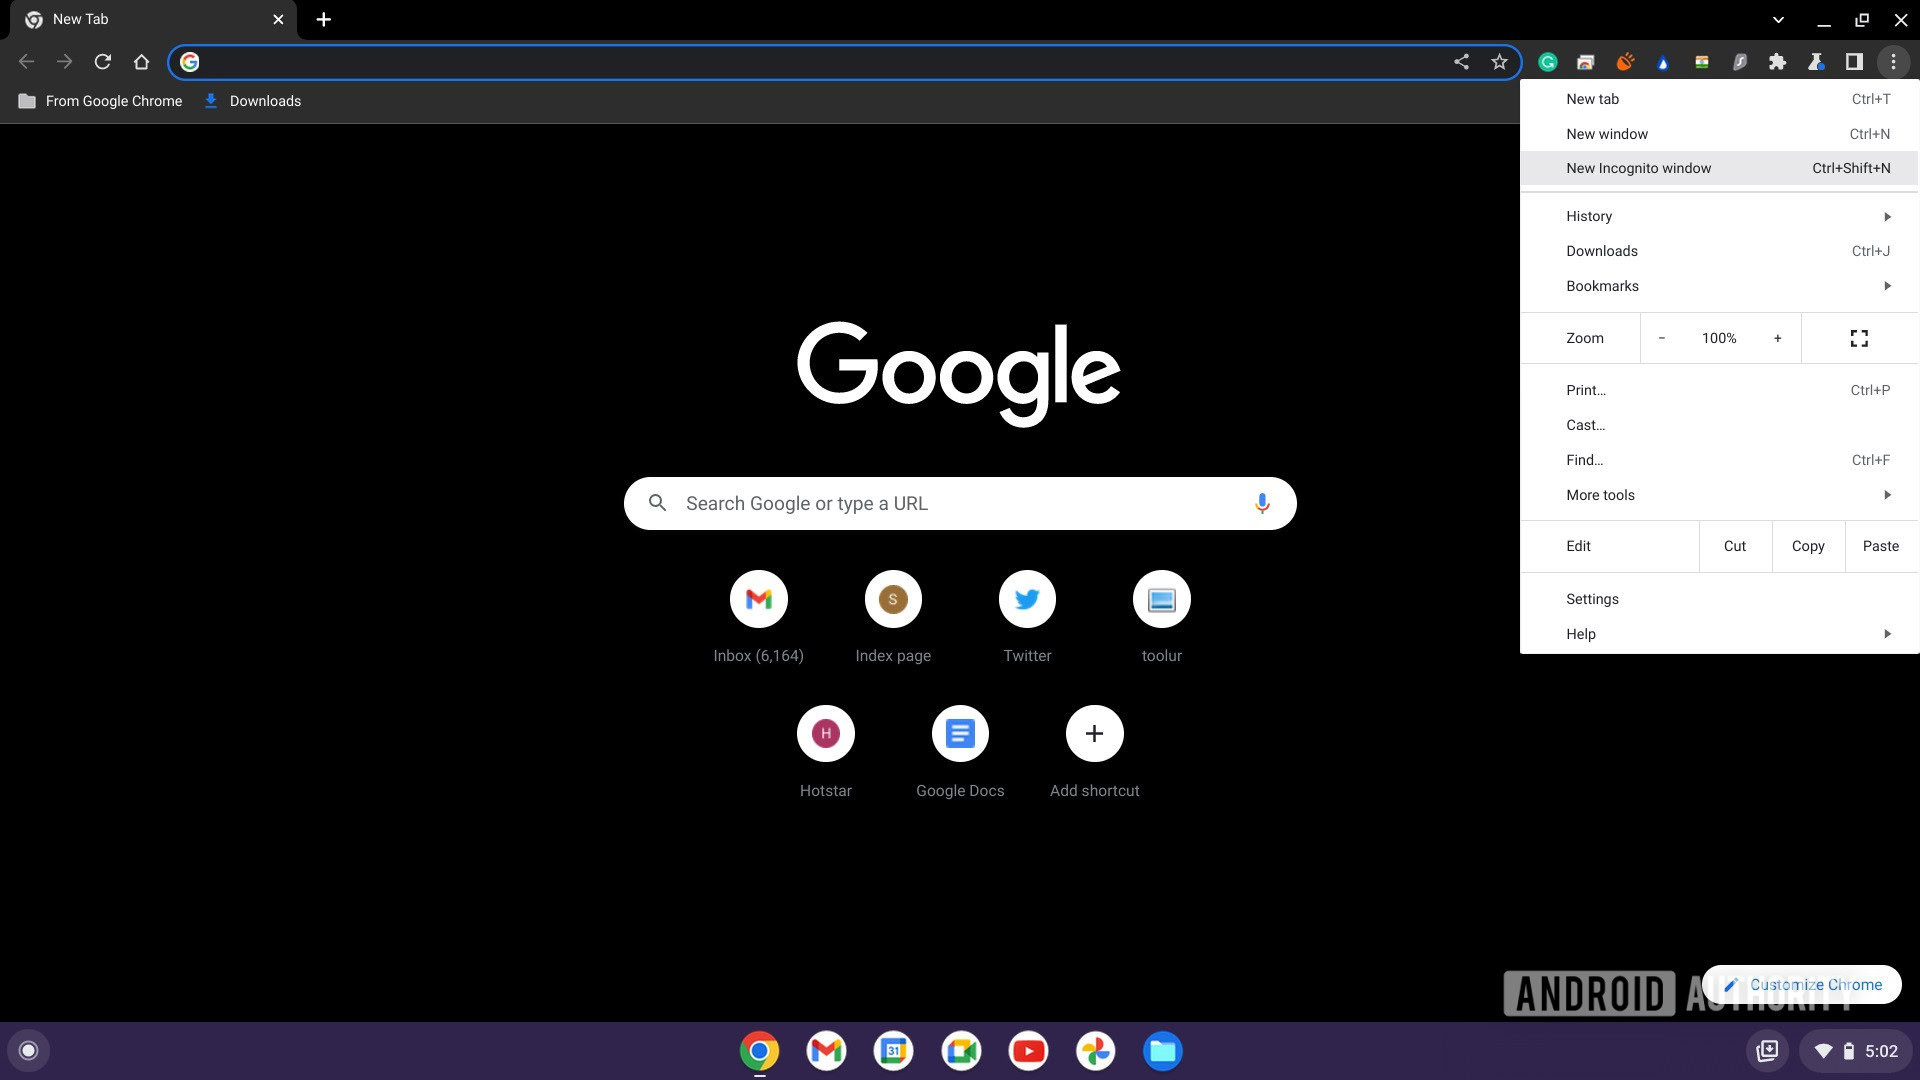
Clearing search suggestions in Chrome for Android is a straightforward process that can be completed in a few steps. To get started, open the Chrome browser on your Android device and tap the three vertical dots in the top-right corner of the screen. This will open the Chrome menu, where you can access the browser’s settings.
From the Chrome menu, tap “Settings” to open the Chrome settings page. On this page, scroll down to the “Basics” or “Advanced” section, depending on your device and Chrome version. In this section, you’ll find the “Search suggestions” option.
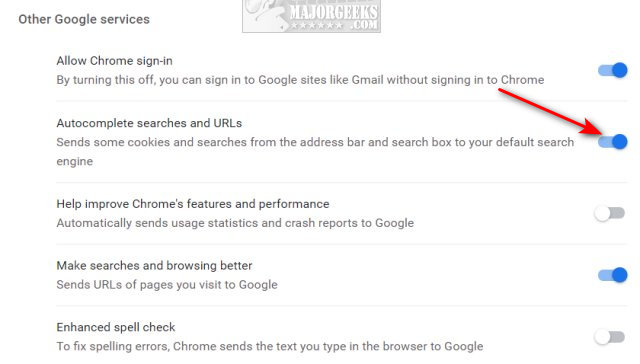
To disable search suggestions, toggle off the “Search suggestions” switch. This will prevent Chrome from displaying suggested search queries and URLs as you type. You can also clear the browsing data and history to remove any previously stored search suggestions.
Alternatively, you can also clear search suggestions by accessing the Chrome settings page directly from the browser’s address bar. To do this, type “chrome://settings/” in the address bar and press Enter. This will take you directly to the Chrome settings page, where you can follow the same steps to disable search suggestions.
It’s worth noting that disabling search suggestions will not affect the functionality of the Chrome browser. You can still access your browsing history and bookmarks, and use the browser’s other features as usual. However, disabling search suggestions can help improve your browsing speed and reduce clutter on your browser.
In the next section, we’ll explore the difference between search suggestions and autofill, and how disabling one might affect the other.
Understanding the Difference Between Search Suggestions and Autofill
When it comes to managing your Chrome browser on Android, it’s essential to understand the difference between search suggestions and autofill. While both features are designed to make your browsing experience more efficient, they serve distinct purposes and have different implications for your online privacy.
Search suggestions are generated based on your browsing history and search queries. When you type a URL or search query in the Chrome address bar, the browser uses your past browsing data to suggest relevant results. This feature is designed to help you quickly find what you’re looking for, but it can also raise concerns about online privacy.
Autofill, on the other hand, is related to form data and login credentials. When you fill out a form or log in to a website, Chrome can store your information and automatically fill it in for you the next time you visit the site. Autofill is a convenient feature that can save you time and effort, but it’s essential to use it judiciously to avoid compromising your online security.
Disabling search suggestions will not affect the autofill feature, and vice versa. However, if you’re concerned about online privacy, you may want to consider disabling both features or using alternative methods to manage your browsing data.
It’s worth noting that Chrome also offers a feature called “Sync,” which allows you to synchronize your browsing data across multiple devices. If you’re using Sync, disabling search suggestions or autofill on one device may not affect the other devices connected to your account.
In the next section, we’ll explore alternative methods to remove search suggestions, including using the Chrome Flags feature or installing a third-party browser extension.
Alternative Methods to Remove Search Suggestions
While disabling search suggestions through the Chrome settings is a straightforward process, there are alternative methods to achieve the same result. One such method is to use the Chrome Flags feature, which allows you to experiment with new and experimental features in Chrome.
To access Chrome Flags, type “chrome://flags/” in the Chrome address bar and press Enter. This will take you to a page with a list of available flags, including the “Disable search suggestions” flag. Enable this flag to disable search suggestions in Chrome.
Another alternative method is to install a third-party browser extension that can block search suggestions. There are several extensions available in the Chrome Web Store that can help you remove search suggestions, such as “Search Suggest Blocker” or “Disable Search Suggestions”. These extensions can be easily installed and configured to block search suggestions in Chrome.
Using a third-party browser extension can be a convenient way to remove search suggestions, but it’s essential to be cautious when installing extensions from the Chrome Web Store. Make sure to read reviews and check the extension’s permissions before installing it.
It’s also worth noting that some third-party browser extensions may have additional features that can enhance your browsing experience, such as ad-blocking or password management. However, be aware that some extensions may also collect your browsing data, so it’s essential to choose an extension that respects your online privacy.
In the next section, we’ll explore how to delete browsing history and data in Chrome for Android, which can also help remove search suggestions.
How to Delete Browsing History and Data
Deleting browsing history and data in Chrome for Android can help remove search suggestions and improve your overall browsing experience. To delete browsing history and data, follow these steps:
Open the Chrome browser on your Android device and tap the three vertical dots in the top-right corner of the screen. This will open the Chrome menu, where you can access the browser’s settings.
Tap “Settings” to open the Chrome settings page. On this page, scroll down to the “Advanced” section and tap “Clear browsing data”. This will open a new page with options for deleting browsing data.
You can choose to delete all browsing data, or select specific time ranges to delete. You can also choose to delete specific types of data, such as cookies, site data, or cached images and files.
Deleting browsing history and data can help remove search suggestions, but it’s essential to note that this will also delete other browsing data, such as cookies and site data. If you want to remove search suggestions without deleting other browsing data, you may want to consider using one of the alternative methods discussed earlier.
Additionally, you can also use the “Clear browsing data” feature to delete browsing data from a specific time range. For example, you can choose to delete browsing data from the last hour, day, week, or month.
It’s also worth noting that Chrome also offers a feature called “Sync”, which allows you to synchronize your browsing data across multiple devices. If you’re using Sync, deleting browsing data on one device may not affect the other devices connected to your account.
In the next section, we’ll discuss the benefits of using Incognito Mode in Chrome for Android, which can help bypass search suggestions and improve browsing privacy.
Using Incognito Mode to Bypass Search Suggestions
Incognito Mode is a feature in Chrome for Android that allows you to browse the internet privately. When you enable Incognito Mode, Chrome will not store your browsing history, cookies, or site data. This means that search suggestions will not be generated based on your browsing history, and you can browse the internet without leaving a trail of data behind.
To enable Incognito Mode in Chrome for Android, follow these steps:
Open the Chrome browser on your Android device and tap the three vertical dots in the top-right corner of the screen. This will open the Chrome menu, where you can access the browser’s settings.
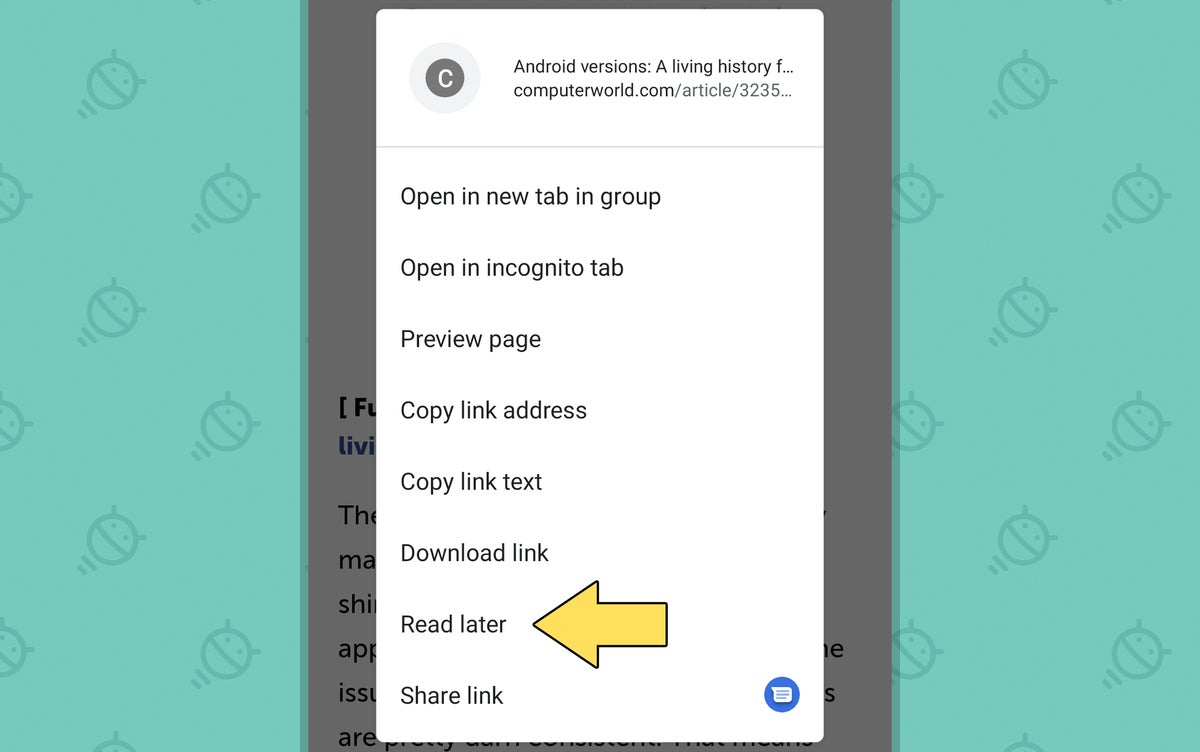
Tap “New incognito tab” to open a new incognito tab. You can also enable Incognito Mode by typing “chrome://flags/#incognito-mode” in the Chrome address bar and pressing Enter.
When you enable Incognito Mode, you’ll notice that the Chrome browser will display a notification indicating that you’re browsing in private mode. This means that your browsing data will not be stored, and search suggestions will not be generated based on your browsing history.
Incognito Mode is a useful feature for anyone who wants to browse the internet privately, but it’s essential to note that it’s not a foolproof way to remove search suggestions. If you’re looking for a more permanent solution, you may want to consider using one of the other methods discussed in this article.
Additionally, Incognito Mode has some limitations. For example, it will not prevent websites from tracking your browsing activity, and it will not block ads or malware. However, it can help improve your browsing privacy and reduce the amount of data that’s collected about your online activities.
In the next section, we’ll discuss how to customize Chrome settings to improve the browsing experience, including adjusting font sizes, enabling night mode, or using a different search engine.
Customizing Chrome Settings for a Better Browsing Experience
Customizing Chrome settings can help improve your browsing experience and make it more efficient. Here are some tips on how to customize Chrome settings to suit your needs:
Adjusting font sizes: You can adjust the font size in Chrome to make it easier to read. To do this, go to the Chrome settings page and scroll down to the “Appearance” section. Tap on “Font size” and select the desired font size.
Enabling night mode: Night mode can help reduce eye strain and improve visibility in low-light environments. To enable night mode, go to the Chrome settings page and scroll down to the “Appearance” section. Tap on “Theme” and select “Dark” or “Night mode”.
Using a different search engine: You can change the default search engine in Chrome to a different one, such as Bing or DuckDuckGo. To do this, go to the Chrome settings page and scroll down to the “Search engine” section. Tap on “Search engine” and select the desired search engine.
Customizing Chrome settings can help improve your browsing experience and make it more efficient. By adjusting font sizes, enabling night mode, or using a different search engine, you can create a browsing experience that suits your needs.
In addition to customizing Chrome settings, you can also use Chrome extensions to enhance your browsing experience. Chrome extensions can provide additional features and functionality, such as ad-blocking, password management, or social media integration.
By customizing Chrome settings and using Chrome extensions, you can take control of your Chrome browser and create a browsing experience that is tailored to your needs.
In the next section, we’ll summarize the different methods for removing search suggestions in Chrome for Android and emphasize the importance of customizing browser settings to suit individual preferences.
Conclusion: Regaining Control of Your Chrome Browser
In this article, we’ve discussed the different methods for removing search suggestions in Chrome for Android. We’ve covered the steps to clear search suggestions, the difference between search suggestions and autofill, and alternative methods to remove search suggestions. We’ve also explored how to delete browsing history and data, use Incognito Mode, and customize Chrome settings for a better browsing experience.
By following these methods, you can regain control of your Chrome browser and improve your browsing experience. Remember that customizing your browser settings is essential to suit your individual preferences. Experiment with different settings and features to find what works best for you.
Removing search suggestions is just one aspect of optimizing your Chrome browser. By exploring other Chrome features and settings, you can further enhance your browsing experience. Take the time to explore the Chrome settings page and discover new features and options that can help you browse more efficiently.
By taking control of your Chrome browser, you can improve your productivity, reduce distractions, and enhance your overall browsing experience. Remember to regularly review and update your browser settings to ensure that you’re getting the most out of your Chrome browser.
With these tips and methods, you’re now equipped to remove search suggestions and take control of your Chrome browser on Android. Happy browsing!


