Understanding the Reason Behind Blurry Instagram Photos
Blurry photos on Instagram have become a frustrating issue for many users. The problem is not only aesthetically unpleasing, but it also affects the overall user experience. When photos appear blurry, it can be disappointing, especially for those who take pride in their photography skills. But have you ever wondered why Instagram is making your photos blurry? The answer lies in a combination of factors, including image compression, internet connection, and the app’s algorithm. In this article, we will delve into the reasons behind blurry Instagram photos and provide solutions to improve photo clarity.
One of the primary reasons for blurry photos on Instagram is image compression. When you upload a photo to Instagram, the app compresses the image to reduce its file size. This compression process can lead to a loss of image quality, resulting in blurry photos. However, image compression is not the only culprit. A slow or unstable internet connection can also cause photos to appear blurry. When your internet connection is slow, Instagram may compress the image further to ensure faster loading times, compromising on image quality.
Furthermore, Instagram’s algorithm prioritizes photo loading speed over quality. This means that the app may sacrifice image quality to ensure that photos load quickly. While this may improve the overall user experience, it can result in blurry photos. To make matters worse, the algorithm may also affect the way photos are displayed on different devices. For instance, a photo that appears clear on a desktop may appear blurry on a mobile device.
So, what can you do to improve photo clarity on Instagram? The first step is to understand the reasons behind blurry photos. By recognizing the factors that contribute to image blurriness, you can take steps to mitigate them. In the following sections, we will explore the role of image compression, internet connection, and Instagram’s algorithm in blurry photos. We will also provide tips and tricks on how to optimize your photos for Instagram and improve photo clarity.
How to Fix Blurry Instagram Photos: A Step-by-Step Guide
Fixing blurry Instagram photos can be a straightforward process if you know where to start. In this section, we will provide a step-by-step guide on how to fix blurry Instagram photos and improve photo clarity. By following these simple steps, you can ensure that your photos appear clear and vibrant on Instagram.
Step 1: Check Your Internet Connection
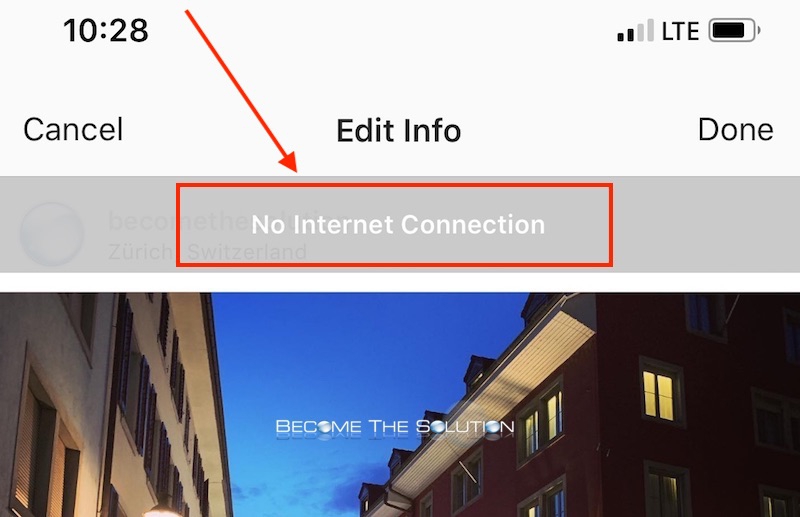
A slow or unstable internet connection can cause photos to appear blurry on Instagram. To check your internet connection, try loading a photo on Instagram and see if it takes a long time to load. If it does, try restarting your router or switching to a different internet connection. This can help improve your internet speed and reduce the likelihood of blurry photos.
Step 2: Update the Instagram App
Outdated apps can cause a range of issues, including blurry photos. To update the Instagram app, go to the App Store (for iOS devices) or Google Play Store (for Android devices) and check for updates. If an update is available, download and install it. This can help fix any bugs or issues that may be causing blurry photos.
Step 3: Adjust Your Photo Settings
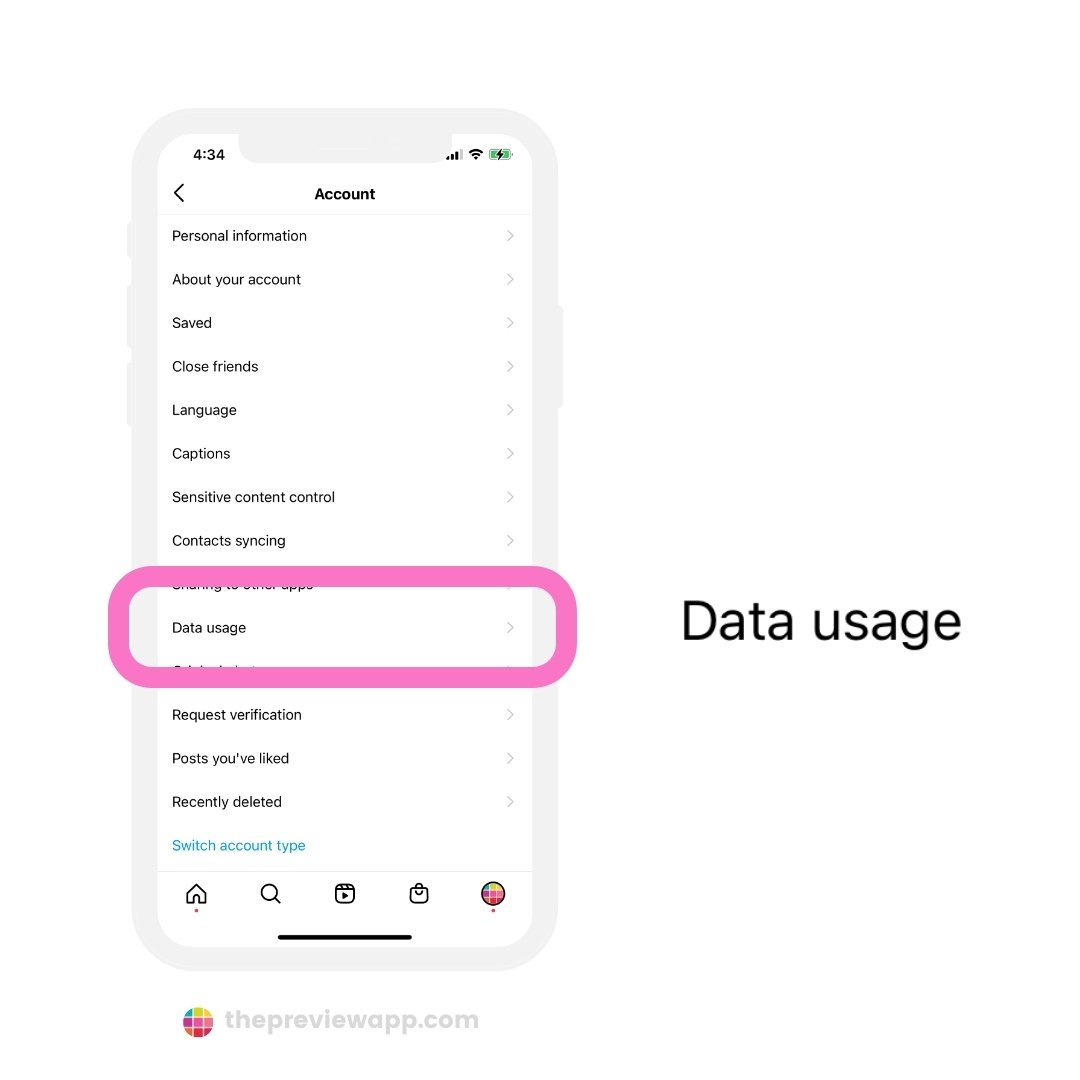
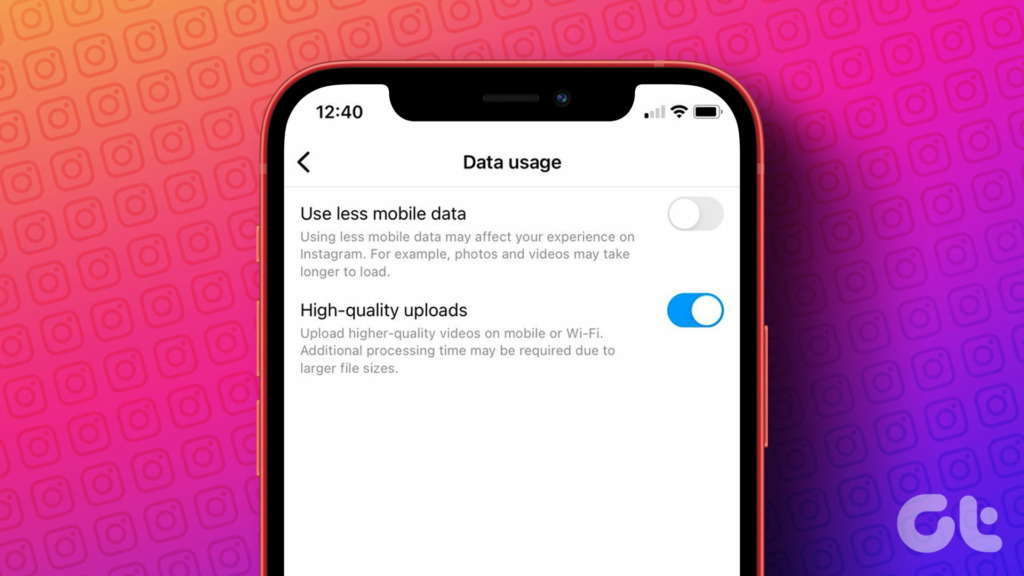
Instagram allows you to adjust your photo settings to improve photo clarity. To do this, go to your Instagram settings and look for the “Account” section. From there, select “Photos and Videos” and adjust the settings to your liking. You can choose to upload photos in their original quality or compress them to reduce file size.
By following these simple steps, you can fix blurry Instagram photos and improve photo clarity. However, if you’re still experiencing issues, it may be worth exploring other solutions, such as optimizing your photos for Instagram or using third-party apps to enhance photo clarity.
The Role of Image Compression in Blurry Instagram Photos
Image compression plays a significant role in the quality of photos on Instagram. When you upload a photo to Instagram, the app compresses the image to reduce its file size. This compression process can lead to a loss of image quality, resulting in blurry photos. But why does Instagram compress images in the first place?
The main reason for image compression is to reduce the file size of the photo, making it easier to upload and load on the app. This is especially important for users with slow internet connections, as it allows them to upload and view photos more quickly. However, the trade-off is a loss of image quality, which can result in blurry photos.
Instagram’s image compression algorithm is designed to balance the need for fast loading times with the need for high-quality images. However, this balance can sometimes result in blurry photos, especially if the original image is of high quality. To mitigate this issue, Instagram allows users to adjust their photo settings to prioritize image quality over file size.
But how does image compression affect photo clarity? When an image is compressed, the app reduces the number of pixels in the image, which can lead to a loss of detail and clarity. This is especially noticeable in photos with fine details, such as textures or patterns. To minimize the impact of image compression on photo clarity, it’s essential to use the right file format and adjust the compression settings accordingly.
By understanding the role of image compression in blurry Instagram photos, you can take steps to optimize your photos for the app and improve photo clarity. In the next section, we’ll explore tips and tricks for optimizing your photos for Instagram, including using the right file format and adjusting compression settings.
Optimizing Your Photos for Instagram: Tips and Tricks
Optimizing your photos for Instagram can make a significant difference in their clarity and overall quality. By following a few simple tips and tricks, you can ensure that your photos appear sharp and vibrant on the app. In this section, we’ll explore the best ways to optimize your photos for Instagram.
Use the Right File Format
Instagram supports a variety of file formats, including JPEG, PNG, and GIF. However, JPEG is the recommended format for photos, as it offers the best balance between quality and file size. When saving your photos as JPEGs, make sure to use a high-quality setting to minimize compression and preserve image details.
Resize Your Images
Instagram has specific guidelines for image sizes, and resizing your photos to meet these requirements can help improve their clarity. For example, Instagram recommends uploading photos with a minimum width of 1080 pixels and a maximum width of 1920 pixels. By resizing your photos to these dimensions, you can ensure that they appear sharp and clear on the app.
Adjust Compression Settings
Compression settings can have a significant impact on image quality, and adjusting them can help improve photo clarity. When saving your photos, try to use a low compression setting to preserve image details. You can also experiment with different compression algorithms, such as Huffman coding or arithmetic coding, to find the one that works best for your photos.
Use Image Editing Apps
Image editing apps can be a powerful tool for optimizing your photos for Instagram. By using apps like Adobe Lightroom or VSCO, you can adjust exposure, contrast, and color balance to enhance image quality. You can also use these apps to resize and compress your photos to meet Instagram’s guidelines.
By following these tips and tricks, you can optimize your photos for Instagram and improve their clarity. Remember to use the right file format, resize your images, adjust compression settings, and use image editing apps to enhance image quality. In the next section, we’ll explore how a slow or unstable internet connection can cause blurry photos on Instagram.
Why Your Internet Connection Might Be the Culprit
A slow or unstable internet connection can be a major contributor to blurry photos on Instagram. When your internet connection is slow, Instagram may compress the image further to ensure faster loading times, compromising on image quality. Additionally, a slow internet connection can cause photos to load slowly, leading to a blurry or pixelated appearance.
So, how can you improve your internet speed and stability to prevent blurry photos on Instagram? Here are a few suggestions:
Check Your Internet Speed
Use an online speed test tool to check your internet speed. If your speed is slower than 10 Mbps, it may be contributing to blurry photos on Instagram.
Restart Your Router
Restarting your router can often resolve connectivity issues and improve internet speed. Try restarting your router and see if it improves your internet connection.
Use a Wired Connection
If possible, use a wired connection instead of Wi-Fi. Wired connections are generally faster and more stable than Wi-Fi connections.
Upgrade Your Internet Plan
If you’re consistently experiencing slow internet speeds, it may be time to upgrade your internet plan. Consider upgrading to a faster plan or switching to a different internet service provider.
By improving your internet speed and stability, you can help prevent blurry photos on Instagram. However, it’s also important to understand how Instagram’s algorithm affects photo clarity, which we’ll discuss in the next section.
Instagram’s Algorithm: How It Affects Photo Clarity
Instagram’s algorithm plays a significant role in determining the clarity of photos on the platform. The algorithm prioritizes photo loading speed over quality, which can lead to blurry photos. This is because Instagram aims to provide a seamless user experience, and fast loading times are essential to achieving this goal.
However, this prioritization of speed over quality can have negative implications for users who value high-quality photos. When photos are compressed to load quickly, they can lose their clarity and detail. This can be frustrating for users who take pride in their photography skills and want to share their best work on Instagram.
The algorithm’s impact on photo clarity is particularly noticeable when uploading high-quality photos. These photos are often compressed more aggressively to reduce their file size, which can result in a loss of detail and clarity. Additionally, the algorithm may also affect the way photos are displayed on different devices, which can further compromise their clarity.
Despite these challenges, there are ways to work around Instagram’s algorithm and upload high-quality photos. By optimizing your photos for Instagram and using the right file format, resizing images, and adjusting compression settings, you can help preserve their clarity and detail. We’ll explore these strategies in more detail in the next section.
It’s also worth noting that Instagram’s algorithm is constantly evolving, and the platform is working to improve the quality of photos on the app. However, until these changes are implemented, users will need to rely on workarounds and optimization techniques to ensure their photos appear clear and vibrant on Instagram.
Using Third-Party Apps to Enhance Photo Clarity
While Instagram’s built-in features can help improve photo clarity, third-party apps can offer even more advanced tools and techniques to enhance your photos. In this section, we’ll explore some of the best third-party apps for improving photo clarity on Instagram.
Photo Editing Apps
Photo editing apps like Adobe Lightroom and VSCO offer a range of tools and filters to enhance photo clarity. These apps allow you to adjust exposure, contrast, and color balance, as well as apply filters and effects to improve the overall quality of your photos.
Image Compression Tools
Image compression tools like TinyPNG and ShortPixel can help reduce the file size of your photos without compromising on quality. These tools use advanced algorithms to compress images, making them ideal for uploading to Instagram.
Other Third-Party Apps
Other third-party apps, such as Facetune and TouchRetouch, offer advanced tools for editing and enhancing photos. These apps allow you to remove blemishes, smooth out skin, and even change the background of your photos.
By using third-party apps to enhance photo clarity, you can take your Instagram photos to the next level. Whether you’re a professional photographer or just starting out, these apps can help you achieve high-quality photos that will impress your followers.
Remember, the key to achieving high-quality photos on Instagram is to use a combination of techniques, including optimizing your photos for the platform, using the right file format, and adjusting compression settings. By following these tips and using third-party apps to enhance photo clarity, you can ensure that your photos appear clear and vibrant on Instagram.
Best Practices for Uploading High-Quality Photos to Instagram
Uploading high-quality photos to Instagram requires attention to detail and a understanding of the platform’s technical requirements. By following these best practices, you can ensure that your photos appear clear and vibrant on Instagram.
Use the Right File Format
Instagram supports a variety of file formats, including JPEG, PNG, and GIF. However, JPEG is the recommended format for photos, as it offers the best balance between quality and file size.
Resize Your Images
Instagram has specific guidelines for image sizes, and resizing your photos to meet these requirements can help improve their clarity. For example, Instagram recommends uploading photos with a minimum width of 1080 pixels and a maximum width of 1920 pixels.
Adjust Compression Settings
Compression settings can have a significant impact on image quality, and adjusting them can help improve photo clarity. When saving your photos, try to use a low compression setting to preserve image details.
Use Image Editing Apps
Image editing apps can be a powerful tool for optimizing your photos for Instagram. By using apps like Adobe Lightroom or VSCO, you can adjust exposure, contrast, and color balance to enhance image quality.
By following these best practices, you can ensure that your photos appear clear and vibrant on Instagram. Remember to use the right file format, resize your images, adjust compression settings, and use image editing apps to optimize your photos for the platform.

