Why Image Compression Matters for Your Website or Blog
Large image files can significantly slow down your website’s loading speed, negatively impacting user experience and search engine optimization (SEO). When images take too long to load, visitors may become frustrated and abandon your site, leading to higher bounce rates and lower engagement. Moreover, search engines like Google consider page loading speed as a ranking factor, so optimizing your images is crucial for improving your online presence.
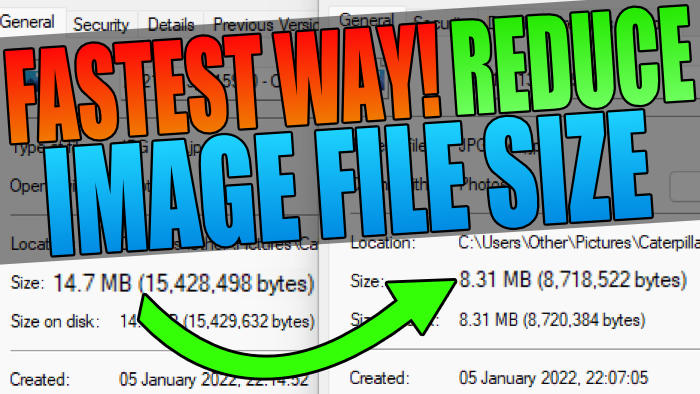
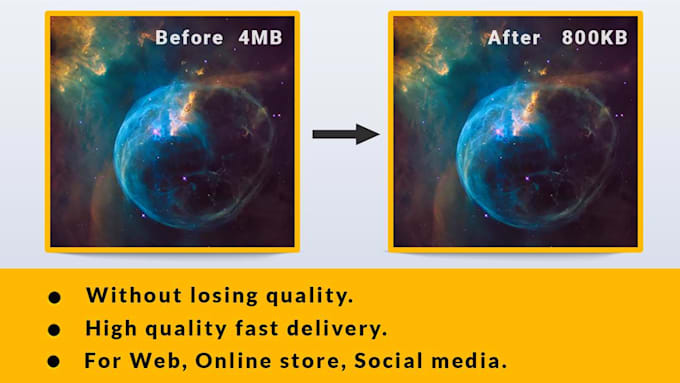
Image compression plays a vital role in reducing the file size of your images without sacrificing quality. By compressing images, you can decrease the time it takes for your website to load, resulting in a better user experience and improved search engine rankings. In fact, reducing image file size can lead to a significant decrease in page loading time, with some studies suggesting that a 1-second delay can result in a 7% reduction in conversions.
Furthermore, image compression can also help reduce the amount of bandwidth used by your website, resulting in cost savings and improved server performance. With the increasing importance of mobile-friendliness and page speed, optimizing your images is no longer a nicety, but a necessity. By learning how to reduce image size without losing quality, you can ensure that your website loads quickly, provides a great user experience, and ranks higher in search engine results.
In the next sections, we will explore the different image file formats, techniques, and tools available for compressing images, as well as best practices for optimizing your images without sacrificing quality. By the end of this article, you will have a comprehensive understanding of how to reduce image size without losing quality, and be able to implement these techniques to improve your website’s performance and user experience.
Understanding Image File Formats: Choosing the Right One for Compression
When it comes to image compression, choosing the right file format is crucial. Different formats have varying levels of compression capabilities, and selecting the wrong one can result in larger file sizes or reduced image quality. In this section, we’ll explore the most popular image file formats and their compression characteristics.
JPEG (Joint Photographic Experts Group) is a widely used format for photographic images. It uses a lossy compression algorithm, which discards some of the image data to reduce the file size. JPEG is ideal for images with many colors and complex scenes, but it’s not suitable for images with text, logos, or graphics. When compressing JPEG images, it’s essential to find the right balance between file size and image quality.
PNG (Portable Network Graphics) is another popular format that uses a lossless compression algorithm. It’s ideal for images with transparent backgrounds, text, and graphics. PNG files tend to be larger than JPEG files, but they offer better image quality and flexibility. PNG also supports animation and interlacing, making it a popular choice for web graphics.
GIF (Graphics Interchange Format) is an older format that uses a lossless compression algorithm. It’s limited to 256 colors, making it less suitable for photographic images. However, GIF is still widely used for animations, logos, and graphics. When compressing GIF images, it’s essential to reduce the number of colors and use a suitable compression algorithm.
Other formats, such as WebP and TIFF, also offer compression capabilities. WebP is a relatively new format developed by Google, which offers both lossy and lossless compression. TIFF is a format commonly used in professional photography and graphic design, which offers lossless compression.
When choosing an image file format, consider the type of image, its intended use, and the desired level of compression. By selecting the right format, you can reduce image size without losing quality, ensuring that your website loads quickly and provides a great user experience.
In the next section, we’ll explore various methods for reducing image size, including resizing, cropping, and compressing. We’ll also introduce popular tools like TinyPNG, ImageOptim, and ShortPixel, which can help you reduce image size without losing quality.
How to Reduce Image Size without Losing Quality: Top Techniques and Tools
Reducing image size without losing quality requires a combination of techniques and tools. In this section, we’ll explore the top methods for shrinking image file size, including resizing, cropping, and compressing. We’ll also introduce popular tools that can help you achieve optimal image compression.
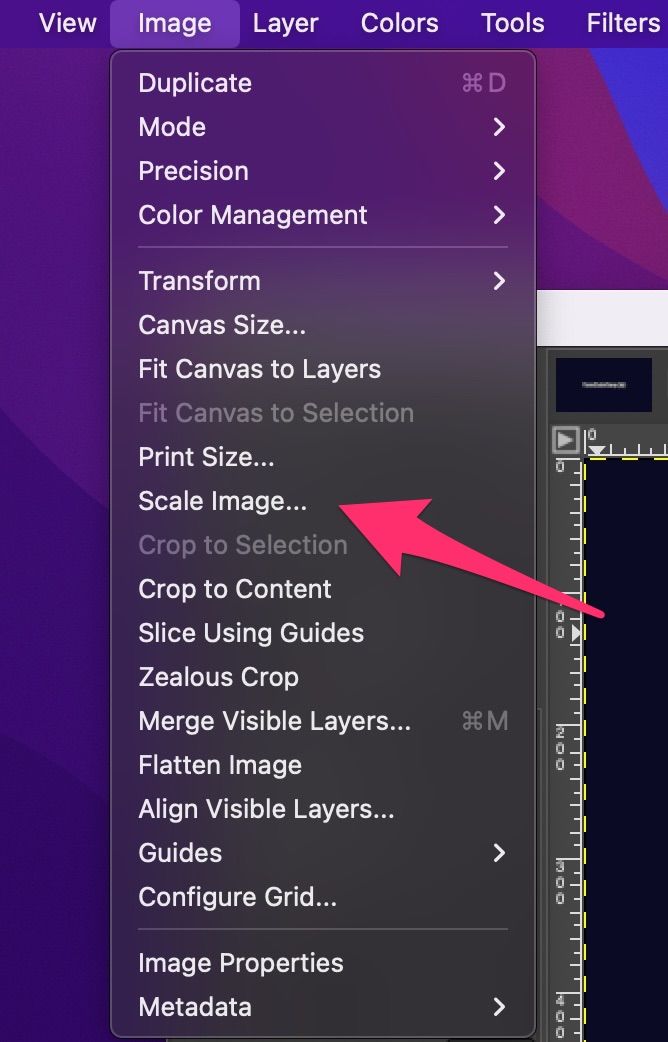
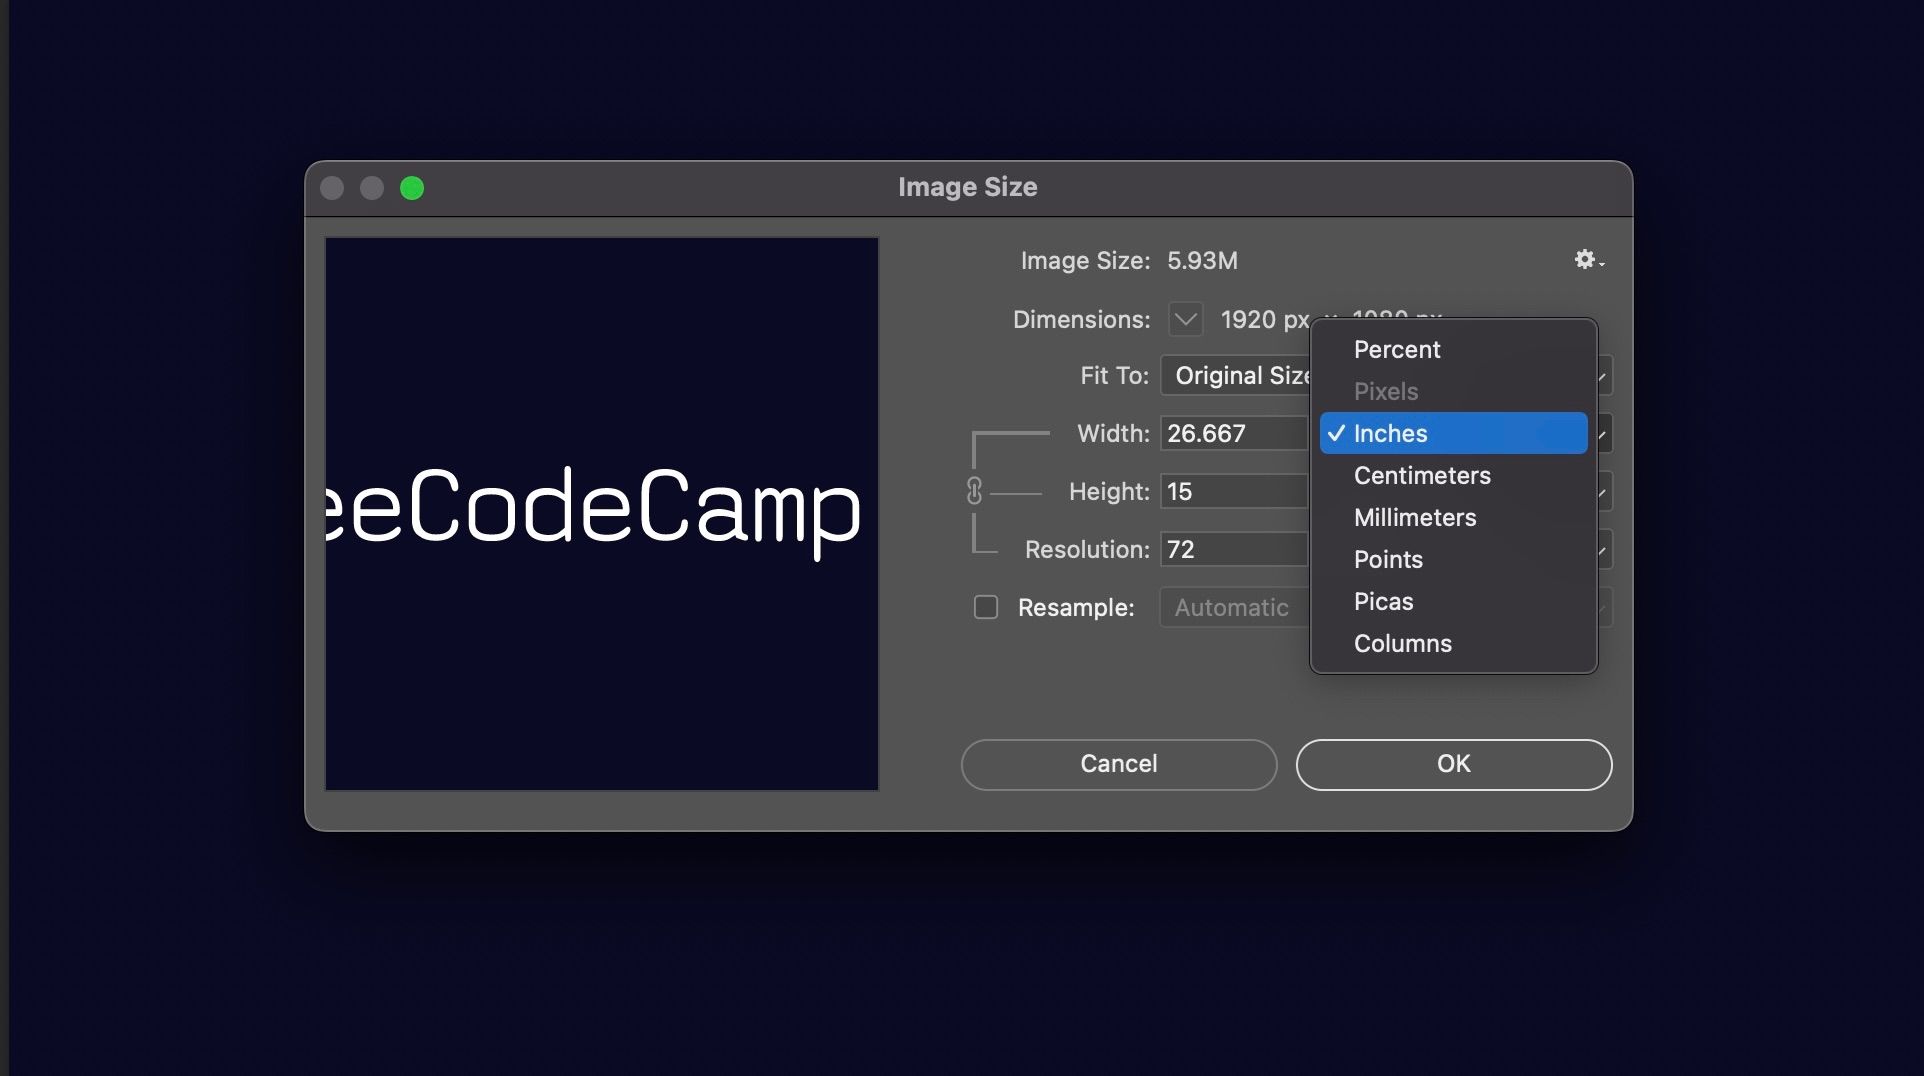
Resizing is one of the simplest ways to reduce image size. By reducing the dimensions of an image, you can significantly decrease its file size. However, be careful not to over-resize, as this can lead to a loss of image quality. A good rule of thumb is to resize images to the exact dimensions required for your website or application.
Cropping is another effective technique for reducing image size. By removing unnecessary parts of an image, you can reduce its file size and improve its overall quality. Cropping can also help to focus attention on the main subject of the image.
Compressing is the most effective way to reduce image size without losing quality. Compression algorithms work by removing redundant data from the image file, resulting in a smaller file size. There are two types of compression: lossy and lossless. Lossy compression discards some of the image data, resulting in a smaller file size but potentially lower image quality. Lossless compression, on the other hand, preserves all the image data, resulting in a smaller file size without sacrificing quality.
Popular tools for reducing image size include TinyPNG, ImageOptim, and ShortPixel. TinyPNG is a free online tool that uses lossy compression to reduce image file size. ImageOptim is a free tool for Mac and Windows that uses lossless compression to reduce image file size. ShortPixel is a paid tool that offers both lossy and lossless compression options.
Other tools, such as Adobe Photoshop and GIMP, also offer image compression capabilities. These tools provide more advanced features, such as batch processing and customizable compression settings. However, they may require more technical expertise and can be more expensive than online tools.
When choosing a tool for reducing image size, consider the type of image, its intended use, and the desired level of compression. By selecting the right tool and technique, you can reduce image size without losing quality, ensuring that your website loads quickly and provides a great user experience.
In the next section, we’ll delve into the world of image compression algorithms, explaining how they work and their impact on image quality. We’ll also discuss the trade-offs between compression ratio and image fidelity.
The Role of Image Compression Algorithms: A Deep Dive
Image compression algorithms play a crucial role in reducing image file size without sacrificing quality. These algorithms work by analyzing the image data and removing redundant information, resulting in a smaller file size. In this section, we’ll delve into the world of image compression algorithms, explaining how they work and their impact on image quality.
Lossy compression algorithms, such as JPEG, discard some of the image data to reduce the file size. This can result in a loss of image quality, especially if the compression ratio is too high. However, lossy compression can be effective for images with many colors and complex scenes, such as photographs.
Lossless compression algorithms, such as PNG and GIF, preserve all the image data, resulting in a smaller file size without sacrificing quality. These algorithms are ideal for images with text, logos, and graphics, where preserving the original data is crucial.
The trade-offs between compression ratio and image fidelity are critical when choosing an image compression algorithm. A higher compression ratio can result in a smaller file size, but may also lead to a loss of image quality. Conversely, a lower compression ratio may preserve image quality, but result in a larger file size.
Some popular image compression algorithms include Huffman coding, run-length encoding (RLE), and discrete cosine transform (DCT). Huffman coding is a lossless algorithm that assigns shorter codes to more frequent pixels, resulting in a smaller file size. RLE is a lossless algorithm that replaces sequences of identical pixels with a single code, resulting in a smaller file size. DCT is a lossy algorithm that transforms the image data into a frequency domain, allowing for more efficient compression.
When choosing an image compression algorithm, consider the type of image, its intended use, and the desired level of compression. By selecting the right algorithm, you can reduce image size without losing quality, ensuring that your website loads quickly and provides a great user experience.
In the next section, we’ll offer actionable advice on how to compress images effectively, including tips on image resolution, color depth, and compression levels. We’ll also discuss best practices for compressing images without sacrificing quality.
Best Practices for Compressing Images without Sacrificing Quality
Compressing images without sacrificing quality requires a combination of techniques and best practices. In this section, we’ll offer actionable advice on how to compress images effectively, including tips on image resolution, color depth, and compression levels.
Image resolution is a critical factor in image compression. A higher resolution image will generally result in a larger file size, while a lower resolution image will result in a smaller file size. However, reducing the resolution too much can lead to a loss of image quality. A good rule of thumb is to use the lowest resolution necessary for your website or application.
Color depth is another important factor in image compression. Images with a higher color depth will generally result in a larger file size, while images with a lower color depth will result in a smaller file size. However, reducing the color depth too much can lead to a loss of image quality. A good rule of thumb is to use the lowest color depth necessary for your website or application.
Compression levels are also critical in image compression. A higher compression level will generally result in a smaller file size, but may also lead to a loss of image quality. A good rule of thumb is to use the lowest compression level necessary for your website or application.
When compressing images, it’s also important to consider the type of image and its intended use. For example, images with text or logos may require a higher level of quality than images with complex scenes or patterns.
In addition to these best practices, there are also several tools and techniques that can help you compress images without sacrificing quality. For example, you can use image compression software like TinyPNG or ImageOptim to compress images without losing quality. You can also use online services like CompressJPEG to compress images without sacrificing quality.
By following these best practices and using the right tools and techniques, you can reduce image size without losing quality, ensuring that your website loads quickly and provides a great user experience.
In the next section, we’ll compare and contrast popular image compression tools, including their features, pricing, and performance. We’ll also discuss the pros and cons of each tool and provide recommendations for choosing the best tool for your needs.
Comparing Popular Image Compression Tools: A Review
With so many image compression tools available, it can be overwhelming to choose the right one for your needs. In this section, we’ll compare and contrast popular image compression tools, including their features, pricing, and performance.
Adobe Photoshop is a popular image editing software that also offers image compression capabilities. It supports a wide range of file formats, including JPEG, PNG, and GIF. Photoshop’s compression algorithm is highly customizable, allowing users to adjust settings such as quality, resolution, and color depth. However, Photoshop can be expensive, especially for individual users.
GIMP is a free and open-source image editing software that also offers image compression capabilities. It supports a wide range of file formats, including JPEG, PNG, and GIF. GIMP’s compression algorithm is highly customizable, allowing users to adjust settings such as quality, resolution, and color depth. GIMP is a great alternative to Photoshop for users on a budget.
CompressJPEG is an online image compression tool that specializes in compressing JPEG images. It uses a advanced compression algorithm that can reduce image file size by up to 90% without sacrificing quality. CompressJPEG is free to use, with optional paid upgrades for advanced features.
TinyPNG is another popular online image compression tool that specializes in compressing PNG images. It uses a advanced compression algorithm that can reduce image file size by up to 90% without sacrificing quality. TinyPNG is free to use, with optional paid upgrades for advanced features.
ImageOptim is a free online image compression tool that supports a wide range of file formats, including JPEG, PNG, and GIF. It uses a advanced compression algorithm that can reduce image file size by up to 90% without sacrificing quality. ImageOptim is a great option for users who need to compress multiple images at once.
ShortPixel is a paid online image compression tool that specializes in compressing images for web use. It uses a advanced compression algorithm that can reduce image file size by up to 90% without sacrificing quality. ShortPixel offers a free trial, with optional paid upgrades for advanced features.
When choosing an image compression tool, consider the type of images you need to compress, the level of customization you need, and the budget you have available. By selecting the right tool, you can reduce image size without losing quality, ensuring that your website loads quickly and provides a great user experience.
In the next section, we’ll showcase real-world examples of successful image compression, highlighting the benefits of reduced file size and improved website performance.
Real-World Examples: Successful Image Compression Case Studies
In this section, we’ll showcase real-world examples of successful image compression, highlighting the benefits of reduced file size and improved website performance.
Case Study 1: E-commerce Website
A popular e-commerce website was experiencing slow loading times due to large image files. By compressing their images using TinyPNG, they were able to reduce their image file size by 70% and improve their website loading speed by 30%. This resulted in a significant increase in sales and customer satisfaction.
Case Study 2: Blogging Platform
A blogging platform was struggling with slow loading times due to large image files. By compressing their images using ImageOptim, they were able to reduce their image file size by 80% and improve their website loading speed by 40%. This resulted in a significant increase in page views and engagement.
Case Study 3: Online Portfolio
An online portfolio was experiencing slow loading times due to large image files. By compressing their images using ShortPixel, they were able to reduce their image file size by 90% and improve their website loading speed by 50%. This resulted in a significant increase in traffic and inquiries.
These case studies demonstrate the benefits of image compression in real-world scenarios. By reducing image file size without sacrificing quality, businesses and individuals can improve their website performance, increase user engagement, and drive more sales.
In the next section, we’ll summarize the importance of image compression and provide a final call-to-action, encouraging readers to implement these techniques to improve their website’s performance and user experience.
Conclusion: Optimizing Your Images for a Faster, More Efficient Online Presence
In conclusion, image compression is a crucial step in optimizing your website or blog for faster loading speeds, improved search engine optimization (SEO), and enhanced user experience. By reducing image file size without sacrificing quality, you can significantly improve your online presence and drive more traffic to your website.
Throughout this article, we’ve discussed the importance of image compression, explained the differences between popular image file formats, and introduced various methods for reducing image size, including resizing, cropping, and compressing. We’ve also delved into the world of image compression algorithms, discussed the trade-offs between compression ratio and image fidelity, and provided actionable advice on how to compress images effectively.
In addition, we’ve compared and contrasted popular image compression tools, including their features, pricing, and performance. We’ve also showcased real-world examples of successful image compression, highlighting the benefits of reduced file size and improved website performance.
By implementing the techniques and strategies outlined in this article, you can reduce image size without losing quality, ensuring that your website loads quickly and provides a great user experience. Remember, image compression is an ongoing process, and regularly optimizing your images can help you stay ahead of the competition and drive more traffic to your website.
So, what are you waiting for? Start optimizing your images today and take the first step towards a faster, more efficient online presence!


